DoughSeeDough

a balanced plate with room for dessert


Leave a comment

Brownie Cake with Biscoff Frosting

Brownie Cake with Biscoff Frosting |doughseedough.net

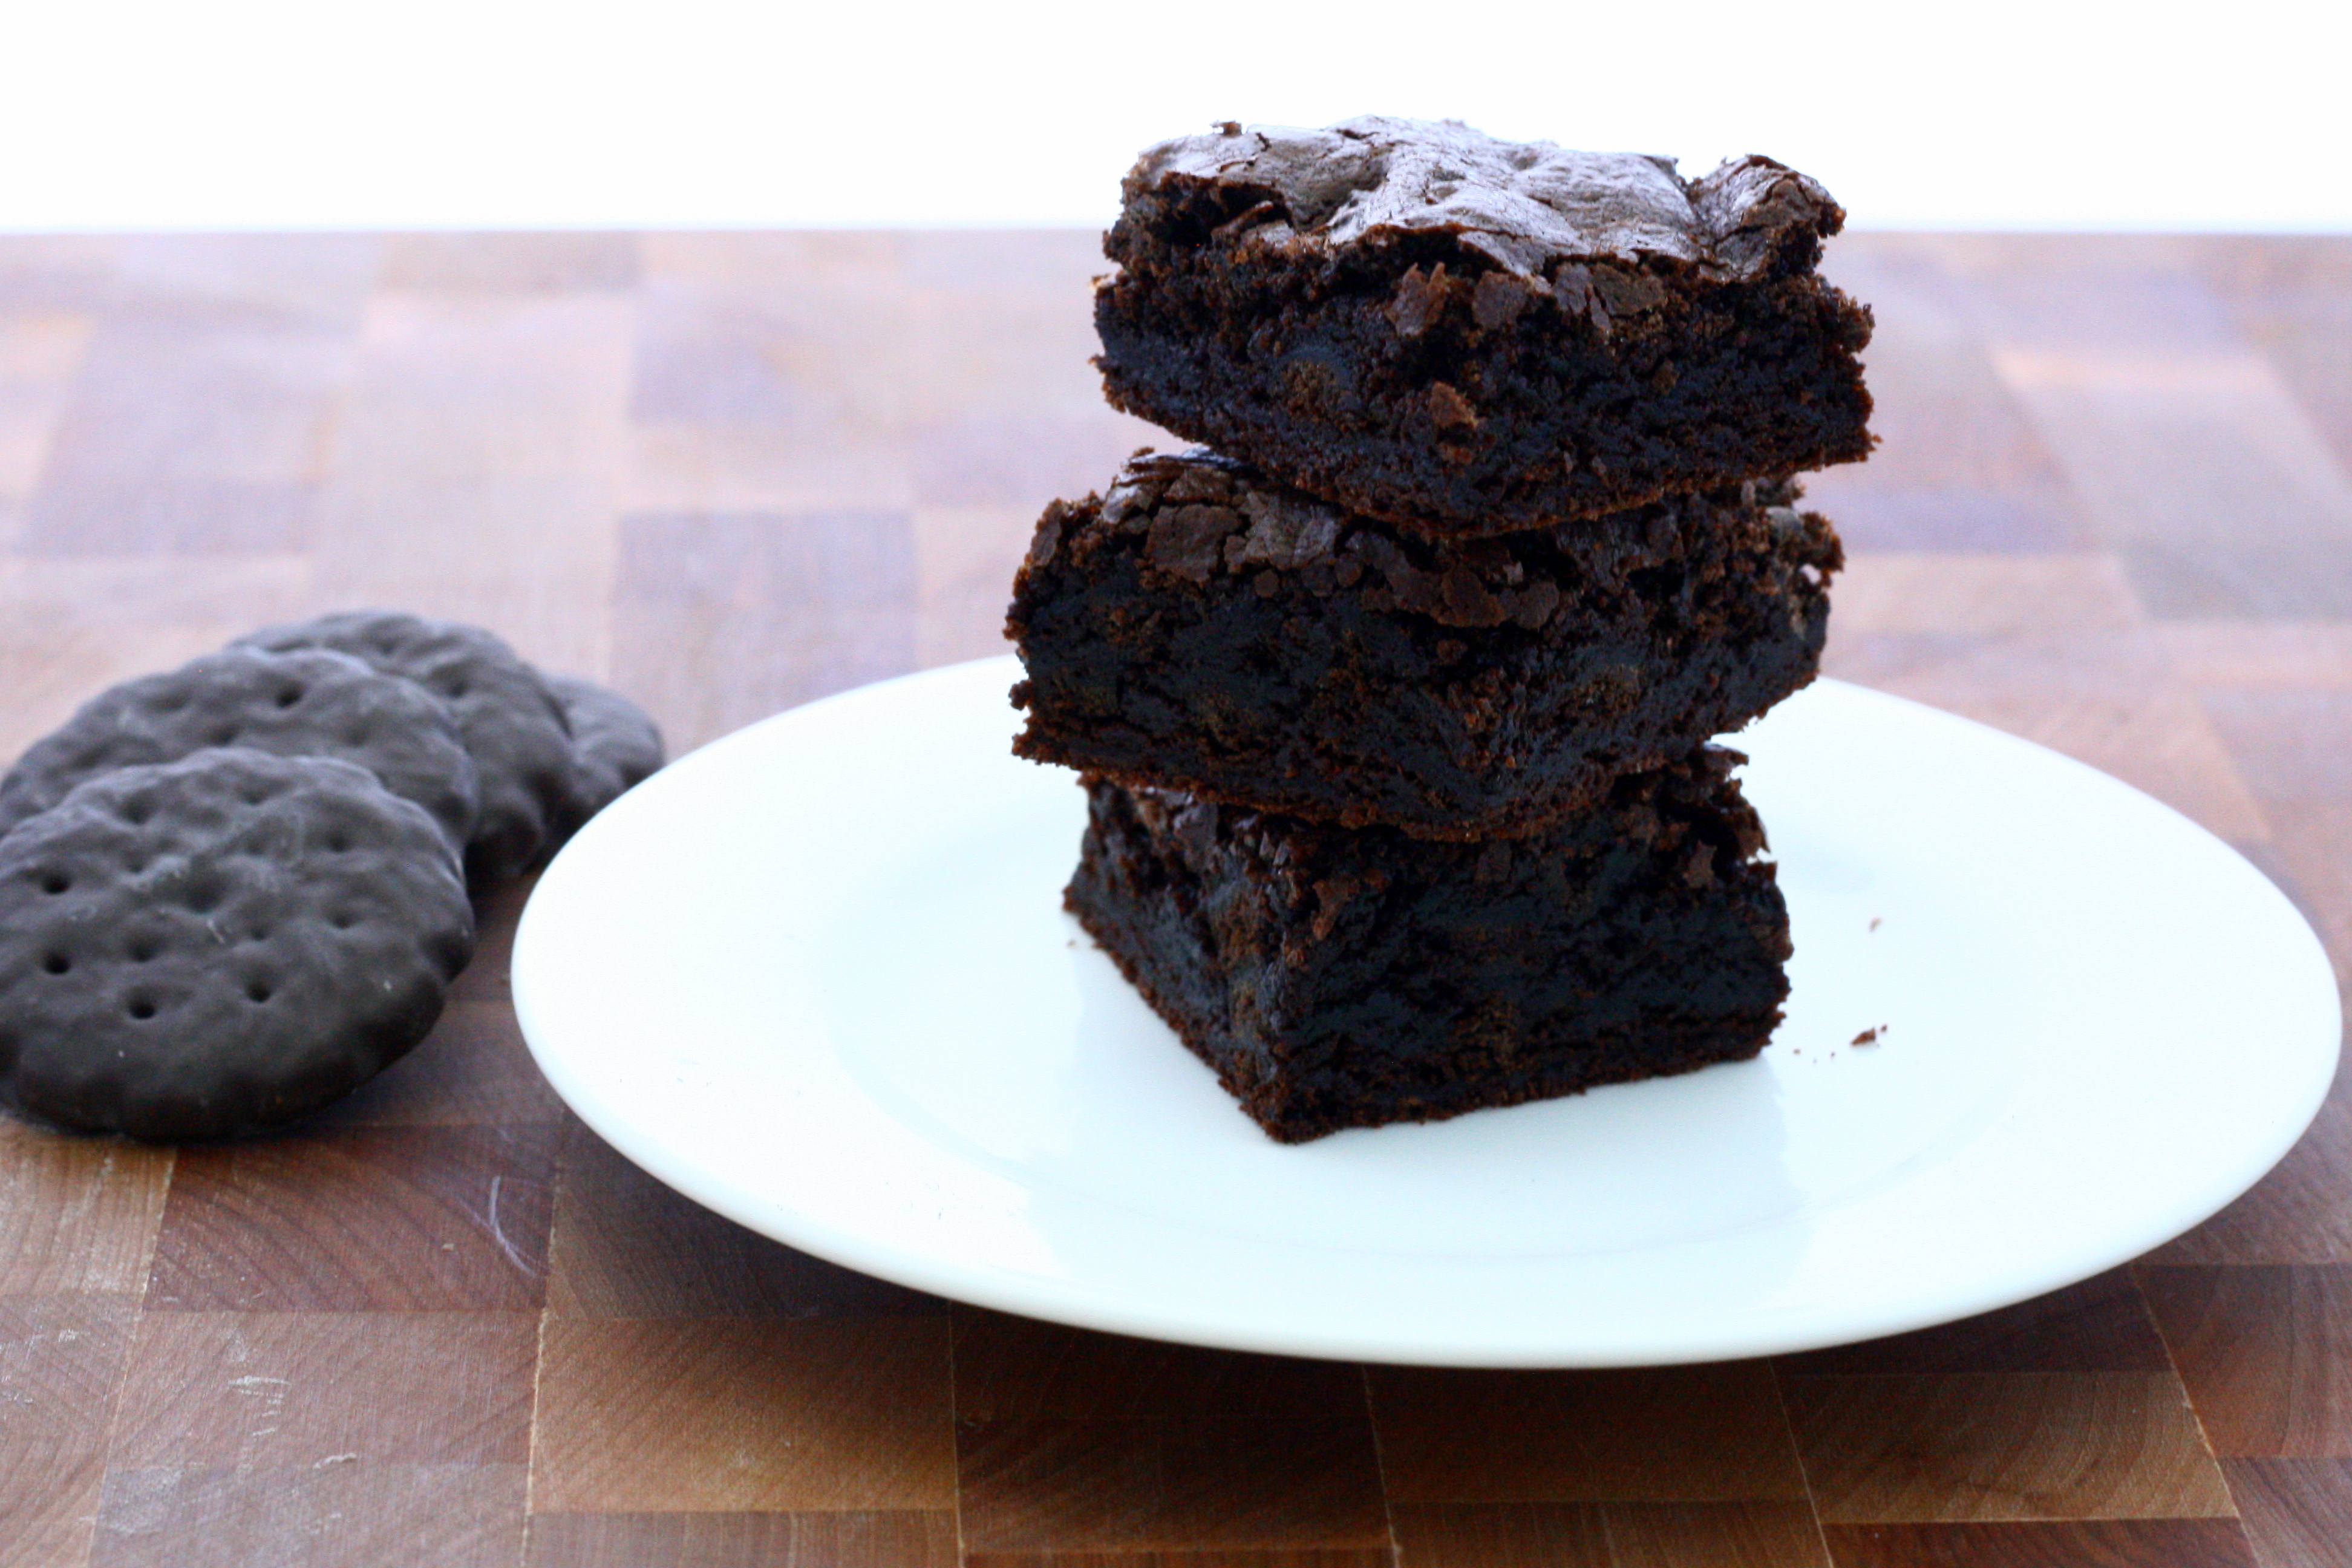
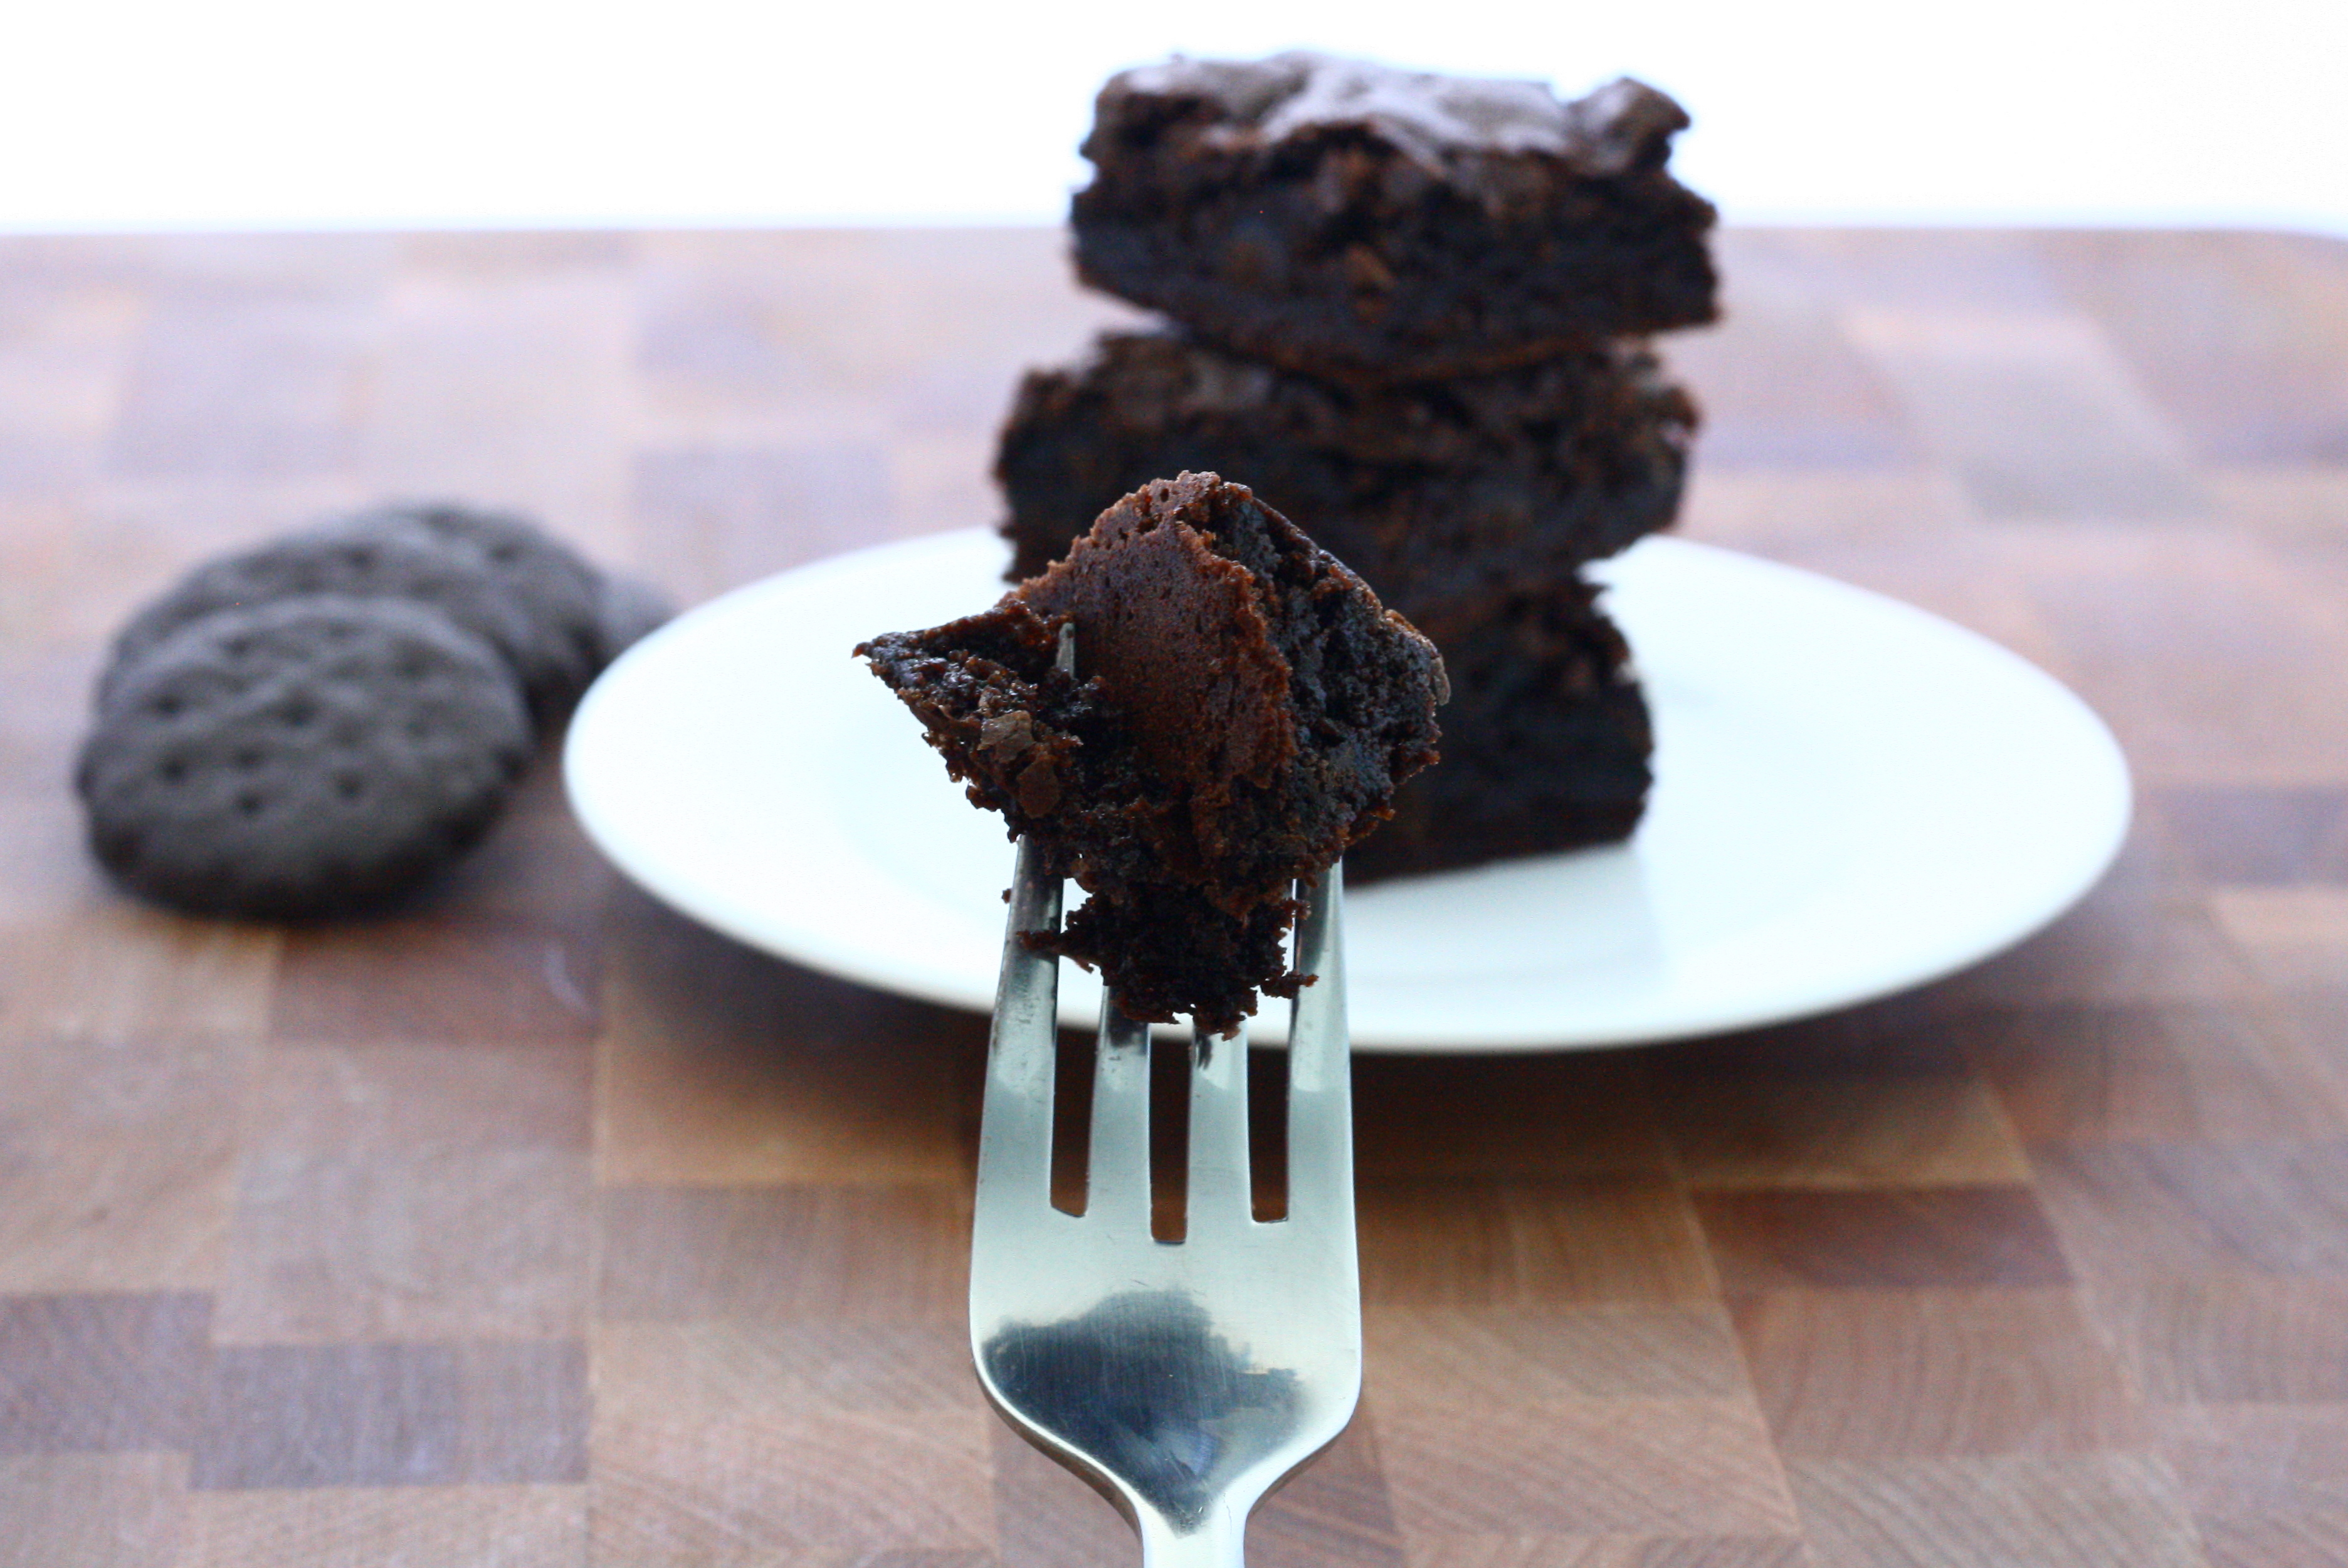
I can’t really explain my obsession with Biscoff cookies. I love them so much that my sister hoards them from her travels and gives them to me. On her last trip back from the UK, she brought me a jar of Biscoff spread along with a handful of the cookies. The spread sat in my pantry for months; I didn’t know what to do with it. She threw some ideas at me – eat it with a spoon! on bread with Nutella! with a banana! – but none of them really sounded special enough to me. This was my first experience with Biscoff spread. I wanted everything to be perfect. After searching a bit, I found this recipe for a Biscoff Brownie Cake and I was sold.

Brownie Cake with Biscoff Frosting |doughseedough.net

I will admit that I ate a disgusting amount of frosting with a spoon. And I may have eaten a spoonful of the spread when I was making the frosting, too. Maybe.

Brownie Cake with Biscoff Frosting
slightly adapted from Bakers Royale

for the brownie:
12 tablespoons unsalted butter
6 ounces unsweetened chocolate, roughly chopped
2 1/4 cups granulated sugar
1/2 teaspoon salt
3 teaspoons vanilla extract
3 large eggs
1 1/2 cups all purpose flour
3 tablespoons cocoa powder

for the frosting:
1/2 cup butter, room temperature
1 cup Biscoff spread
1 1/2 cups powdered sugar, sifted
1 – 3 tablespoons milk

  1. Preheat oven to 350°F. Line a 9-inch springform pan with parchment paper and butter parchment paper. Set aside.
  2. To make the brownie: Combine butter and chocolate in a large microwave-safe bowl. Heat in 30 second increments, stirring after each increment, until chocolate is melted and mixture is smooth. Set aside to cool slightly. Stir in sugar, salt, and vanilla until blended. Add in eggs, one at a time, stirring after each egg until well blended. Stir in flour and cocoa powder and mix until just combined. Scrape batter into prepared springform pan and smooth out the top with a spatula. Bake for 35 – 40 minutes, or until a toothpick inserted into the center comes out with a few moist crumbs.
  3. Set pan on a wire rack to cool. Run a knife around the edge of the brownie and release from the springform pan. Flip brownie onto a flat surface and peel off parchment paper. Turn brownie right-side up and allow to cool completely.
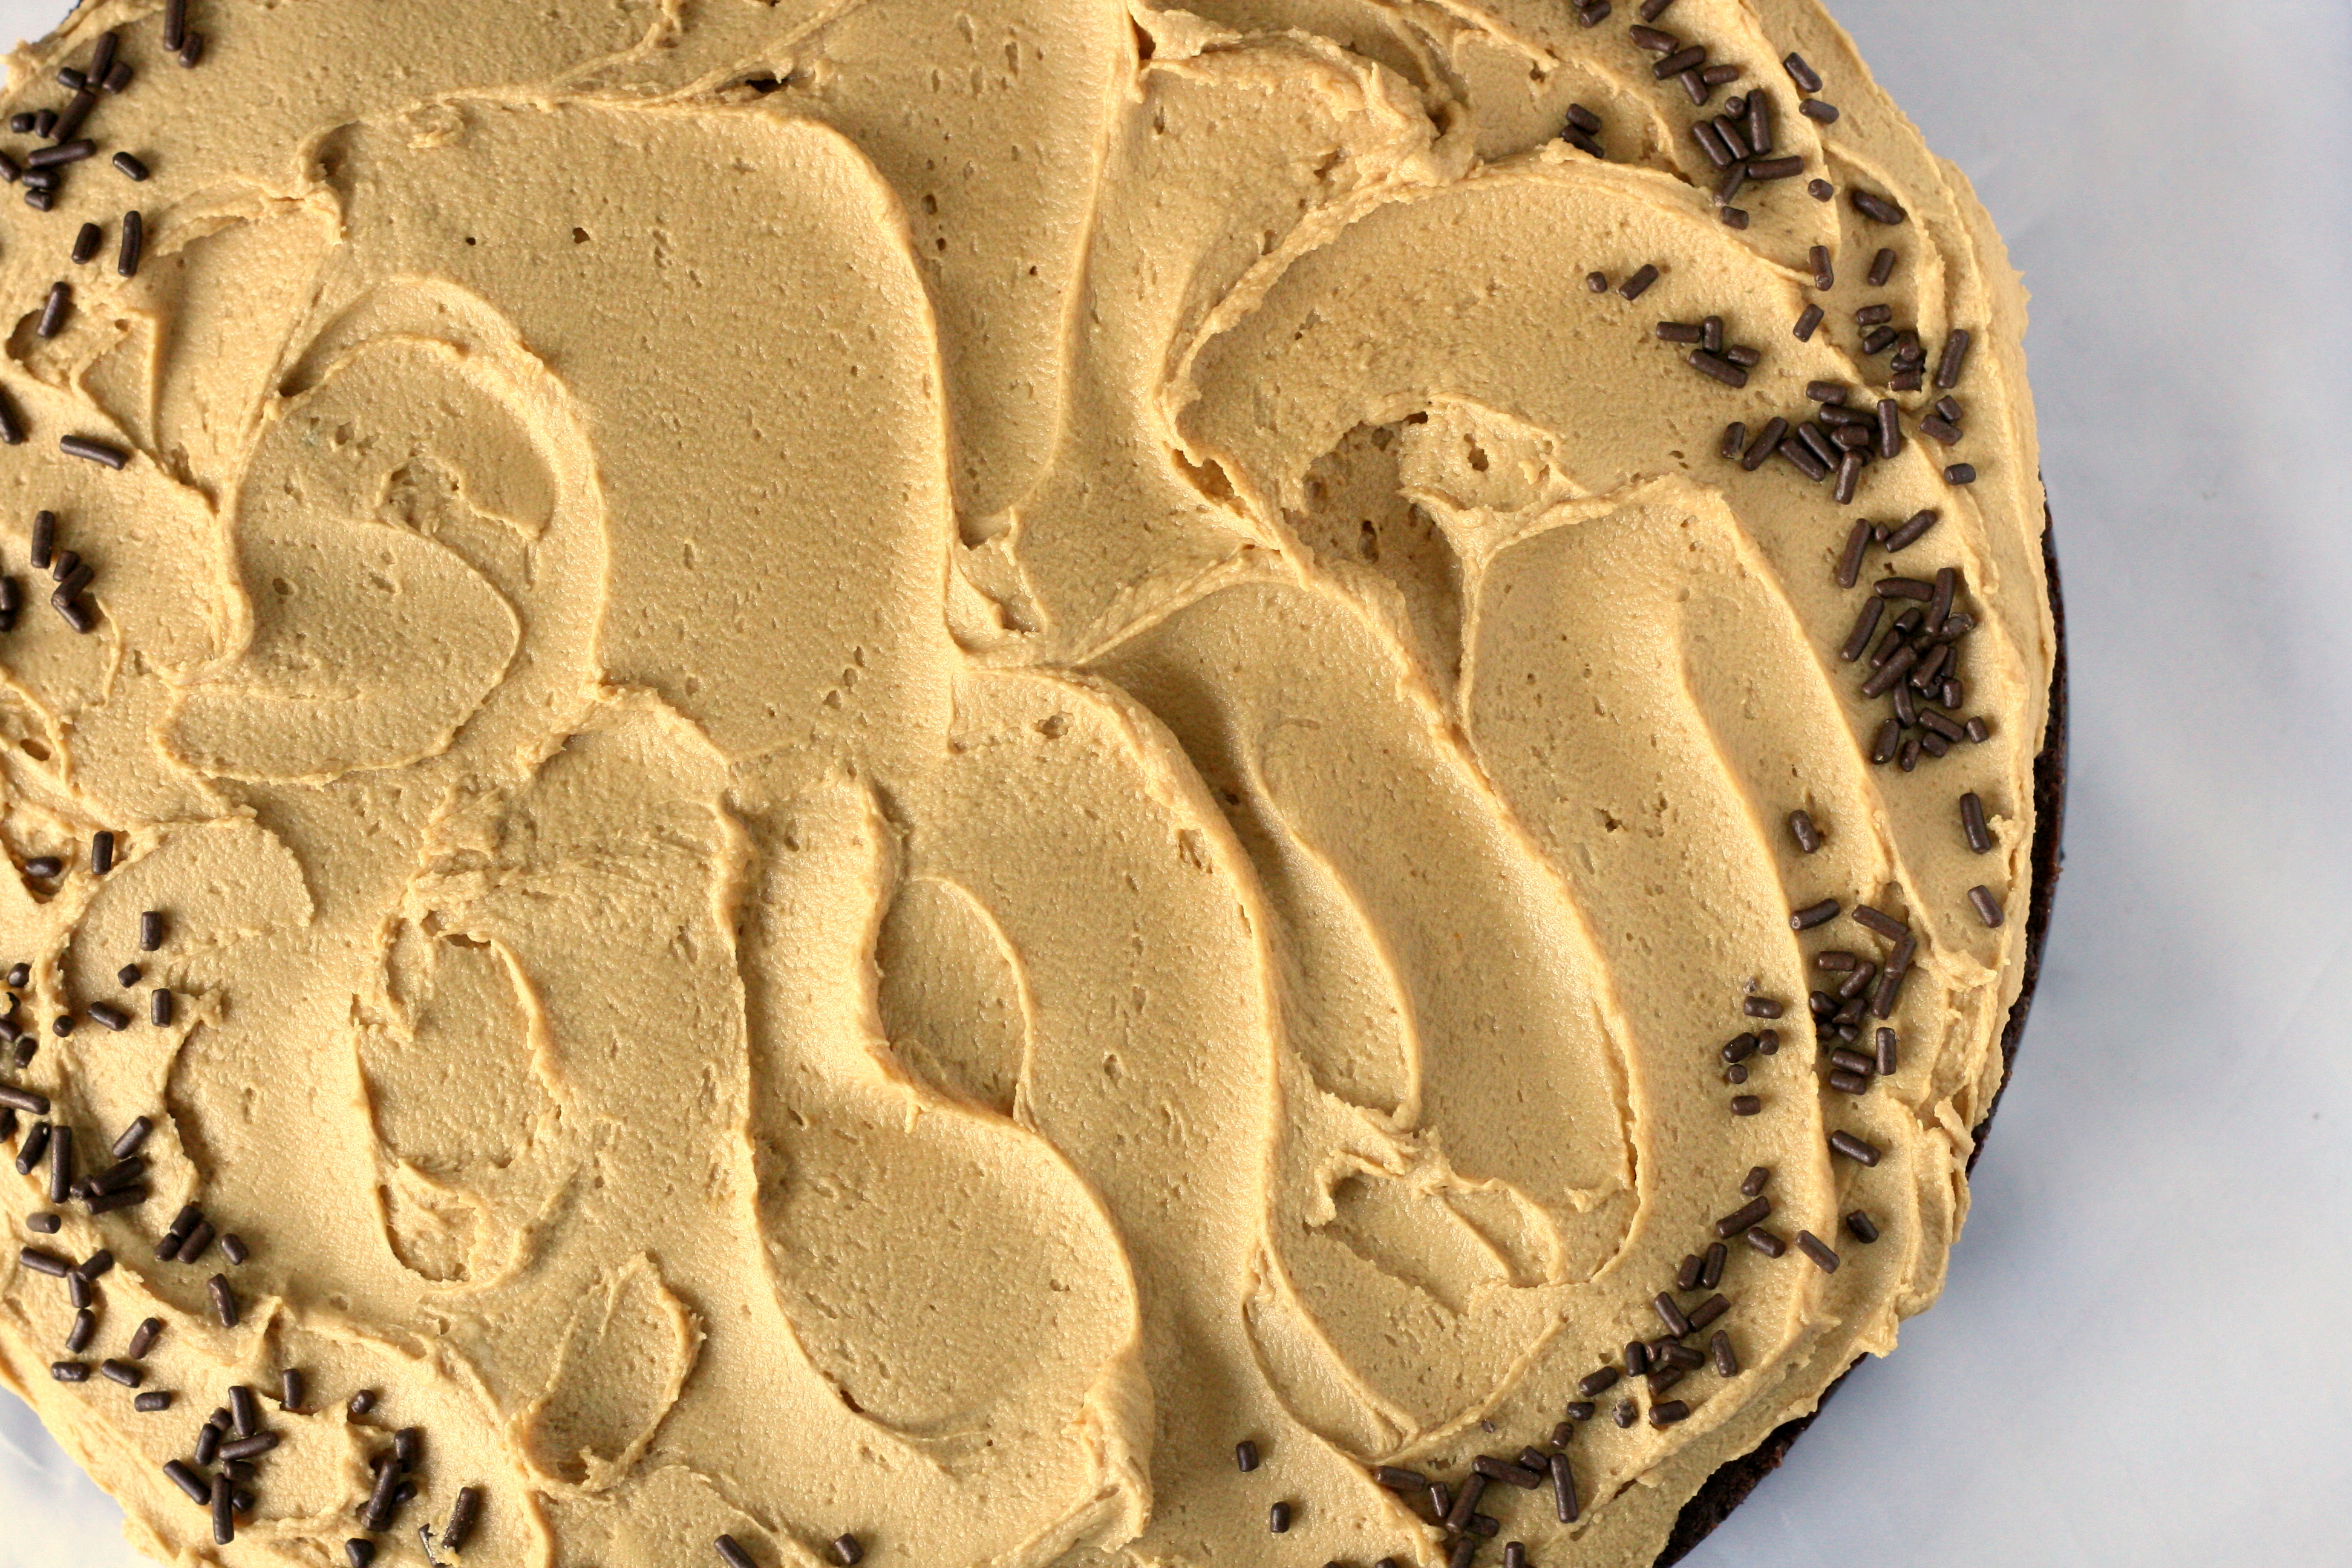
  4. To make the Biscoff frosting: Beat butter and Biscoff spread on medium speed until smooth. Add in powdered sugar and milk until mixture is smooth. Add more milk and/or powdered sugar to reach desired consistency.
  5. To assemble: Spread frosting on top of cake and smooth with an offset spatula. Decorate with chocolate sprinkles, if desired.

Brownie Cake with Biscoff Frosting |doughseedough.net

Advertisement


2 Comments

Bourbon Fudge Brownies

Asking me to pick between these bourbon fudge brownies and the espresso bourbon brownies I made a few months ago is like asking me to choose between Sour Patch Kids or Sour Skittles. It’s pretty much impossible for me to pick. They’re both delicious. If you have people who aren’t huge coffee fans but still enjoy a nice hint of bourbon, these are the perfect brownie.

Mike likes to eat these with a little glass of bourbon on the side. I love these best when they’re straight from the oven. I mean, seriously, does anyone actually wait for stuff to cool before eating? I’m pretty sure I spend most of my life with a burnt tongue and/or roof of my mouth. I should probably work on my self control.

Bourbon Brownies | doughseedough.net

Bourbon Fudge Brownies

1/4 cup bourbon
1/4 cup semisweet chocolate chips
1 1/2 cups all-purpose flour
1/2 cup unsweeetened cocoa powder
1 teaspoon baking powder
1/2 teaspoon salt
1 1/3 cups sugar
6 tablespoons butter, softened
1 teaspoon vanilla extract
2 large eggs
cooking spray

  1. Preheat oven to 350°F. Coat a 9×9-inch baking pan with cooking spray and set aside.
  2. Bring bourbon to boil in a small saucepan. Remove pan from heat, add chocolate chips and stir until smooth.
  3. In a medium bowl, combine the flour, cocoa powder, baking powder, and salt and whisk until combined and lump-free.
  4. Combine the sugar and butter in a large bowl and beat with a mixer at medium speed until well combined. Add vanilla and eggs and beat to combine.
  5. Add bourbon and flour mixture and mix on low speed until just combined.
  6. Spread batter into prepared pan. Bake for 25 minutes or until a toothpick inserted in the center comes out clean.


recipe slightly adapted from Cooking Light


2 Comments

Espresso Bourbon Brownies

Espresso Bourbon Brownies | doughseedough.net

So, you know your favorite morning pick-me-up? (Yes, I’m talking about coffee). How do you make it better? Add bourbon, duh. And how do you make that better? Turn it into a brownie!

Espresso Bourbon Brownies | doughseedough.net

The bourbon taste in this is definitely prominent, so make sure you make it with something drinkable. Another tip: if you like these, hide them. I left mine out and they were completely gone a couple days later. Mike inhaled these at an alarming rate.

Espresso Bourbon Brownies
makes 16 brownies

1/2 cup unsalted butter
3 ounces unsweetened chocolate, roughly chopped
1 cup granulated sugar
2 large eggs
1 teaspoon vanilla
1/4 cup bourbon
2 tablespoons espresso granules
3/4 cup all purpose flour
1/2 teaspoon baking soda
1/3 cup semisweet chocolate chips

  1. Preheat oven to 350°F. Line an 8×8 baking pan with parchment paper and set aside.
  2. Place butter and unsweetened chocolate into a small saucepan over medium-low heat. Cook, stirring frequently, until chocolate is melted. Remove from heat and let cool slightly.
  3. In a small bowl, combine bourbon and espresso until espresso has dissolved. Set aside.
  4. Stir sugar into slightly cooled chocolate mixture until incorporated. Add eggs one at a time, stirring after each addition. Stir bourbon-espresso mixture into the batter. Mix in flour and baking soda until just combined and then fold in the chocolate chips.
  5. Pour batter into the prepared baking pan. Use a spatula to make sure batter is evenly distributed and smooth on top. Bake in preheated oven for 30 minutes or until a toothpick inserted into the center comes out with moist crumbs.
  6. Allow brownies to cool completely in the pan on a wire rack. Remove brownies from the pan and cut into 16 pieces.


adapted from Lemons and Anchovies


1 Comment

Salted Fudge Brownies

Holy smokes, I can’t believe it’s August already! Life is a little crazy right now. We have the Big (-ish) Move on Saturday to prepare for and our house is a disaster. I can’t figure out what I want to bring down to Madison and what I want to leave in Appleton. I have a new job starting on Monday. Don’t get me wrong – my life is hectic, but I love it.

After speaking with a friend recently, I realized just how blessed I am. I got into a dietetic internship on my first try. I passed my RD exam the first time I attempted it. I landed a job right away. And now? Now I’m moving on to an even better job. Best of all, I have the most amazing and supportive husband next to me. I have so much to be thankful for.

I haven’t been cooking much because we have very little food in the house and I don’t want to buy more before the move. Stupid me didn’t prepare for this move very well. If I had any sense, I would have stockpiled some posts and scheduled them for the next few weeks. Instead, I have nothing. So DSD might be a little empty for a couple weeks while I rebuild my life in Madison.

That brings me to these brownies. Mike asked if I could make a treat for him to bring in to work. I heard several rave reviews about these salted fudge brownies and I decided that those were definitely the treat I would make. It worked out perfectly because I already had all the ingredients at home. The results are definitely rave-worthy. I’m a little sad that I had to give them away because they were so good. So good that I snagged a piece for Mike and I to share and sent 15 instead of 16 brownies to work. Oops 🙂

I plan on stocking up on more unsweetened chocolate soon because I need to make more of these. I have even heard that these are perfect for freezing individually and then microwaving for 15 seconds later on for a magnificent, fudgy treat.

Salted Fudge Brownies | doughseedough.net

Salted Fudge Brownies
very slightly adapted from Eva Bakes, via Food and Wine

1 1/2 sticks unsalted butter
2 ounces unsweetened chocolate, roughly chopped
1/4 cup plus 2 tablespoons unsweetened cocoa powder
1 cup granulated sugar
1 cup packed light brown sugar
3 large eggs
1 1/2 teaspoons vanilla extract
1 cup all-purpose flour
3/4 teaspoon Maldon sea salt

  1. Preheat oven to 350°F. Line an 8×8 metal pan with foil, draping foil over the edges. Generously butter the foil.
  2. In a large saucepan over low heat, melt the butter and unsweetened chocolate, whisking occasionally, until completely melted.
  3. Remove pan from heat and whisk in cocoa powder until smooth. One at a time, whisk in sugar, brown sugar, eggs, vanilla, and flour, mixing well after each addition.
  4. Pour batter into prepared pan. Sprinkle salt on top and gently swirl into batter using a toothpick.
  5. Bake in preheated oven for 30 – 35 minutes, or until edges are done but center is still slightly gooey. A toothpick inserted into the center should come out with a little batter.
  6. Let brownies cool for 1 hour at room temperature. Place in refrigerator and chill for 1 more hour.
  7. Life brownies from pan by grasping the foil overhang and place on a cutting board. Cut into 16 squares. Serve at room temperature.


1 Comment

Hazelnut Tiramisu Brownies

hazelnut tiramisu brownies | doughseedough.net

When Jessica over at My Baking Heart posted these tiramisu brownies, I knew I had to make them. Immediately. Usually I find a recipe that calls out to me and put it on my “to do” list. These babies almost skipped every other dish I had on my list and I made them as soon as I could.

A little tip – if you don’t want the 8 egg yolks to go to waste, do as I did and use 5 of them in these Layered German Chocolate Cupcakes. Then you will have not one, but TWO super decadent treats. It’s probably a good idea to share 😉

hazelnut tiramisu brownies | doughseedough.net

Hazelnut Tiramisu Brownies
yield: 15 large brownies

2 oz dark chocolate chips
16 tbsp unsalted butter, room temperature
1 1/4 c granulated sugar, divided
4 whole large eggs
8 large egg whites, divided
1 cup cake flour
2 tablespoons instant coffee
1/4 cup chopped, roasted hazelnuts
8 ounces Mascapone cheese, room temperature
8 ounces Neufchatel cheese, room temperature
2 teaspoons vanilla extract
1 package ladyfingers
1 cup coffee
2 tablespoons dark rum

  1. Preheat oven to 350°F. Butter and flour a 13×9 baking pan and set aside.
  2. Place chocolate chips in a large microwavable bowl and microwave in 30 second intervals until smooth and melted, stirring after each time. Let cool slightly.
  3. Pour melted chocolate into a mixing bowl fitted with the paddle attachment. Beat in butter on medium speed until well incorporated. Add in 1 cup of sugar, 4 whole eggs, and 4 egg whites, mixing until well blended. Mix in flour and instant coffee on low speed until just combined. Carefully fold in hazelnuts. Remove 1 cup of batter and pour remaining batter into prepared pan.
  4. Place lady fingers rounded-side down on top of the batter, pushing down slightly on each one. Combine coffee with rum and brush onto the ladyfingers until saturated.
  5. In a separate bowl, combine mascarpone cheese, Neufchatel cheese, 1/4 cup sugar, 4 remaining egg whites, and vanilla extract. Carefully spread over the ladyfingers.
  6. Drop dollops of remaining brownie batter on top of the cheese layer and swirl gently with a knife.
  7. Bake for 45 – 50 minutes, or until brownies begin to pull away from the sides of the pan and the center is almost set. Let cool completely in pan before cutting.

Recipe slightly adapted from Chef Maureen Joyce & Barista Prima Coffee house via My Baking Heart


13 Comments

Thin Mint Brownies

thin mint brownie | baked with love by doughseedough.net

Girl Scout Cookie Season is one of my favorite times of the year. This year, I bought 7 boxes of cookies. Three boxes of Peanut Butter Patties (for Mike), one of Caramel DeLites, one of Mango Cremes, one Lemonades, and one box of Thin Mints.

One. Thin. Mint. What was I thinking?! Why in the world did I only get one box of my favorite cookie?

thin mint cookies | doughseedough.net

That brings me to this week’s recipe swap. It was blogger’s choice, so I got to choose a recipe of my liking from Cookies on Friday. I combed through every single one of her posts going all the way back to 2008. I bookmarked a bunch of recipes and settled on making these triple ginger cookies. Then, she posted Thin Mint Brownies.  And I knew in my heart that I had to make them. Even though I wanted to cry at the thought of sacrificing one precious sleeve of my single box of Thin Mints.

But, this was so worth it. If I had a whole sleeve of Thin Mints left, I would make a second batch. But the second sleeve is residing happily in my stomach now. RIP.

thin mint brownies | baked with love by doughseedough.net

Thin Mint Brownies
slightly adapted from Knead to Cook via Cookies on Friday

1/4 cup Hershey’s Special Dark cocoa powder
1/2 cup cocoa powder
1/2 teaspoon baking soda
1/3 cup canola oil
1/2 cup of boiling water
2 cups of sugar
2 eggs
1/3 cup of canola oil
1 1/3 cups flour
1 teaspoon vanilla
1/2 teaspoon mint extract
1/4 teaspoon salt
1 sleeve of Girl Scout Thin Mints, roughly chopped
  1. Preheat oven to 350 degrees.  Line a 9” x 13” pan with parchment paper and set aside.
  2. In a large mixer bowl, blend the cocoa powders, baking soda, boiling water and the first 1/3 cup of oil. Stir on low until blended.  Add the sugar, eggs and remaining 1/3 cup oil, stirring again on low until blended.  Finally, add the flour, vanilla, mint extract and salt.  Stir until just combined. With a spatula, stir in the chopped Thin Mints.
  3. Spread into the prepared pan and smooth the top. Bake for 35-40 minutes.  Allow to cool completely in pan. Remove the brownies from the pan by lifting the parchment paper. Peel away the parchment paper and cut into bars.

Be sure to head on over to Taste of Home Cooking to check out the recipe swap round-up!


5 Comments

Zucchini Brownies

Folks, I’ve found my all-time favorite brownie. And they’re made with zucchini. It may sound gross at first, but trust me… this is one fantastic brownie. Part of me wishes I hadn’t ever made these, because now I can’t stop eating them, making them, or thinking about them.

Still not convinced that these are rock-star brownies? Well, remember this – I really don’t like chocolate. Or desserts. So, the fact that I like love these should be reason enough for you to grab some zukes and get bakin’!

Zucchini Brownies
makes 15 brownies 

For the brownie:
1/2 cup unsweetened applesauce
1 cup sugar
2 teaspoons vanilla extract
2 cups all purpose flour
1/2 cup unsweetened cocoa powder
1 1/2 teaspoons baking soda
1 teaspoon salt
2 cups shredded zucchini
1/2 cup chocolate chips or walnuts, optional

For the frosting:
1/3 cup unsweetened cocoa powder
3 tablespoons unsalted butter
2 cups powdered sugar
1/4 cup milk
1/2 teaspoon vanilla extract

  1. Preheat oven to 350°F. Grease a 9×13 inch baking pan with butter and dust with cocoa powder.
  2. In large bowl, mix together applesauce, sugar, and vanilla until well combined.
  3. In a separate bowl, whisk together flour, cocoa, baking soda and salt. Gently stir into the sugar mixture. Fold in zucchini and chocolate chips or walnuts, if desired.
  4. Spread batter evenly into baking pan. Be warned – the batter at this stage is very hard and crumbly and not batter-like at all.
  5. Bake for 30 minutes, or until brownies spring back when touched. Set pan aside to cool.
  6. To make frosting, microwave butter and cocoa until melted. Stir to combine and set aside to cool. In large bowl, mix together powdered sugar, milk and vanilla. Mix in cocoa mixture until frosting is smooth.
  7. Spread frosting over cooled brownies and cut into squares.

Recipe adapted from All Recipes


Leave a comment

Mint Filled Brownie Cupcakes

I can’t believe it’s been over 3 months since my last post. Life had gotten just a little too crazy for me and sadly, my blog was left unattended to.I swear I have not forgotten about it, and I thank all the people who are still reading. I’m actually surprised that I’m getting this many hits!

A lot has happened in the past 3 months, but the biggest news is… Mike and I are engaged! So, with this upcoming semester, 2 puppies to take care of, and a wedding to plan, I know that I am going to be busy busy busy. My plan? Create as many blog posts as I can between now and Tuesday when classes begin!

I think I”ll start off with these mint filled brownie cupcakes! I saw this recipe on The Busty Baker a while ago, bookmarked it, and promptly forgot about it. Then one day as I was organizing my bookmarks, I found it again and decided to make it. Bookmark organization was abandoned, and these heavenly cupcakes were created.

Mint Filled Brownie Cupcakes
copied from The Busty Baker

8 ounces semisweet or bittersweet chocolate, coarsely chopped
1/2 cup (1 stick) unsalted butter, cut into pieces, at room temperature
1 cup sugar
3/4 teaspoon salt
3 large eggs
1/2 cup all purpose flour
1/4 cup unsweetened Dutch process cocoa powder, sifted
12 small (1 ½-inch) chocolate-covered peppermint patties, such as York Peppermint Patties

  1. Preheat oven to 350F. Line a standard muffin tin with paper liners. Place chocolate and butter in a heatproof bowl set over (not in) a pan of simmering water. Stir occasionally just until melted, 4 to 5 minutes.
  2. Remove bowl from heat. Whisk in sugar and salt until mixture is smooth; whisk in eggs to combine. Gently whisk in flour and cocoa until just smooth (do not overmix.)
  3. Spoon 1 heaping tablespoon of batter into each lined cup. Place one peppermint patty on top, gently pressing into batter. Top with 2 tablespoons batter, covering patty completely. Bake, rotating tin halfway through, until a cake tester inserted halfway in centers (above mint patty) comes out with only a few moist crumbs attached, about 35 minutes. Transfer tin to a wire rack to cool completely before removing cupcakes. Cupcakes can be stored up to 3 days at room temperature in airtight containers.

Mint Frosting
From Joy of Baking.com
Makes enough to spread a thin layer on 12 cupcakes

2 tablespoons unsalted butter, at room temperature
1 cup confectioners’ sugar, sifted
1 – 1 1/2 tablespoons heavy cream
1/2 teaspoon pure peppermint extract or 1-2 tablespoons creme de menthe
green food coloring (optional)

  1. In the bowl of your electric mixer, or with a hand mixer, beat all the ingredients until smooth. Add a few drops of green food coloring if you want the frosting green. If the frosting is too thick, add a little extra cream. (The frosting should be just thin enough to spread.) Spread the frosting evenly over the cooled brownies.

Chocolate Glaze
From Martha Stewart’s Cupcakes
Makes 1 ¼ cups

6 ounces semisweet chocolate, finely chopped
2/3 cup heavy cream
1 tablespoon light corn syrup

  1. Place chocolate in a medium heatproof bowl. Bring cream and corn syrup just to a simmer in a small saucepan over medium high heat; pour mixture over chocolate. Let stand, without stirring, until chocolate begins to melt.
  2. Using a flexible spatula, gently stir chocolate and cream until totally combined; begin near the center of the bowl and gradually work your way toward the edge, pulling in as much chocolate as possible, until the mixture is smooth and glossy. (If any chocolate pieces remain, strain mixture through a fine sieve and discard solids.) If not using immediately, glaze can be refrigerated up to 5 days in an airtight container. Reheat gently before using.


Leave a comment

Frosted Brownies

I whipped up these brownies when my sister was over for dinner. These turned out great and they are so easy to make! If you are a person who only makes brownies from the box, please try these out. It dirties only 2 bowls and you are very likely to have all the ingredients already! Mike and Becca loved these so much that I just had to make them for a picnic dinner I had with a bunch of friends during Concert on the Square.

Although I love these deep chocolate brownies and these rich chocolate brownies, I think these brownies will be the ones I make when I’m short on time. I mixed these brownies by hand and they came together easily that way. I would suggest hand mixing so that you don’t accidentally over-mix the batter.

Frosted Brownies

Frosted Brownies
makes one 8×8 pan

1/2 cup butter
1 cup white sugar
2 eggs
1 teaspoon vanilla extract
1/3 cup unsweetened cocoa powder
1/2 cup all-purpose flour
1/4 teaspoon salt
1/4 teaspoon baking powder
3 tablespoons butter, melted
3 tablespoons unsweetened cocoa powder
1 tablespoon honey
1 teaspoon vanilla extract
1 cup confectioners’ sugar

  1. Preheat oven to 350°F (175 degrees C). Grease and flour an 8 inch square pan.
  2. Melt butter in a large saucepan. Remove from heat and whisk in the sugar. Let cool slightly (so you don’t cook the eggs) and then whisk in the eggs and vanilla.
  3. Mix in the cocoa powder, flour, salt and baking powder. Pour batter into pan and bake for 20 – 25 minutes – be careful not to over bake!
  4. While brownies are baking, make the frosting: combine the butter, cocoa powder, honey and vanilla extract in a medium bowl. Gently mix in the confectioners’ sugar. Frost brownies while still warm.

If you want to use a 9×13 pan, double the recipe and bake for 30 minutes.


7 Comments

Rich Chocolate Brownies

Today was probably one of the hottest days so far this summer. After almost fainting from my run, I decided to do something stupid – make brownies. Why is this stupid? Well, I live in an attic apartment with horrible air circulation and no air conditioning. Turning on the oven was probably not the best thing to do. However, I think these were well worth it.

Rich Chocolate Brownies

Rich Chocolate Brownies
makes 16 2-inch brownies

2 ounces of bittersweet chocolate, chopped
6 ounces of unsweetened chocolate, chopped
6 tablespoons of butter, cut into pieces
2 tablespoons cocoa powder
3 large eggs
1/4 teaspoon salt
1 cup sugar
1 teaspoon vanilla extract
1/3 cup plus 1 tablespoon flour

  1. Preheat the oven to 350°F. Line a 9×9 baking dish with aluminum foil.
  2. Place both types of chocolate and the butter into a microwaveable bowl. Heat in 15 second intervals, stirring after each one until smooth.
  3. In a mixing bowl, beat together the eggs, salt, sugar and vanilla until the eggs are a light yellow, about 2 minutes.
  4. Mix in the chocolate mixture until well combined.
  5. Fold in the flour and cocoa powder.
  6. Pour the batter into the pan and bake for 40 minutes, or until a toothpick inserted in the center comes out with gooey crumbs.
  7. Let the brownies cool in the pan before cutting. Sprinkle the brownies with powdered sugar, if desired.