I slid my way through 6 snowy, icy miles on my run yesterday. There were a few things on my mind:
Don’t fall, don’t fall, don’t fall
Don’t get hit by a car
Don’t fall
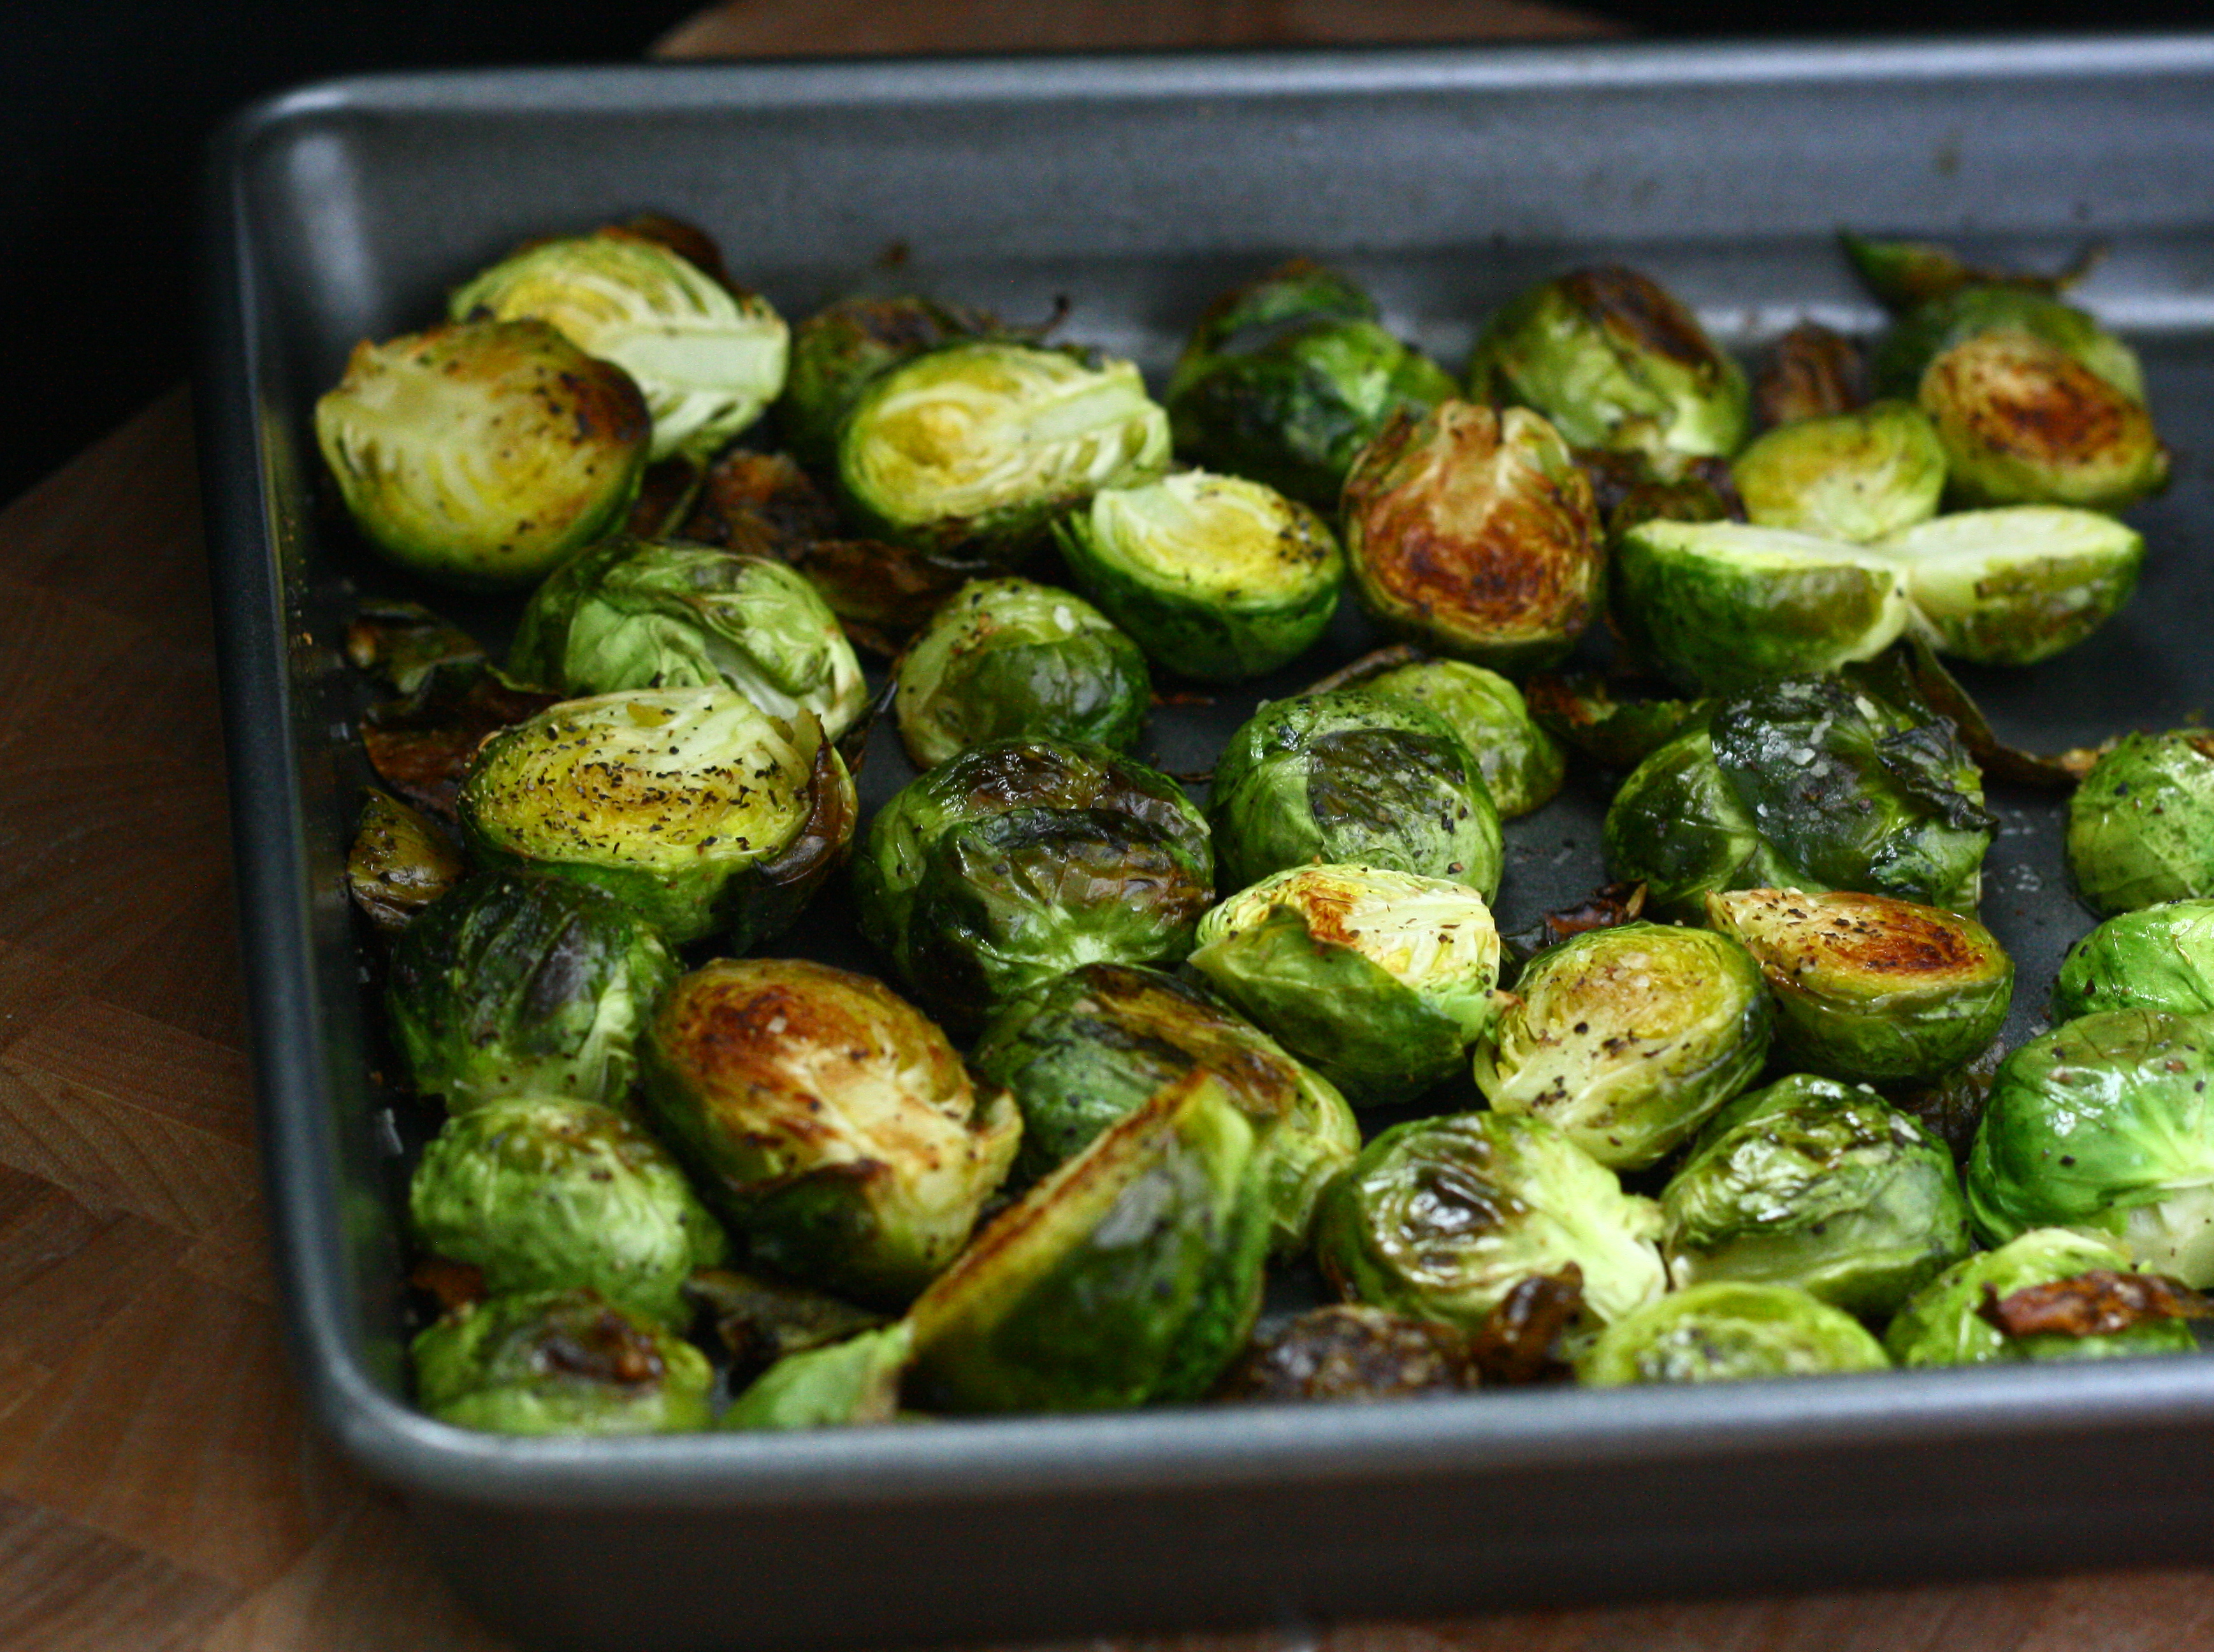
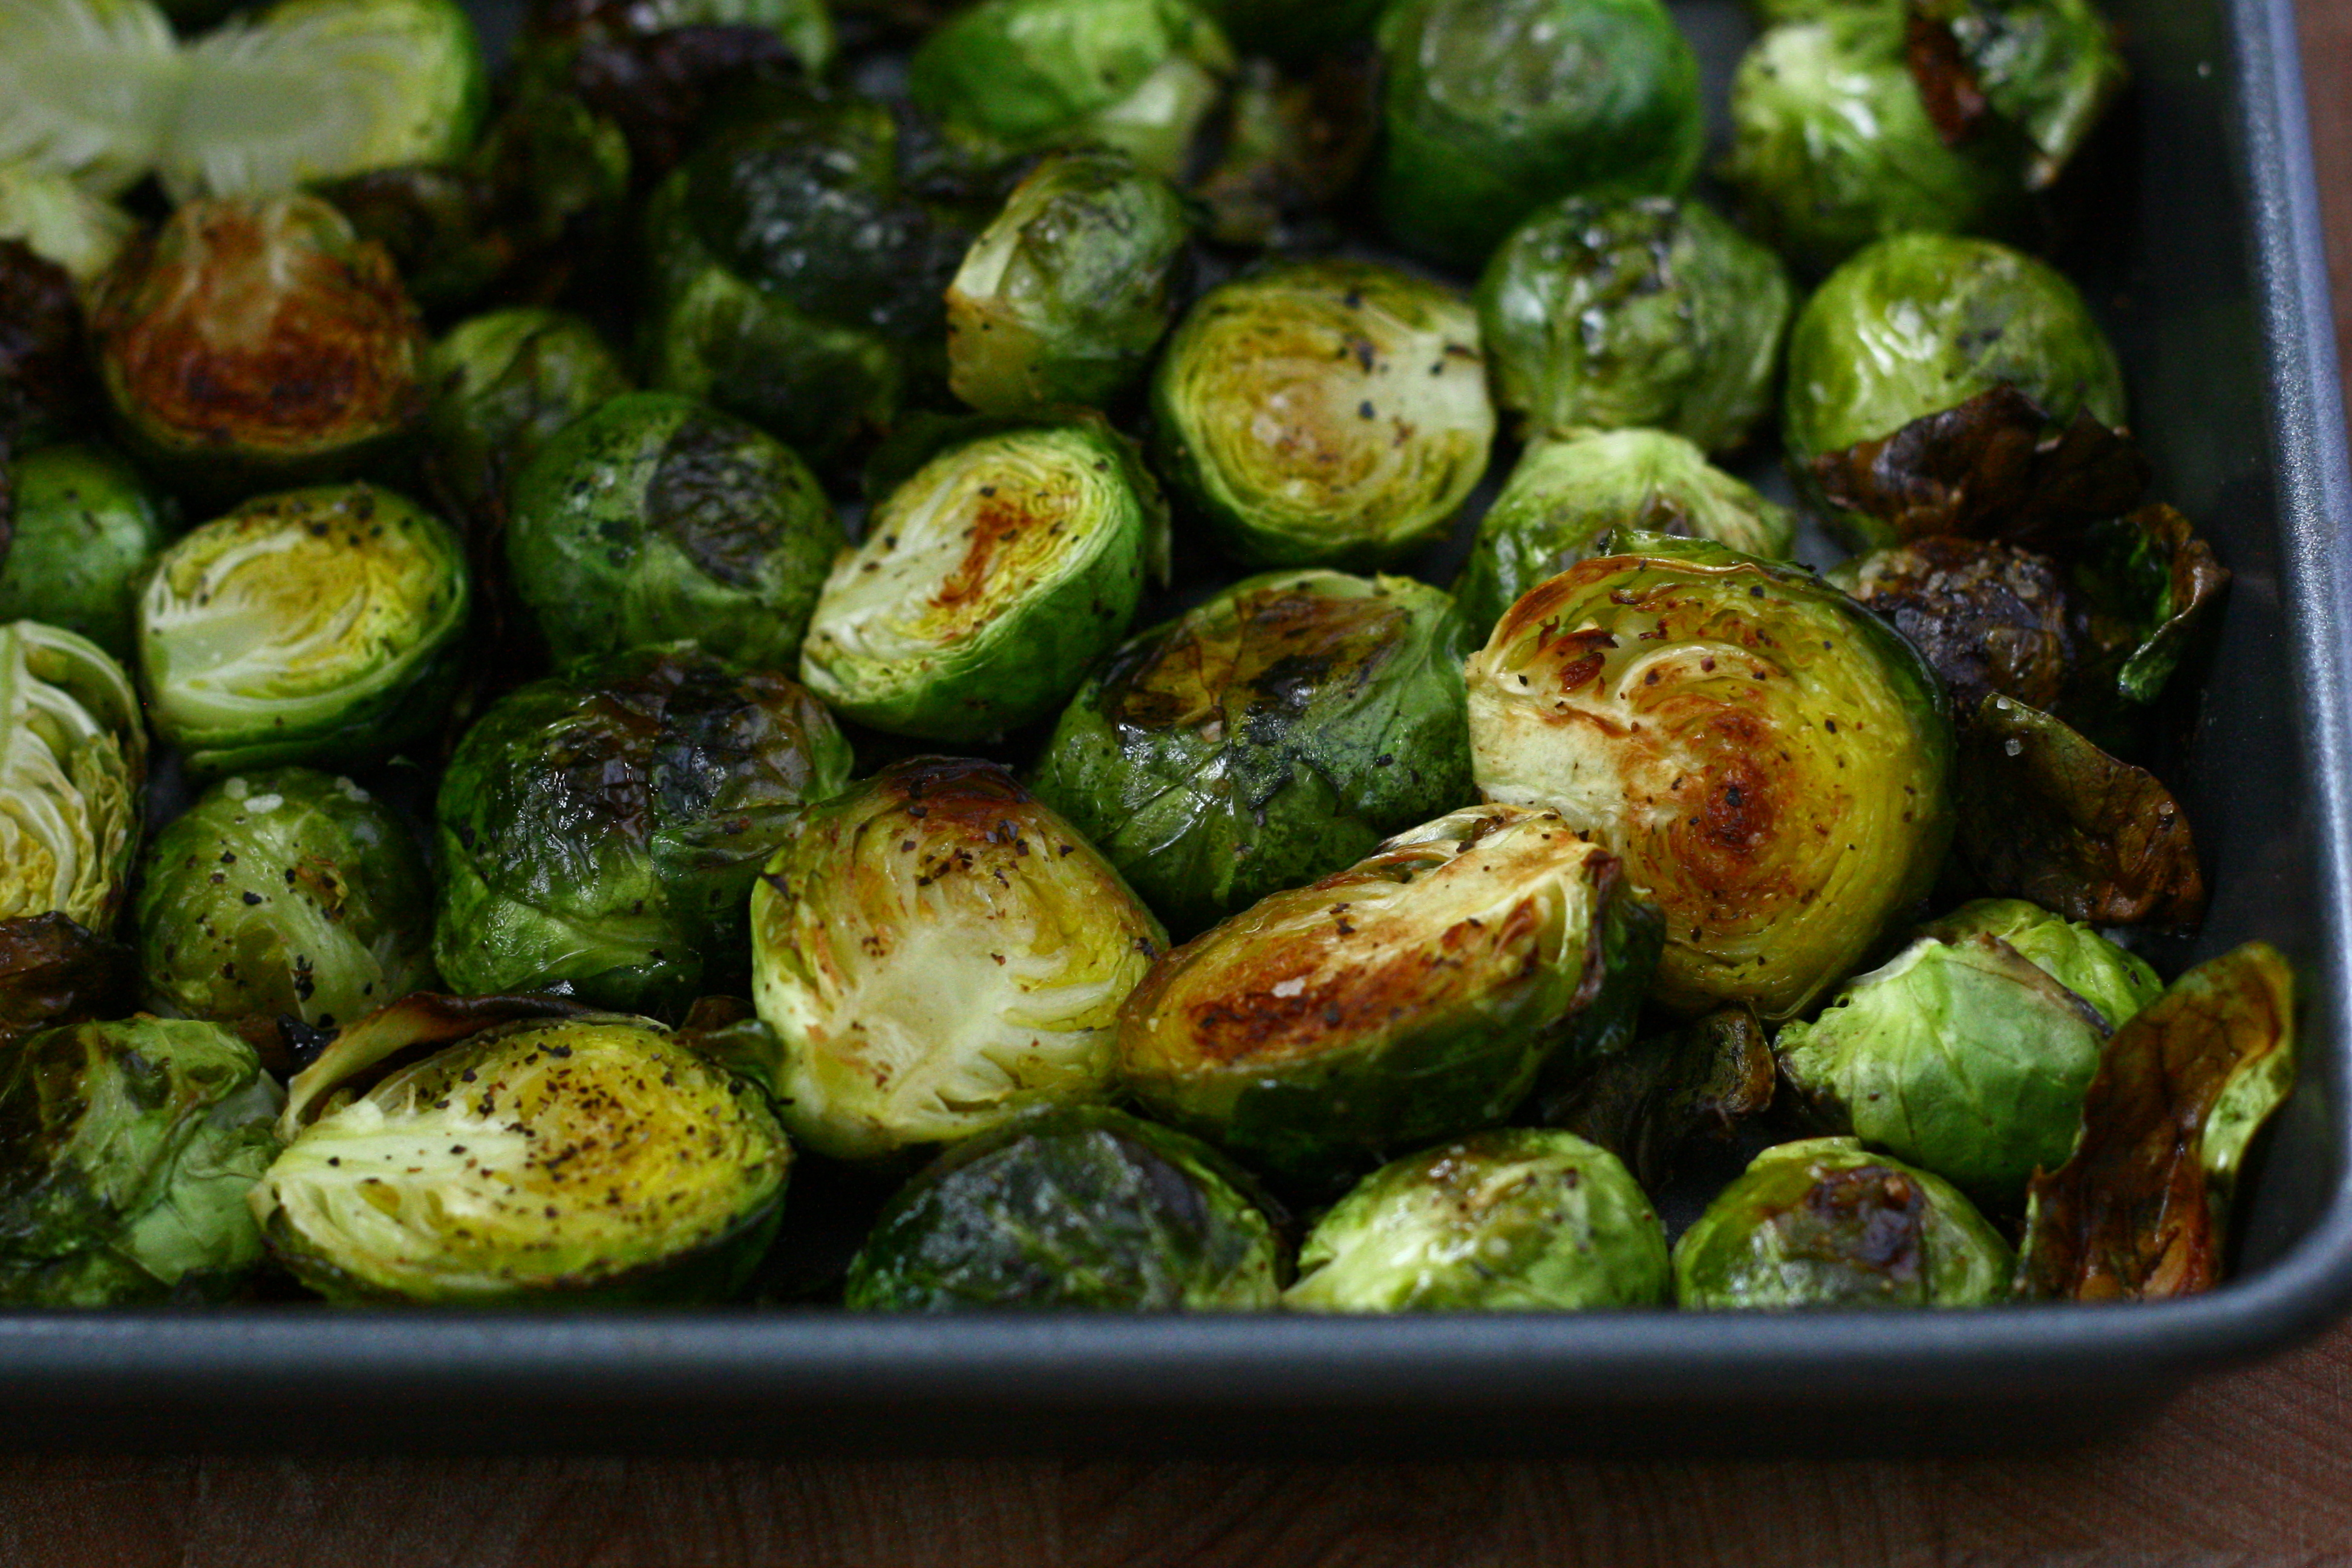
I’m so hungry… Ooh! I have Brussels sprouts at home!
These Brussels sprouts are dangerously addictive. Even Mike, who doesn’t really care for Brussels sprouts, gobbled these up happily. He has actually been requesting roasted Brussels sprouts for the last couple weeks. I think we’re averaging 2 – 3 pounds of Brussels sprouts per week right now!
This recipe is a good reminder that good food doesn’t have to be complicated. It’s four ingredients: Brussels sprouts, olive oil, salt, and pepper. I still can’t get over how simple and delicious these are.
Easy Roasted Brussels Sprouts
1 pound Brussels sprouts
extra virgin olive oil spray
1/4 teaspoon sea salt
1/4 teaspoon freshly ground black pepper
Preheat oven to 400°F. Spray a baking pan with olive oil and set aside.
Cut off the end of the Brussels sprouts. Cut Brussels sprouts in half and remove any discolored outer leaves.
Place Brussels sprouts in prepared baking pan and spray with olive oil. Sprinkle on salt and pepper and stir to coat. Bake in preheated oven for 20 – 25 minutes, stirring once or twice. Brussels sprouts are done when lightly browned. Season with more salt and pepper to taste before serving.
I spent all weekend up in Appleton cooking and baking what felt like a million dishes. In reality, I only made a batch of cookies, five entrees and a couple of sides. I dutifully took pictures of most of these dishes and on Sunday afternoon, I set off to Madison for the work week. I arrived in Madison, unpacked, watched the Packer game (sob) and then sat down at my computer to blog. I reached into my camera bag and… no cord. So, no way to upload all the pictures. Bummer.
Instead, I’m giving you a dish that I made a while ago and never got around to blogging – Thai fried quinoa. It’s a tasty twist on fried rice and it’s just as easy to throw together. Give it a try – you won’t be disappointed!
Thai Fried Quinoa
1 cup quinoa, rinsed and drained
1 cup light coconut milk
1 cup low sodium vegetable broth
extra virgin olive oil spray
2 green onions, chopped
1 tablespoon minced ginger
3 cloves garlic, minced
1 cup frozen peas
1 cup drained pineapple tidbits
1/4 cup cilantro, chopped
2 eggs, gently whisked
2 tablespoons low sodium soy sauce
half a lime, juiced
optional toppings: chopped peanuts, lime wedges, cilantro
Place quinoa in a medium pot over high heat. Stir in coconut milk and chicken broth and bring mixture to a boil. Cover the pot and reduce heat to medium-low. Cook until all the liquid has been absorbed and quinoa is tender, about 15 minutes.
Meanwhile, heat a wok or large skillet over medium-high heat. Spray with olive oil and add in green onions, ginger, and garlic. Cook, stirring constantly for one minute. Add in peas, pineapple, and cilantro and cook for one more minute, stirring constantly.
Push ingredients to the side of the wok to clear a space in the middle of the wok. Add in eggs and stir with a spatula until eggs are scrambled. Once eggs are cooked through, combine it with the rest of the ingredients in the wok.
Add in cooked quinoa, soy sauce, and lime juice and stir to combine. Cook, stirring occasionally, for another two minutes to slightly crisp quinoa up. Serve garnished with chopped peanuts, lime wedges, and cilantro, if desired.
Happy 2014 to everyone! I hope you all had a relaxing holiday season filled with love, food and lots of time with family and friends.
With the new year comes many resolutions. Usually resolutions revolve around eating better and working out. And they usually end a few weeks into the new year.
I’m hoping that 2014 will be a year of better health for me – less visits to the doctor, less stomach issues, and no more running injuries. I’m not going to deprive myself of foods that I love (cookies!) or force myself to run through an injury. I made many changes in 2013 that I think will lead to a much happier 2014 – I left a stressful job and started a new adventure in a city that I adore. I started doing yoga to reduce running injuries. I went dairy-free to make my body happy.
I hope in 2014 I can continue to cultivate my dairy-free cooking skills. I am so thankful for the dairy-free bloggers out there that have provided me with endless recipes to try out and make my transition into the dairy-free world a little bit easier. I’ve added a dozen vegan/dairy-free/special diet blogs to my blog reader and once in a while a stumble across a recipe that really catches me.
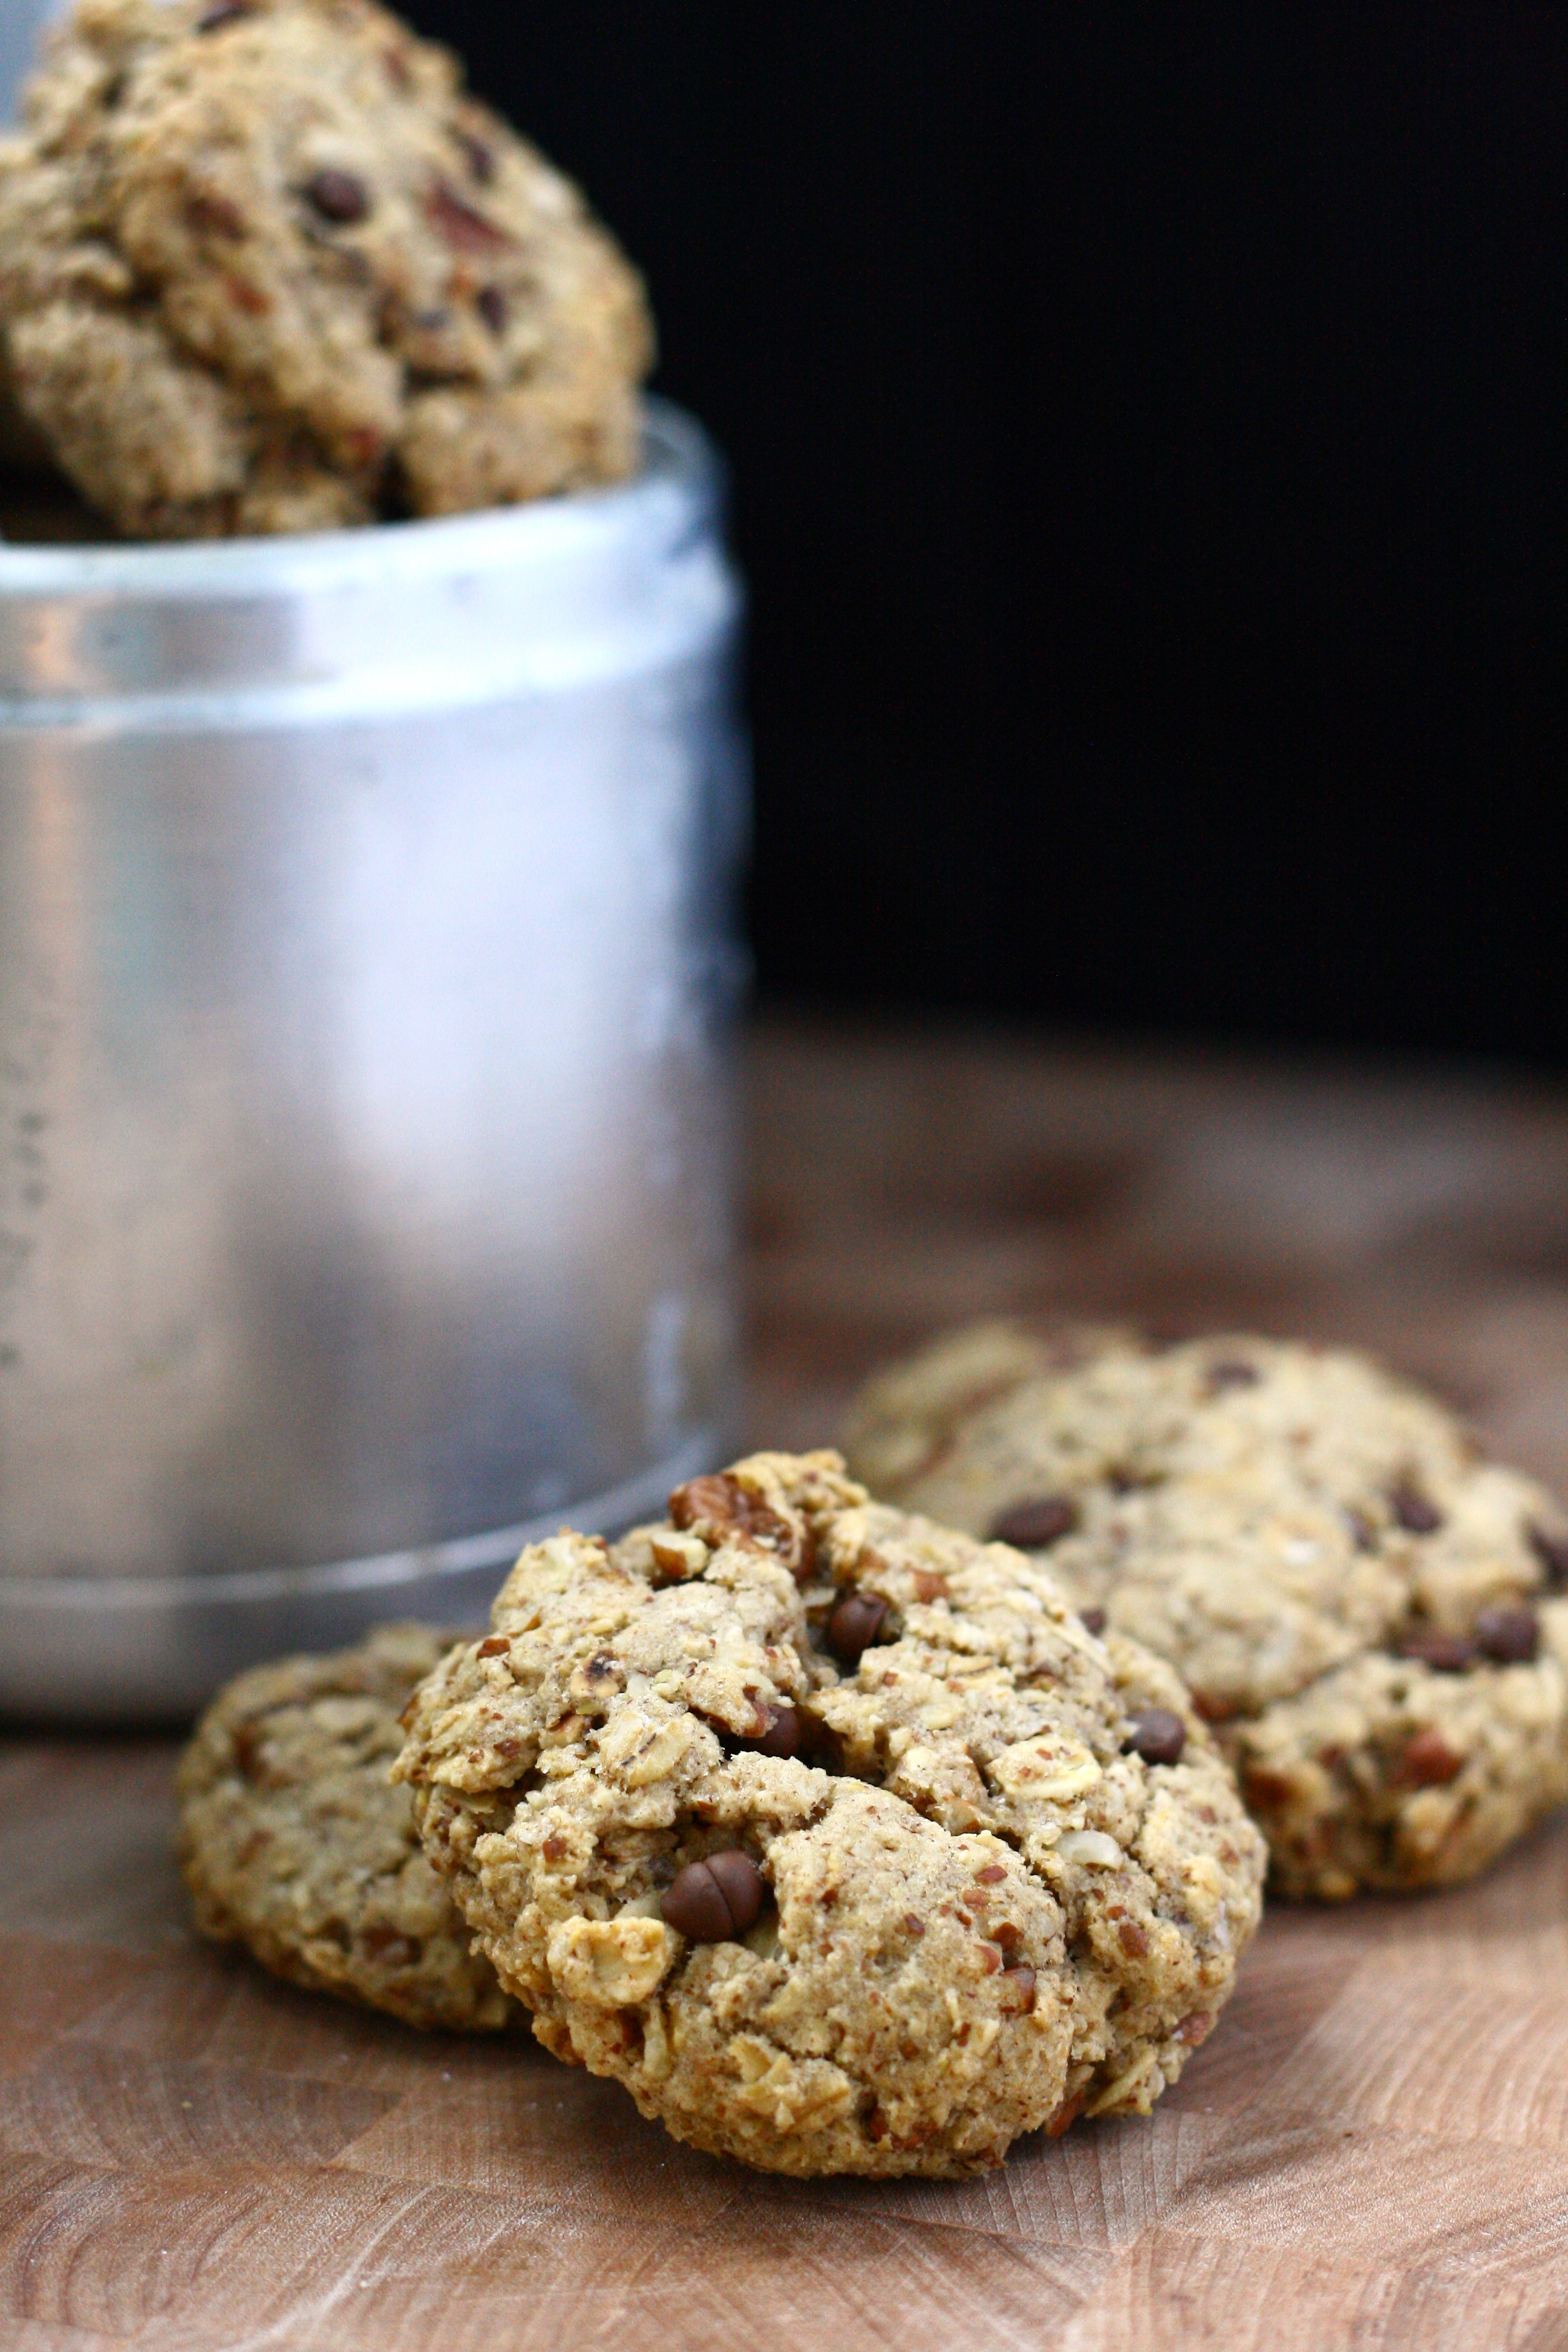
This time, it was Angela over at Oh She Glows and her vegan turtle cookies. I saw the cookies on her blog and they were baking away in my oven not 24 hours later.
I am obsessed with them. My family is also obsessed. I honestly cannot get enough of these cookies. I was a bit disappointed at first because they didn’t seem “turtle-y” at all. But I quickly got over that because these cookies are just downright delicious. So I think in this case turtle = really freakin’ awesome. So I guess in my house I’ll call these the “really freakin’ awesome vegan oatmeal cookies”.
Vegan Turtle Oatmeal Cookies
yields about 20 cookies
1 3/4 cups pecan halves
2 cups rolled oats, divided
3/4 cup + 1 teaspoon all-purpose flour, divided
1/2 cup unpacked dark brown sugar
1 teaspoon baking soda
1/2 teaspoon cinnamon
1/2 teaspoon salt
1/2 cup pure maple syrup
3 1/2 tablespoons coconut oil, melted
2 tablespoons almond milk
2 teaspoons pure vanilla extract
1/2 cup pitted dates
1/4 cup vegan mini chocolate chips
Preheat oven to 350°F. Place pecans onto a lined baking sheet and toast for 8 – 10 minutes, or until lightly toasted and fragrant. Remove from oven and allow to cool for a few minutes.
Place toasted pecans into a food processor with 1 cup of the rolled oats and process until coarsley chopped, being careful not to over process into a fine powder.
Pour the pecan/oat mixture into a large bowl and add in the remaining 1 cup rolled oats, 3/4 cup flour, brown sugar, baking soda, cinnamon, and salt.
In a separate bowl, stir together maple syrup, melted coconut oil, almond milk, and vanilla extract. Pour wet ingredients into dry ingredients and mix until well combined.
Place dates onto a cutting board and sprinkle with remaining 1 teaspoon flour. Dice dates, sprinkling wth more flour as needed to prevent dates from sticking to each other and the knife.
Fold dates and chocolate chips into dough and mix until well distributed.
Roll dough into golf-ball sized balls and press it between the palms of your hands to flatten. Place cookie onto a parchment lined baking sheet and repeat with remaining dough, placing cookies a couple inches apart.
Bake in preheated oven for 12 – 15 minutes or until cookies are golden browned on the bottom. Let cool for 5 minutes on the baking sheet before moving to a cooling rack to cool completely.
These doughnut muffins are adorable. I mean, how can anything this small not be cute? They’re also dangerously addictive. And since they’re so small, it’s really easy to eat a lot of them in a short amount of time. Thank goodness that these are a bit healthier than the traditional fried doughnut!
I think next time I might try stuffing these little bites with some raspberry preserves to recreate one of my guilty pleasures: jelly filled doughnuts.
Mini Vegan Apple Cinnamon Doughnut Muffins makes 24 muffins
1 3/4 cup all purpose flour 1 1/2 teaspoon baking powder
1/2 teaspoon salt
1/2 teaspoon allspice
1 teaspoon cinnamon
1/2 cup unsweetened applesauce
1/4 cup canola oil
3/4 cup sugar
3/4 cup unsweetened almond milk
for the cinnamon sugar topping: 2 tablespoons vegan butter substitute (I used Smart Balance)
1/2 cup sugar
1 teaspoon cinnamon
Preheat oven to 375°F. Spray a mini muffin tin with nonstick spray.
In a large bowl, whisk together flour, baking powder, salt, allspice, and cinnamon.
In a medium bowl, whisk together applesauce, oil, sugar, and almond milk until well combined. Pour mixture into dry ingredients and whisk until well combined.
Fill your prepared mini muffin tins 2/3 – 3/4 full with batter. Bake for about 18 – 20 minutes, or until a light golden color.
During the last couple minutes of baking, melt your butter in a small bowl in the microwave. Combine your sugar and cinnamon in a separate small bowl.
Once the muffins are done, dip the top of the muffin in the melted butter and then roll in the cinnamon sugar. Place on a wire rack and repeat with remaining muffins.
Tip: I used a toothpick to pick up the muffin, dunk it in the butter, and then roll it in the sugar. It saved my hands from getting burned and it was a little neater than using my fingers.
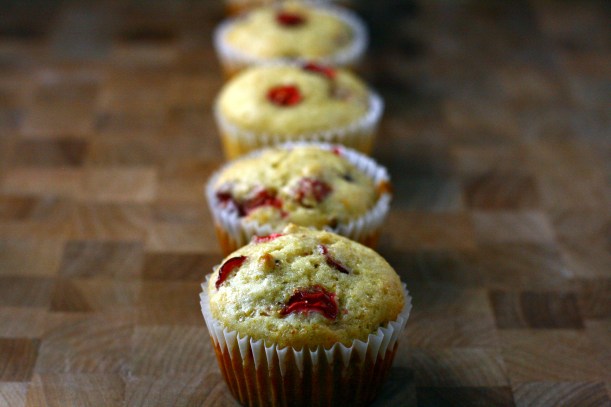
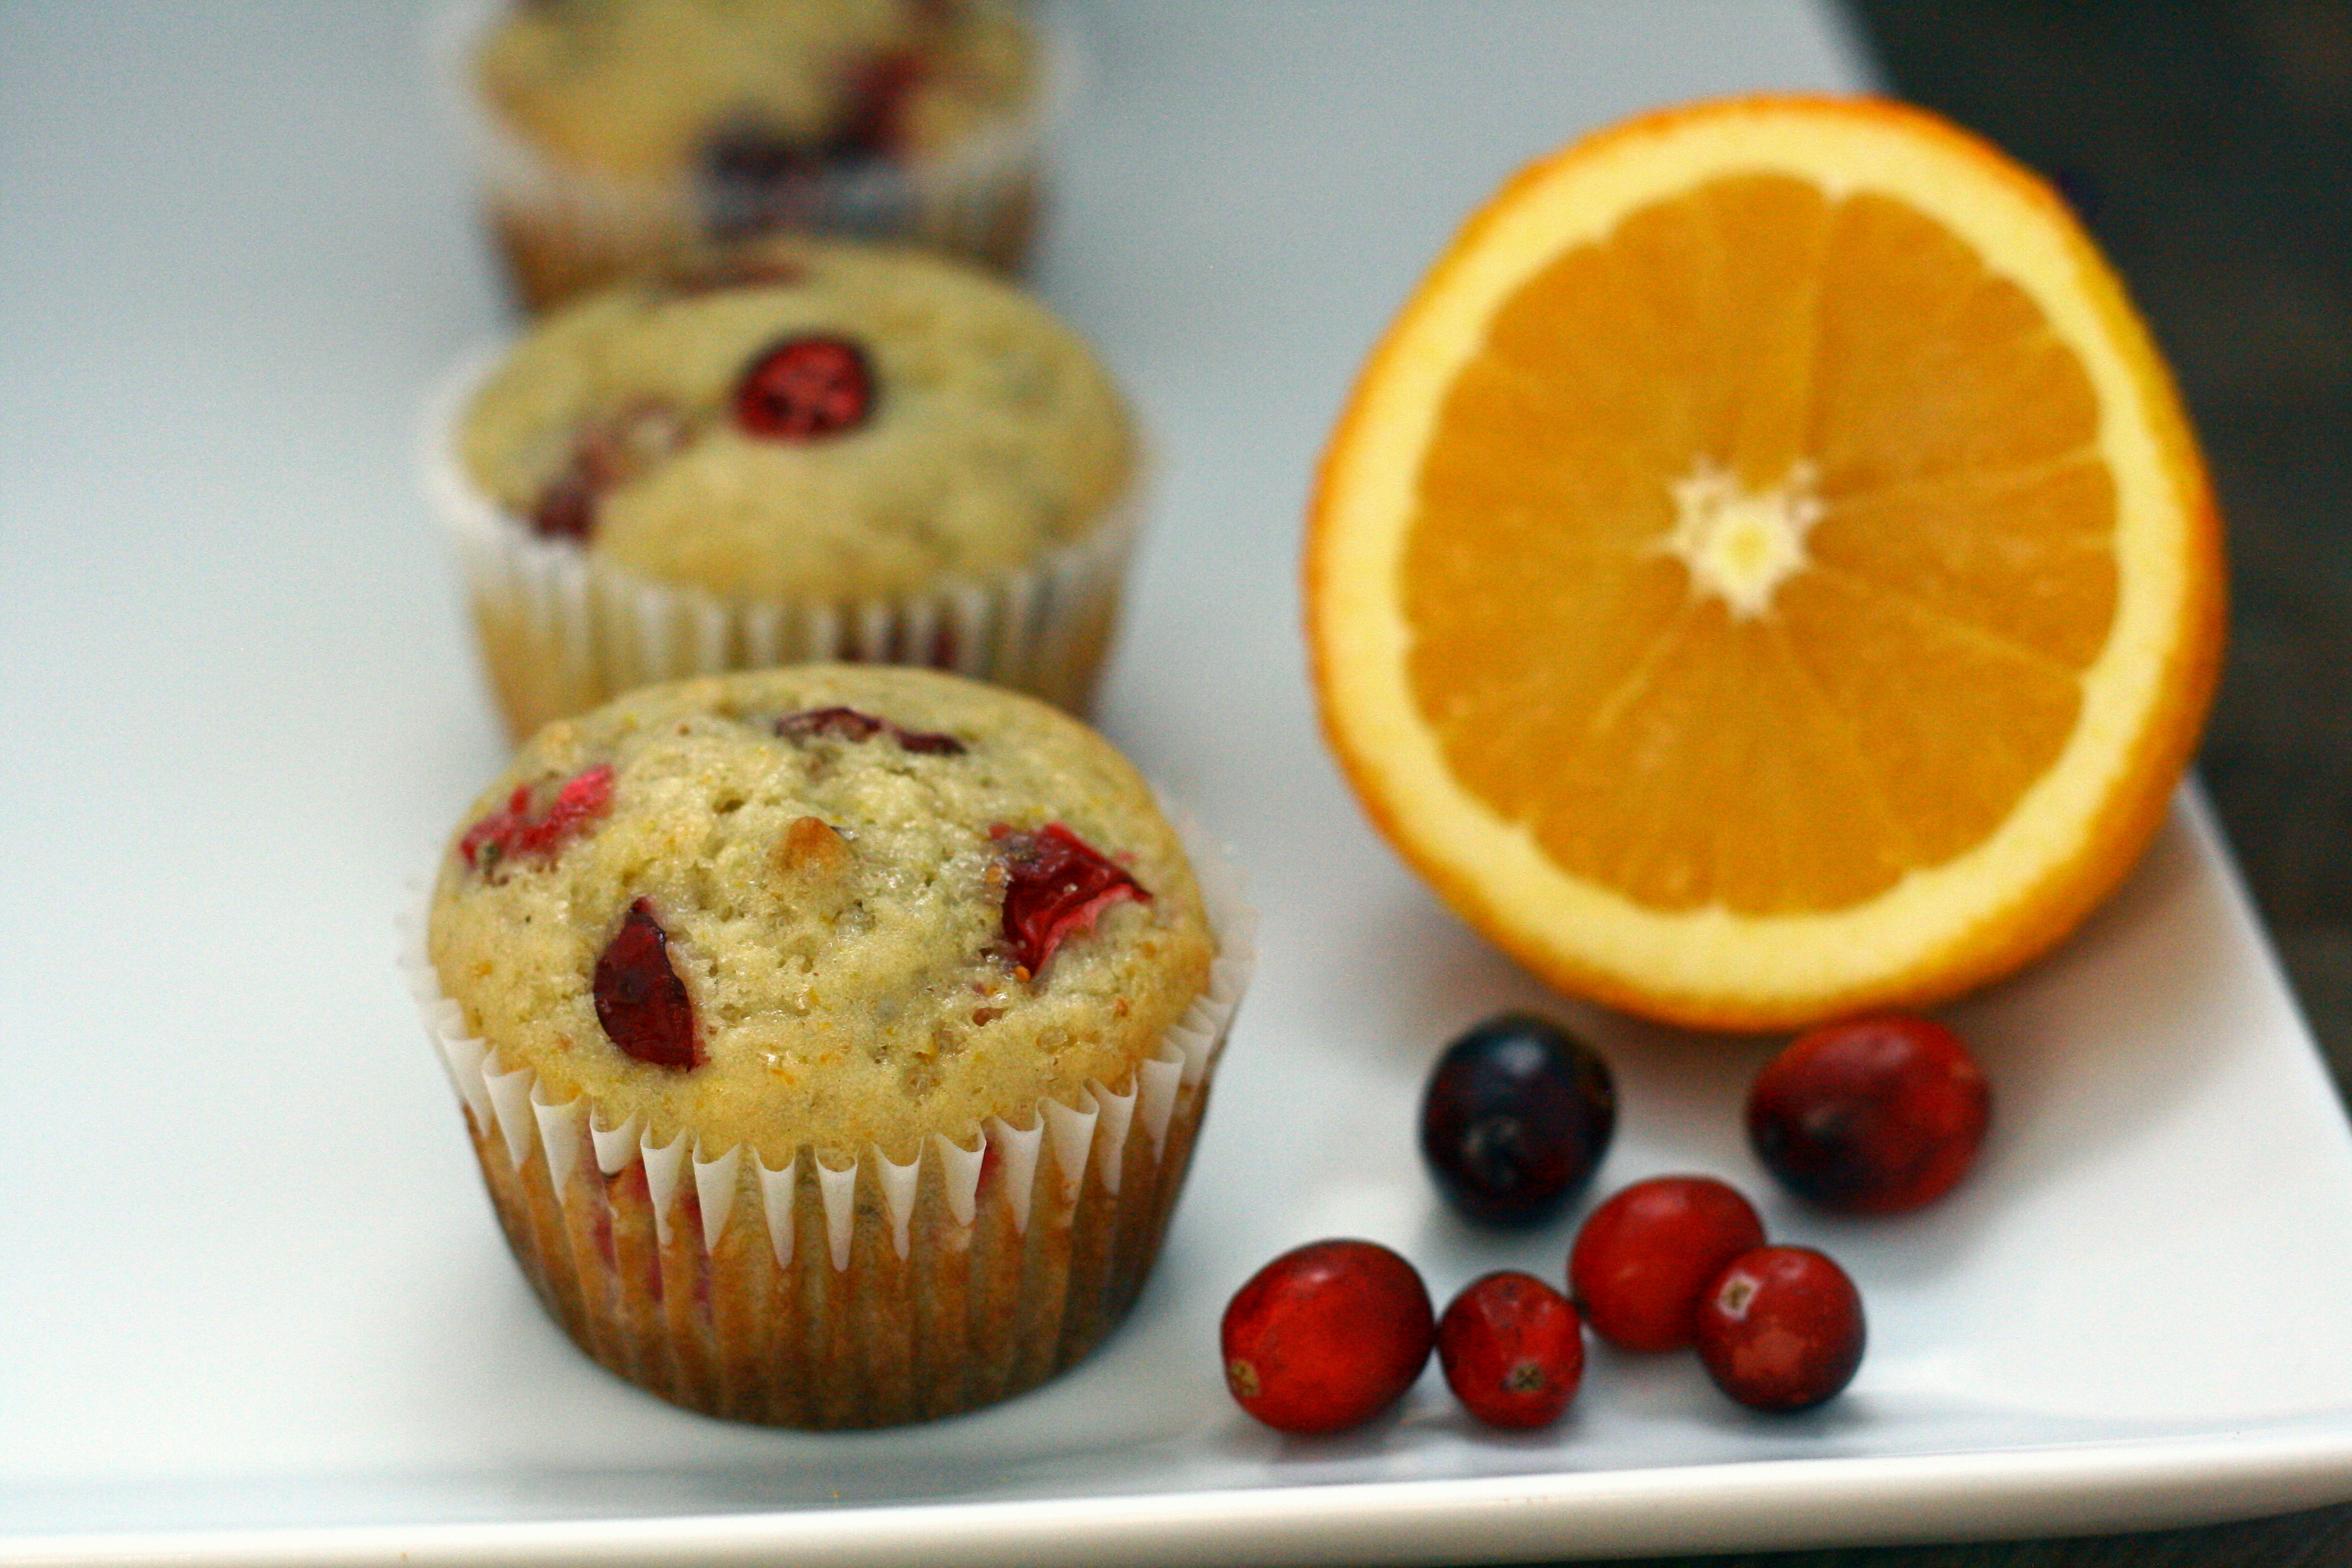
A cup of coffee is definitely not the best part of waking up. At least not for me. These muffins, though? These muffins are worth waking up for. I am cranberry-obsessed. I seriously cannot get enough of this tangy fruit. I need to make a mental note to stock up on the fresh berries while they’re available so I can hoard them in my freezer and use them throughout the year (and not just during the holidays). If you’re searching for some easy brunch ideas for your holiday gatherings, give these muffins a try!
Vegan Cranberry Orange Muffins makes 12 muffins
2 cups all purpose flour
2/3 cup sugar
2 teaspoons baking powder
1/2 teaspoon baking soda
1/2 teaspoon salt
2 tablespoons orange zest (from about 4 large oranges)
1 cup fresh-squeezed orange juice (from about 4 large oranges)
1/4 cup canola oil
1/4 cup unsweetened applesauce
2 teaspoons pure vanilla extract
1/4 teaspoon almond extract
1 1/2 cup fresh cranberries, roughly chopped
1/2 cup chopped walnuts
Preheat oven to 375°F. Lightly grease a muffin tin or line with liners.
In a large bowl, whisk together flour, sugar, baking powder, baking soda, salt and orange zest. Make a well in the center of the dry ingredients and pour in orange juice, canola oil, applesauce, vanilla extract, and almond extract. Mix by hand for 5 seconds or until wet and dry ingredients just start to come together. Add in cranberries and walnuts and continue to mix until ingredients are just moistened, being careful not to overmix.
Fill muffin tins 3/4 full. Bake for 20 – 25 minutes, or until muffins are lightly browned on top and a toothpick inserted into the center comes out clean.
Let cool in pan for 5 minutes before moving to a wire rack to cool completely.
These cookies are a soft and chewy and so dang good. Rolling them in sugar before baking gives them a slightly crunchy outside. It’s a step that’s not really necessary, but very highly recommended. They have a nice amount of spice to them and are guaranteed to make your home smell a-ma-zing. Vegans and meat-eaters alike will love these cookies.
Vegan Ginger Molasses Cookies makes 2 dozen cookies
1/3 cup vegan butter substitute (I used Smart Balance)
2 tablespoons stevia
1/4 cup sugar, plus extra for rolling
1/3 cup molasses
1 teaspoon vanilla extract
2 tablespoons water
2 cups all purpose flour
1 1/2 teaspoons ginger
1/2 teaspoon nutmeg
1/2 teaspoon cloves
3/4 teaspoon baking soda
1 1/2 teaspoons baking powder
Preheat oven to 350°F. Line baking sheets with silicone baking mats or parchment paper and set aside.
In a large bowl, mix together butter substitute, stevia, sugar, molasses, vanilla and water until well combined.
In a separate bowl, whisk together flour, ginger, nutmeg, cloves, baking soda, and baking powder. Pour dry ingredients into wet ingredients and mix until well combined.
Roll dough into 1-inch balls and roll in sugar. Place cookies 2 inches apart on prepared baking sheets.
Bake for 10 – 12 minutes or until cookies are just beginning to firm up. Let cool for 5 minutes on baking sheets before removing to a cooling rack to cool completely.
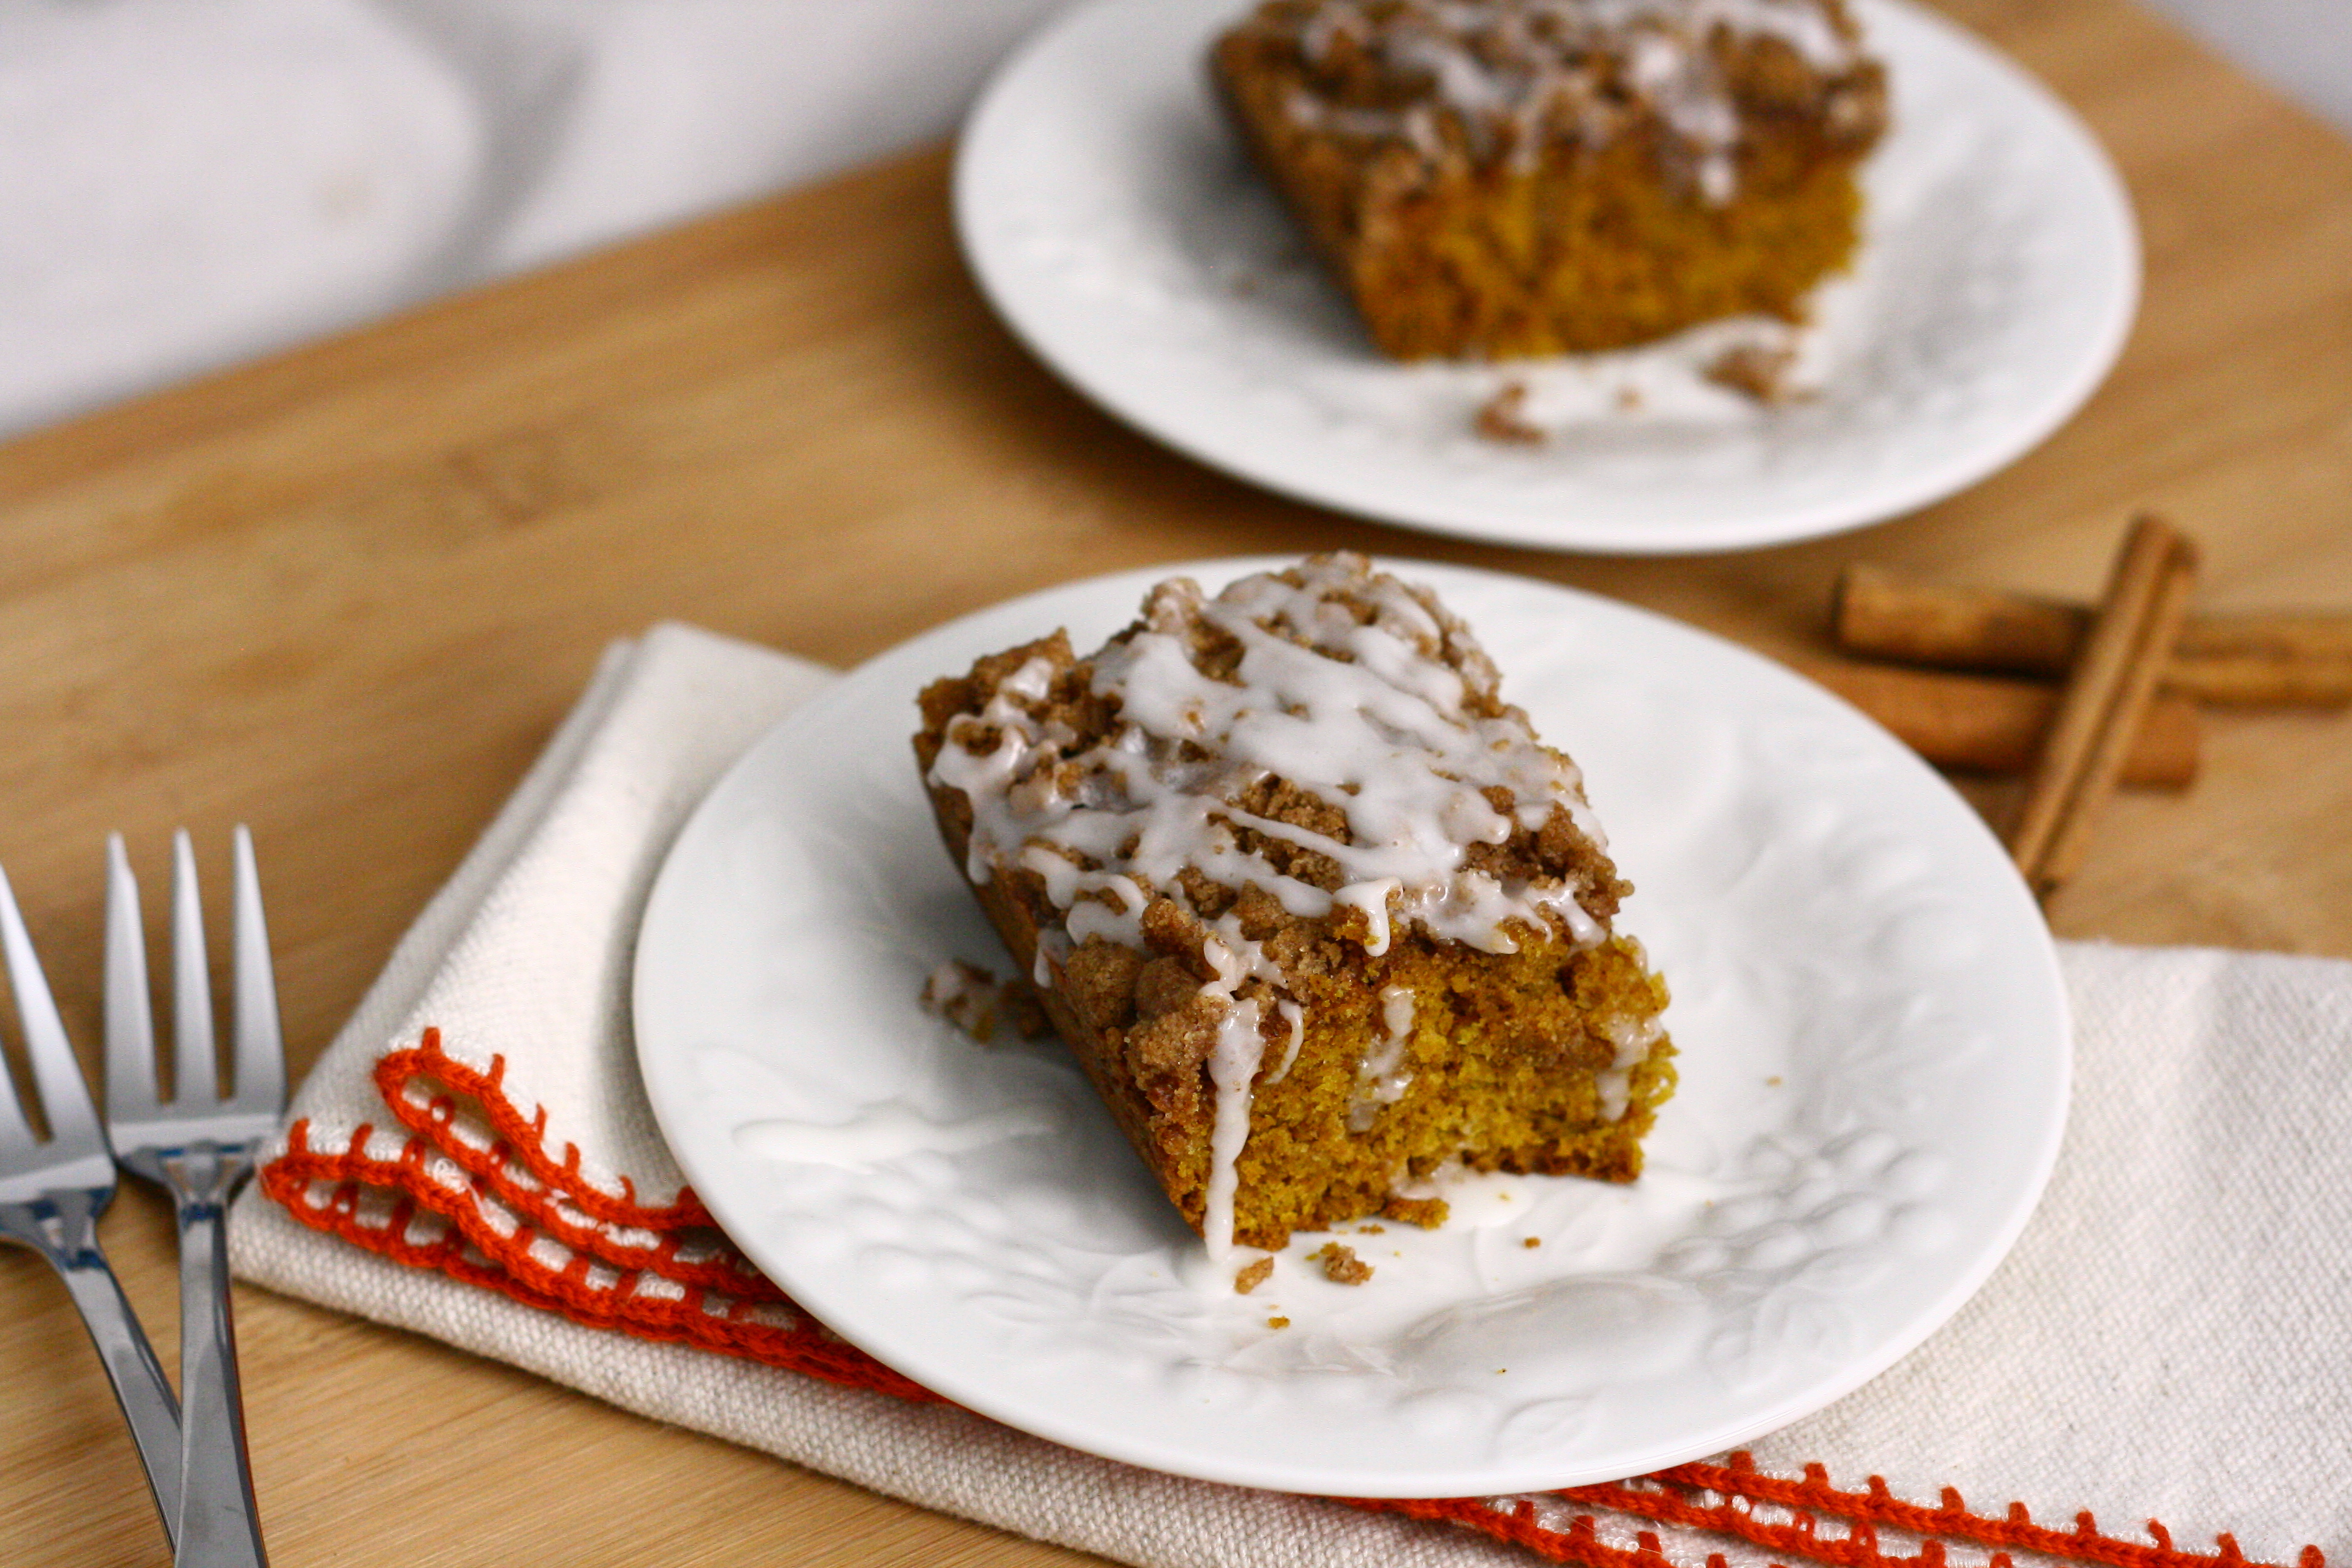
I’ve finally given in to pumpkin. Pumpkin treats, that is. I suppose it’s that time of year – leaves are turning, it’s getting colder, days are getting shorter… there’s even a threat of snow around here.
I love all things pumpkin except for pumpkin pie. Pumpkin cookies, pumpkin cheesecake, pumpkin cinnamon rolls… you name it, I’ll eat it. This pumpkin cake has won over my heart. It is definitely the pumpkin treat of choice for me. I will eat and eat and eat and eat until it’s gone. Seriously, it’s that good. Pumpkin cake with a streusel topping and some icing – what can be better than that?
I came across this recipe when I was looking around for a brunch dish for a work party. I made the coffee cake and it smelled (and looked) so good that I knew I couldn’t wait until the next day to eat it. So, I made another one. Big mistake. Mike and I ate about a quarter of the cake that night. And then we kept eating it the next day… and the next. And then it was gone. I was heartbroken when it was gone because I was also out of pumpkin. I stocked up on pumpkin this weekend so I can make sure we have a steady supply of this amazingness for a couple weeks 😉
Vegan Iced Pumpkin Coffee Cake serves 10
for the streusel topping:
1/2 cup all purpose flour
1/2 cup brown sugar
1/4 teaspoon salt
2 teaspoons ground cinnamon
1/4 cup dairy free butter substitute (I use Earth Balance)
for the cake: 2 cups all purpose flour
1 teaspoon baking soda
1/2 teaspoon baking powder
1/2 teaspoon salt
1 1/2 teaspoons ground cinnamon
2 teaspoons pumpkin pie spice
1 cup pure pumpkin puree
1/2 cup brown sugar
1/2 cup canola oil
1/4 cup pure maple syrup
1/4 cup plain almond milk
for the glaze: 1 cup powdered sugar
2 tablespoons unsweetened almond milk
Preheat oven to 350°F. Spray an 8×11 or 9×9 baking pan and grease with butter substitute or nonstick spray. Set aside.
To make the streusel topping, combine flour, brown sugar, salt and cinnamon in a small bowl. Cut in butter with a fork, two knives, or a pastry blender until mixture is crumbly. Set aside.
To make the cake, combine flour, baking soda, baking powder, salt, cinnamon, and pumpkin pie spice in a large bowl. In a separate bowl, whisk together pumpkin puree, brown sugar, oil, maple syrup and milk until well combined. Pour wet ingredients into the dry ingredients and mix until just combined, being careful not to over mix. Pour batter into prepared baking pan and use a spatula to smooth out the top.
Sprinkle prepared streusel topping over the batter and gently press down into the batter. Bake in preheated over for about 30 minutes, or until a toothpick inserted into the center comes out clean.
When cake is almost done baking, make the glaze. In a small bowl, combine the powdered sugar and almond milk and whisk until smooth. Drizzle over cake. Serve immediately, or keep at room temperature for up two three days.
I love challenges. I needed a dessert for a dietetic intern potluck. The catch – I wanted everyone to be able to enjoy it and one intern eats vegan and another gluten-free. Bring on the challenge, baby! I scoured the internet far and wide (ok, I only used Google and Pinterest) and ended up combing a bunch of different recipes to get this final product.
I got the base cake recipe from Eggless Cooking. It’s made with beets and chickpeas. I was really skeptical at first, but I decided to give it a try. Turns out you can’t even taste the chickpeas or beets! I used canned chickpeas and beets to cut down on prep-time and it turned out pretty well.
These cupcakes were soooo decadent. It’s not really cake-like. More fudge-like perhaps? They’re dense, rich, and definitely chocolatey!
(Sorry for the bad photo - I took this minutes before running out
the door to get my butt to the potluck!)
Gluten-Free Vegan Chocolate Cupcakes with ChocolateFrosting yields 12 cupcakes
For the cupcakes:
2 cups chickpeas, canned or freshly cooked
3/4 cup beets, cooked
1/2 cup sugar
1/4 cup coconut oil, melted
1 teaspoon baking powder
1/2 teaspoon instant coffee granules
2 tablespoons lemon juice
1/2 teaspoon vanilla extract
1 1/2 cups vegan chocolate chips*
Remove the thin outer skin from the chickpeas. Enlist help if you can – this will take a while! Use a food processor or blender to puree until smooth with a tablespoon or so of water.
Puree beets into a smooth paste, using the cooking water.
Preheat oven to 350°F. Line a cupcake pan with liners and set aside.
Melt chocolate chips in microwave in 20 second increments, stirring after each until completely melted.
Combine chickpeas, beets, and sugar in the food processor or blender until completely smooth – no lumps allowed! Puree in coconut oil, baking powder, coffee granules, lemon juice, and vanilla extract until well combined.
Blend in the melted chocolate chips into the chickpea and beet mixture and let the food process or blender run for a couple minutes to allow chocolate to distribute evenly throughout the batter.
Pour batter into prepared cupcake pan and bake for 40 – 50 minutes.
Remove pan from the oven and place on a wire rack. Let the cupcakes cool completely in the pan.
Remove cupcakes from cupcake pan when cool and frost with chocolate frosting (recipe below)!
For the frosting: 1 can regular coconut milk, opened and refrigerated overnight – do not shake!!
1 cup Smart Balance, room temperature
3/4 cup cocoa powder
2 teaspoons vanilla extract
4 – 6 cups powdered sugar
Scrape the thick layer off the top of the coconut milk into a large bowl. Add in Smart Balance and beat until well combined and smooth.
Mix in cocoa powder and vanilla extract until well combined.
Gradually add powdered sugar into frosting, 1 cup at a time, until desired consistency is reached**.
Use immediately or refrigerate, covered.
*I used Enjoy Life mini chocolate chips and they were pretty darn tasty!
** I ended up using some of coconut milk left in the can to thin out the frosting and give it another boost of flavor. I ended up using about 5 cups of powdered sugar in addition to about 1/4 cup of the coconut “water” that was left in the can.