Is there such thing as too much kimchi? I don’t think so. Or at least I haven’t reached that point yet. Today I have yet another kimchi dish. This time, in sandwich form. Yeah, you read the title right. It’s a grilled cheese sandwich with kimchi. Grilled kimcheese. See what I did there?
So, this dish doesn’t really need a recipe because nothing is easier to cook than grilled cheese, but… why not? I just had to. Imagine it: ooey, gooey cheese with crunchy, tangy, spicy kimchi.
Grilled Kimcheese Sandwich makes 2 sandwiches
1/4 cup unsalted butter
4 slices sourdough bread
1/2 cup kimchi, chopped
4 ounces havarti cheese, sliced
Heat a large pan over medium heat.
Butter bread slices with butter on one side and place 2 of them in the pan butter side down.
Distribute the 1/4 of the cheese onto each bread slice in the pan. Top with 1/4 cup kimchi, remaining cheese, and the remaining 2 slices of sourdough bread, butter side up.
Cook for 1 minute or until golden brown and cheese has started to melt. With a spatula, flip sandwiches and cook until other side is golden brown and cheese is completely melted. Serve immediately.
Have you ever eaten something so good that you wanted nothing more than to eat it alone?
Not because you didn’t want people to distract you from the deliciousness, but because you were ashamed at the rate in which you were shoveling the food into your mouth.
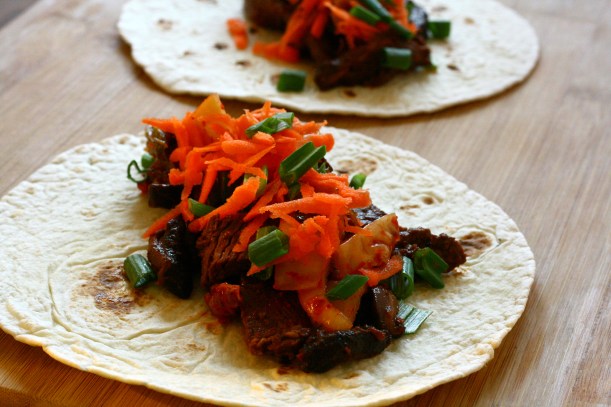
No? Well, that happens to me once in a while. Most recently with these tacos. These tacos were a-ma-zing. One of my favorite ways to get kimchi into my mouth, I think. These tacos were so good that I couldn’t decide if one was enough. If I only had one that meant I would have more leftovers for future meals. But… one just wasn’t enough. And if I ate only one that meant I might have to share the leftovers with Mike. Hmm…
I mean, seriously. These tacos are the perfect balance of sweet, savory and crunchy. And they were super easy to cook.
Korean Steak & Mushroom Tacos with Kimchi adapted from Eating Well
Heat a large cast iron skillet over medium-high heat.
Combine soy sauce, sesame oil, brown sugar, mirin, gochujang, and garlic in a small saucepan over medium heat. Bring to a boil and then reduce to a simmer. Cook, stirring occasionally, until slightly thickened, about 5 minutes. Cover and keep warm.
Add oil to heated pan and cook steak until browned and desired level of doneness is reached (I cooked about 3 minutes on each side). Remove from pan and set on cutting board to rest for 5 minutes.
Meanwhile, add mushrooms to skillet and cook until heated through and slightly soft, about 1 – 2 minutes on each side. Remove mushrooms from skillet and slice. Slice steak across the grain. Add steak and mushrooms to sauce and stir to combine.
To assemble tacos, divide and steak and mushrooms among the tortillas. Top with chopped kimchi, shredded carrots, and scallions.
Ok, now get off your computer/iPad/phone and go to the grocery store and pick up the ingredients you need to make this. Then, kick everyone out of your house and eat in silence and with reckless abandon.
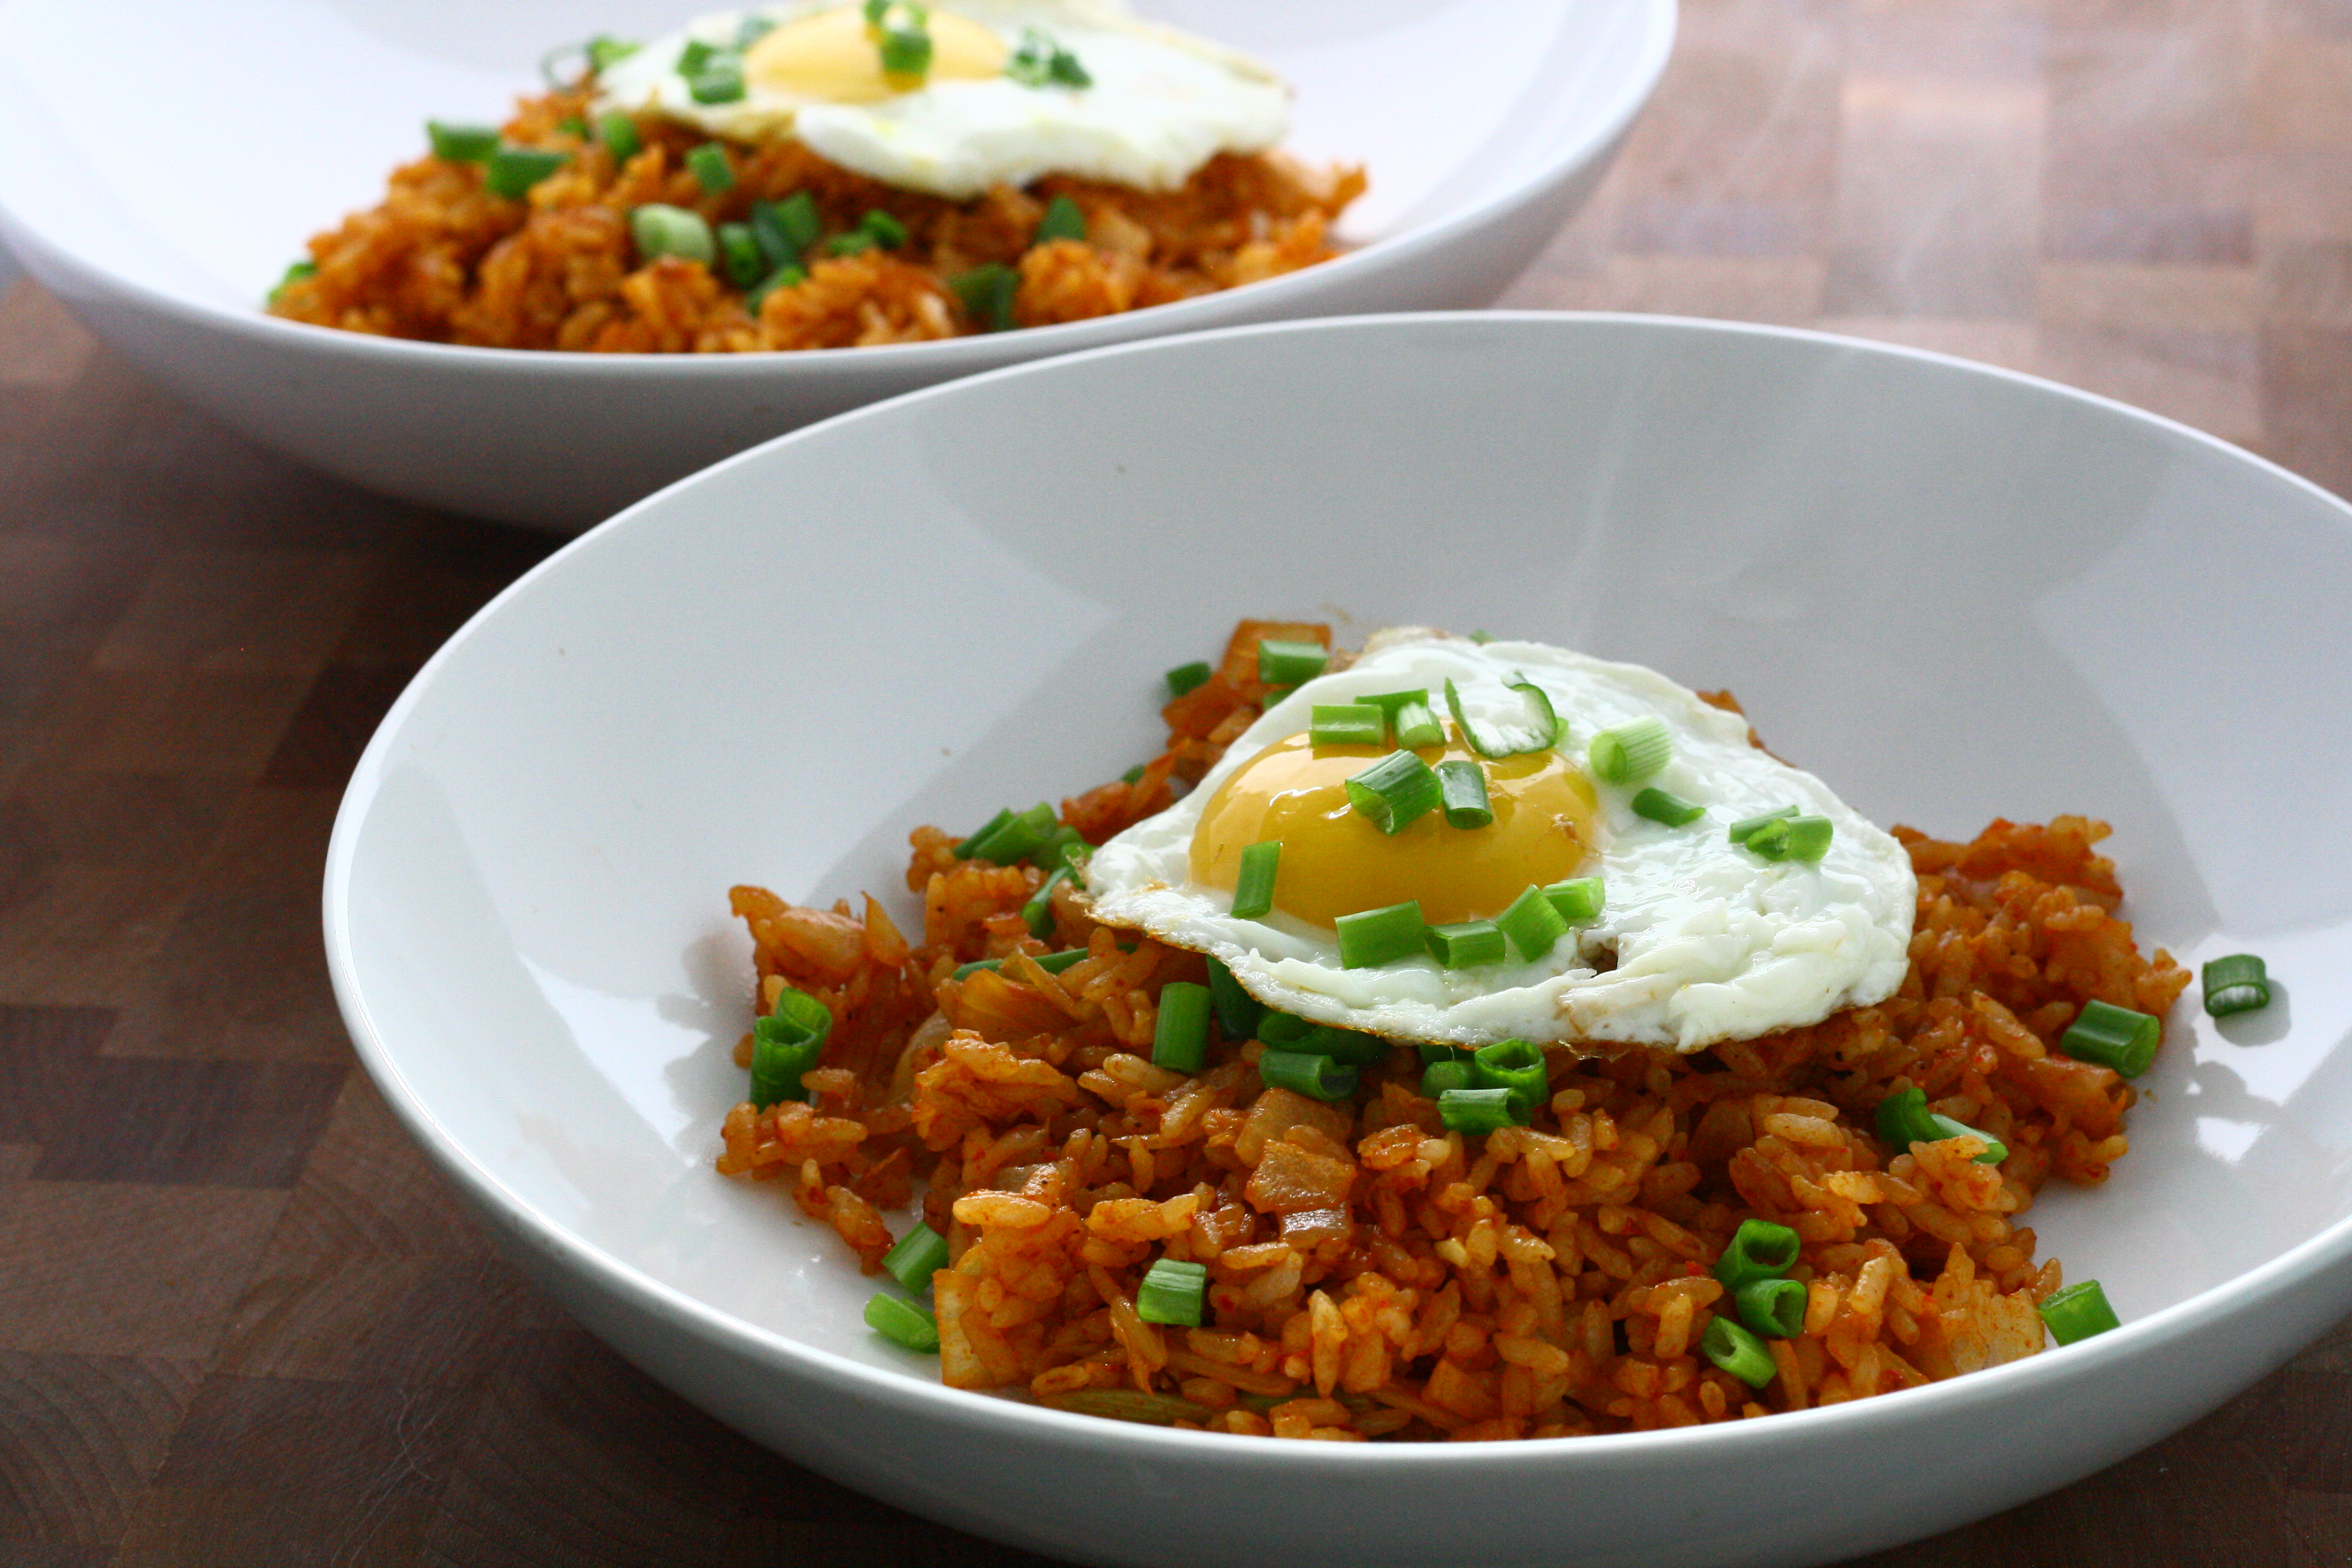
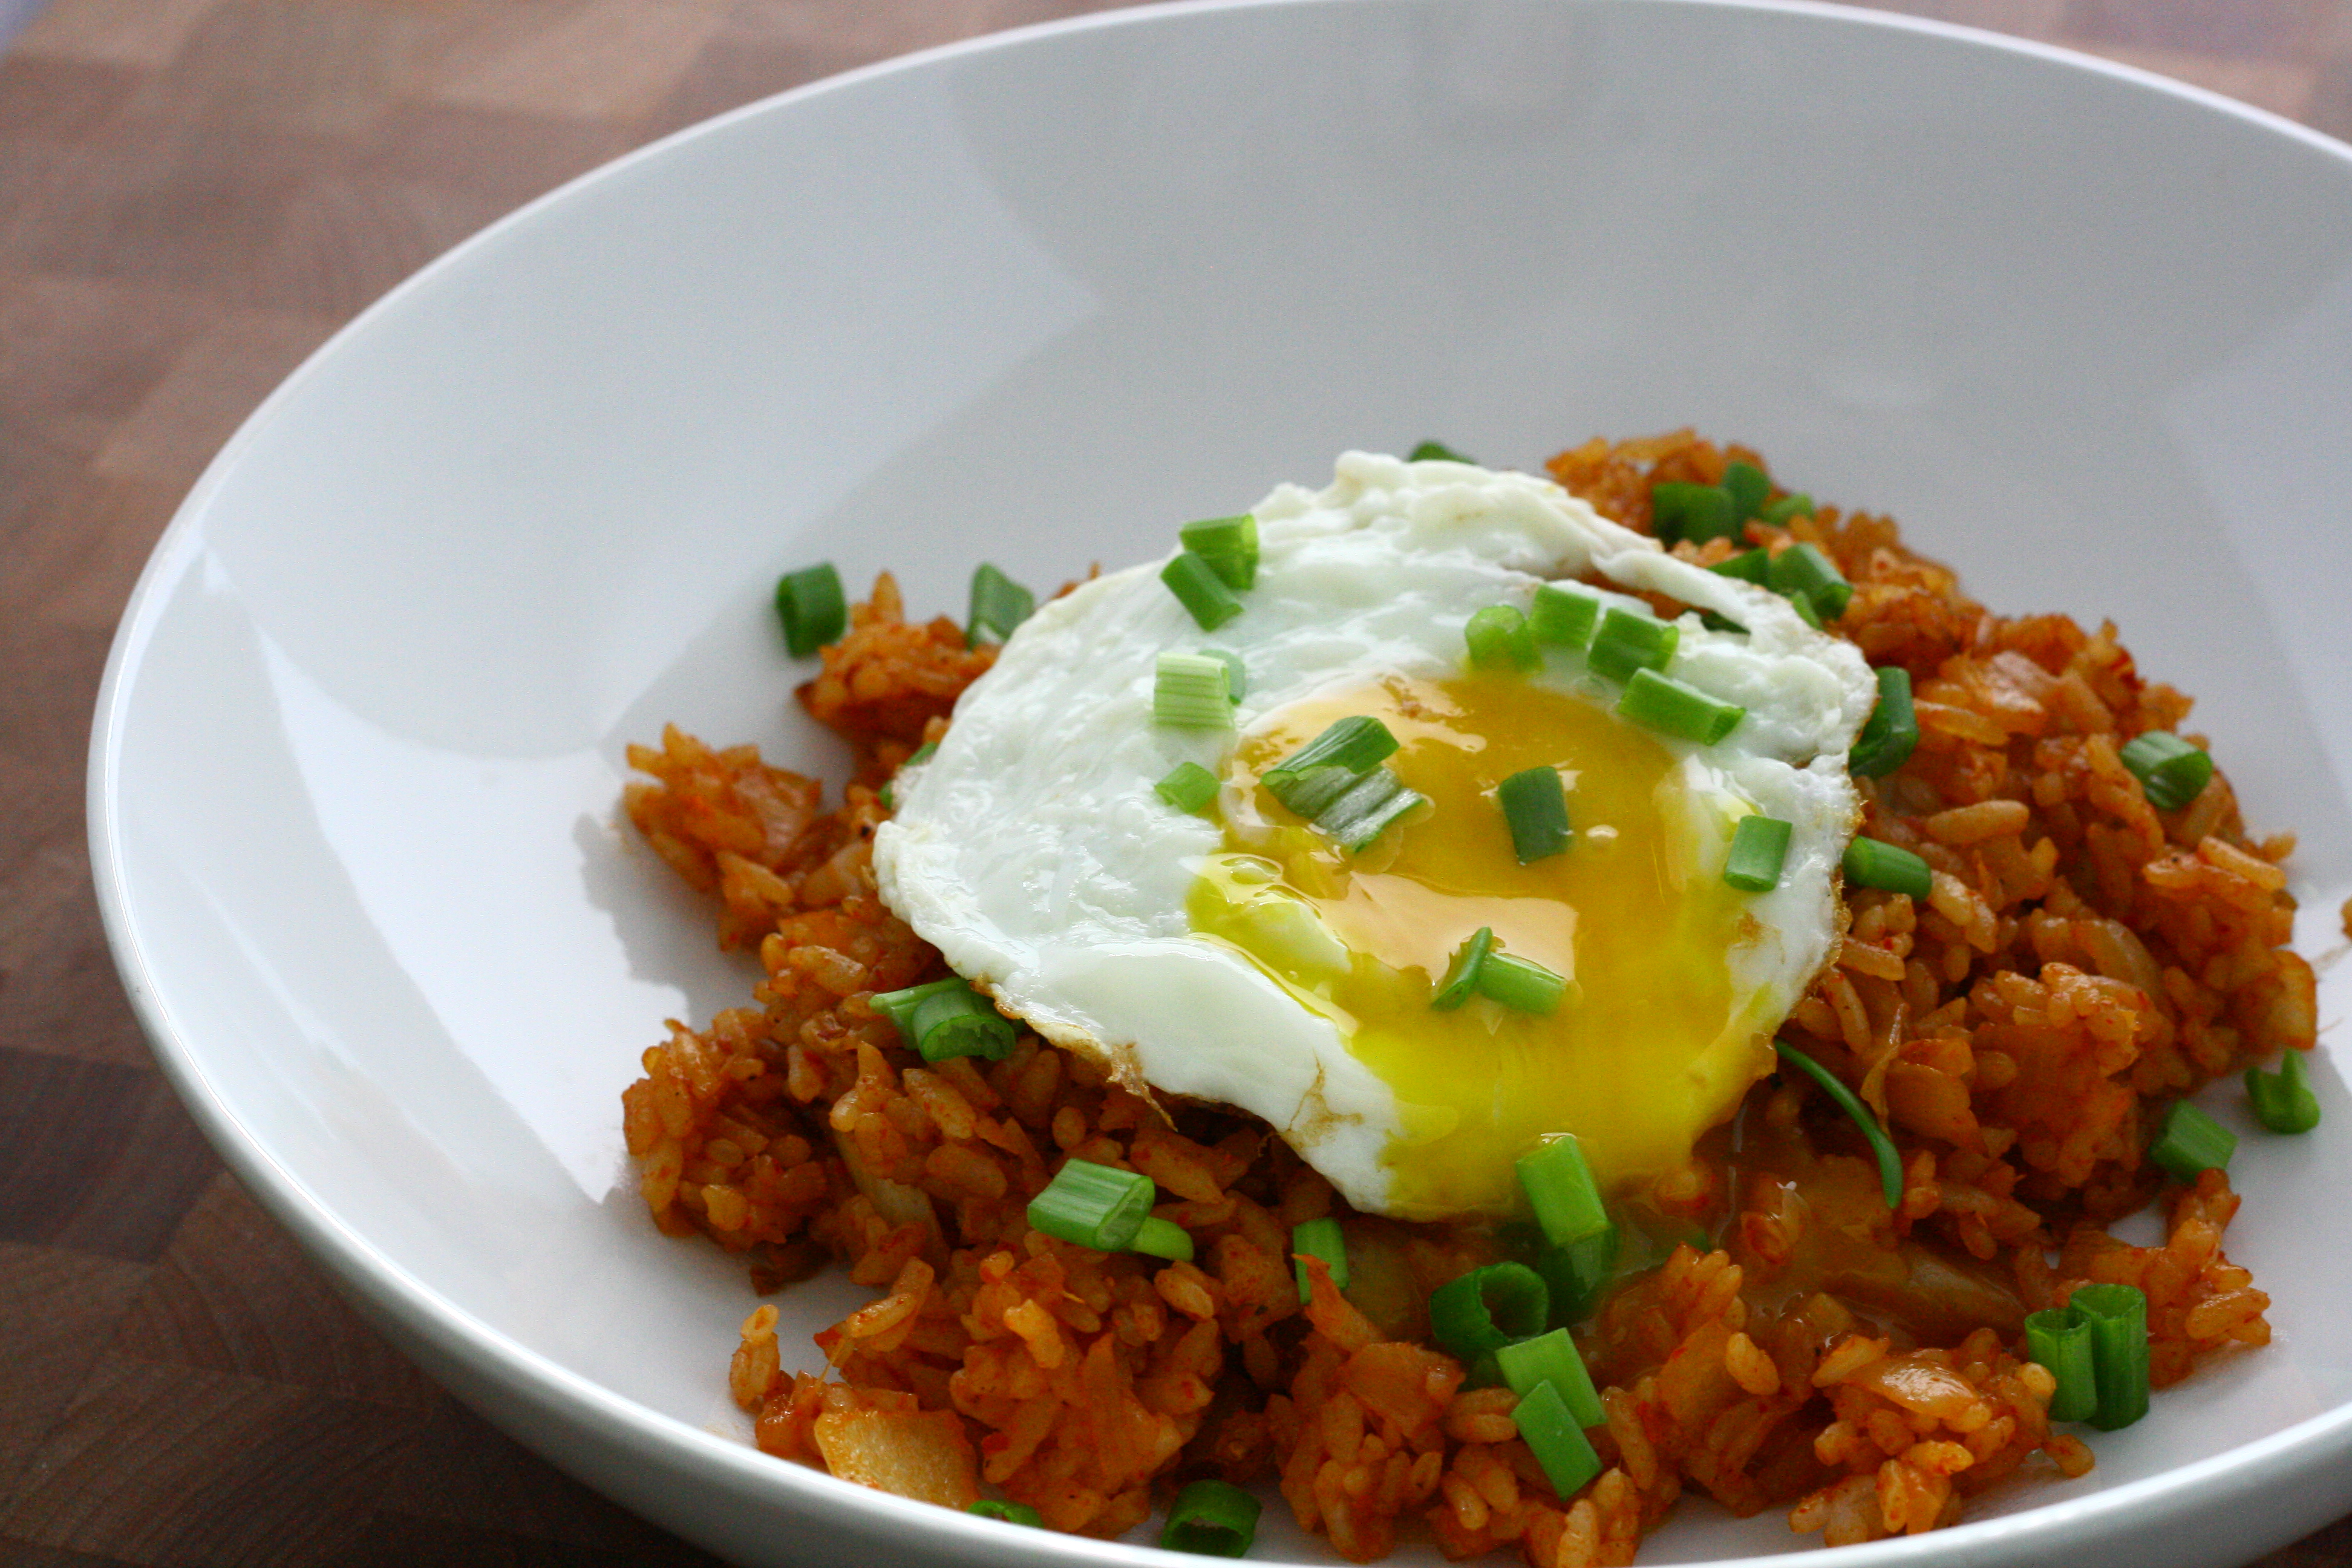
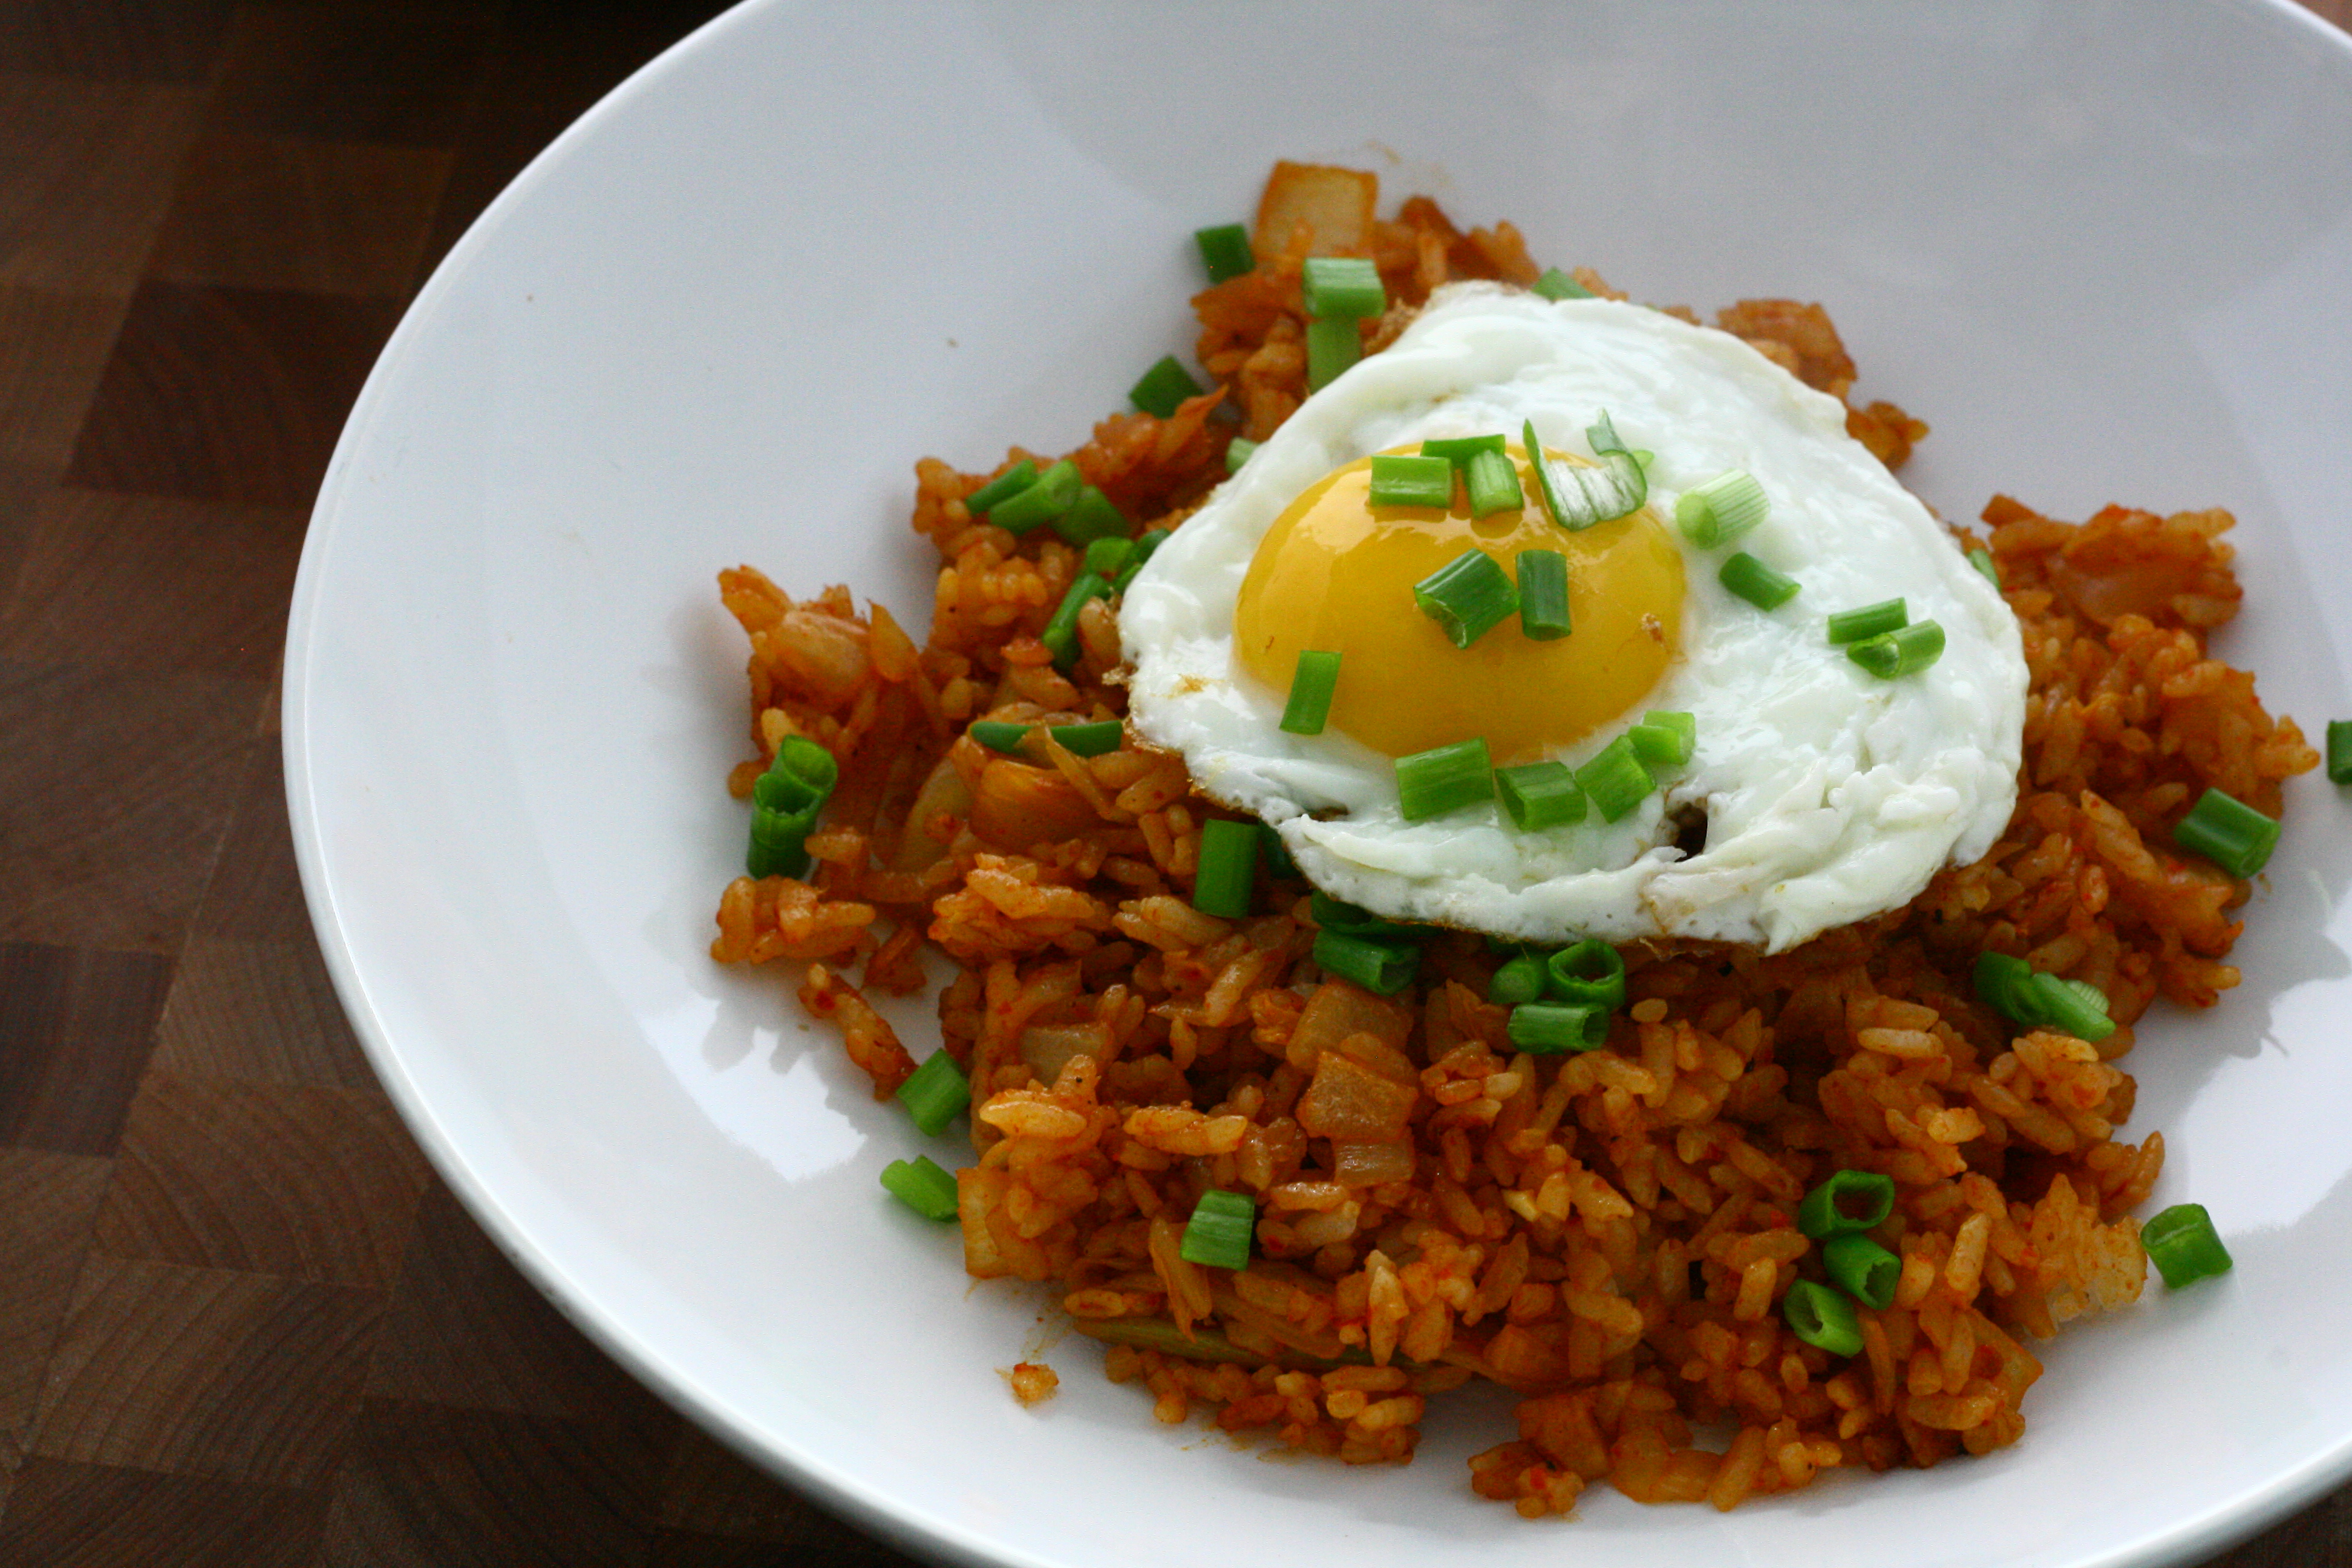
Fried rice is good. Kimchi is good. Together, they are phenomenal. The addition of a sunny-side up egg makes it even better.
Breaking an egg yolk and watching it run all over the place and slowly soak into the rice is the most beautiful thing.
I can’t stress the importance of using day-old rice enough. Day old as in you cook it the night before, stick it in the fridge, and then use it the next day. Day-old rice has a harder texture and will give you a much better fried rice. If you don’t have time to make the rice the day before, cook it and then spread it out in a thin layer and stick it in the fridge to cool it quickly.
I used to make all my fried rice in a wok, but this time I used a huge nonstick skillet and I think it worked out a lot better. This is probably mostly due to the fact that I made less of a mess in the skillet. There’s just something about a wok that causes me to violently stir the food in it. Obviously, this creates a mess. Either way, this fried rice is a winner and it couldn’t be easier.
Kimchi Fried Rice
1 tablespoon canola oil
1 onion, diced
2 cloves garlic, minced
1 cup kimchi, roughly chopped
4 cups day-old white rice
1 tablespoon gochujang (chili paste)
2 tablespoons low sodium soy sauce
1/2 teaspoon freshly ground black pepper
5 green onions, green parts sliced, divided
4 eggs, cooked sunny side up
Heat canola oil in a large nonstick oil over medium-high heat. Add onion and garlic and cook until onion is translucent. Stir in kimchi and stir until well combined.
Add in rice and stir to break up large pieces. Cook, stirring frequently, until the rice is well incorporated with the kimchi.
Stir in gochujang, soy sauce, pepper, and half the green onions until well combined.
Portion into 4 serving dishes and sprinkle with remaining green onions. Top with egg and serve immediately.
Kimchi. Kimchee. Fermented cabbage. However you spell it out, there’s no denying that this stuff is good. Growing up,I could always find a huge jar of this spicy-salty-sour food. It was food at any time of day, with any kind of food. Oatmeal for breakfast? Boom, kimchi on top. Rice for dinner? Boom, kimchi as a side. Snack? Kimchi straight outta the jar (sorry, Mom).
Now that I’m all grown up without a mom to fill my fridge, I have been loving a sad, kimchi-less life. I finally went to the store to buy a some a few weeks ago and grabbed a jar of it off the shelf. $8.75. Excuse me?! I put it back, pulled up a recipe on my phone and bought the ingredients to make my own instead.
It turns out that making kimchi is actually kind of easy. The only annoying part is the wait time between all the soaking steps. But the results are worth it!
So join me on my journey as I not only make a batch of homemade kimchi, but as I discover new ways to cook with it as well.
1 large head Napa cabbage
4 cups water
1/2 cup kosher salt, divided
2 pounds daikon radish, cut into matchstick
2 tablespoons dried salted shrimp, chopped
2/3 cup Korean chili powder
1/2 cup fish sauce
2″ piece of ginger, minced
4 cloves garlic, minced
6 green onions, cut into 1-inch pieces
1 tablespoon sugar
Remove and discard outer leaves of cabbage. Cut lengthwise into quarters and cut into the stem to remove most of it.
Combine water with 1/4 cup of the kosher salt in a large bowl. Plunge cabbage sections into the water one at a time. Carefully separate the leaves under water and shake gently to get water and salt mixture in between the leaves.
Drain water from the cabbage segments, then sprinkle a light layer of kosher salt over each leaf, making sure to cover the entire leaf.
Place cabbage into a large bowl and cover with plastic wrap. Let sit for 4- 6 hours, or until cabbage leaves are floppy.
Rinse cabbage with water twice in clean water, then squeeze out as much water as possible. Place into a strainer and let sit for 1 hour for the remaining water to drain out.
Meanwhile, place the daikon radish, shrimp, chili powder, fish sauce, ginger, garlic, green onions, and sugar into a large bowl. Mix with a wooden spoon until well combined.
Chop drained cabbage into 1″ pieces and place into large bowl with radish. Toss with a pair of tongs until well combined. Once all the cabbage has been coated, place into an airtight container and store in a cool, dark place for 3 days to ferment. After 3 days, the kimchi should be tangy, crunchy, and spicy. Store in the refrigerator until being used.