I’ve been on the lookout for more interesting pot sticker variations. Yes, pork and chive pot stickers are delicious. As are shrimp pot stickers. Even the vegetarian pot stickers I made a while back are pretty darn tasty. But, these pork and ginger-apple pot stickers take the dumpling game to a whole new level.
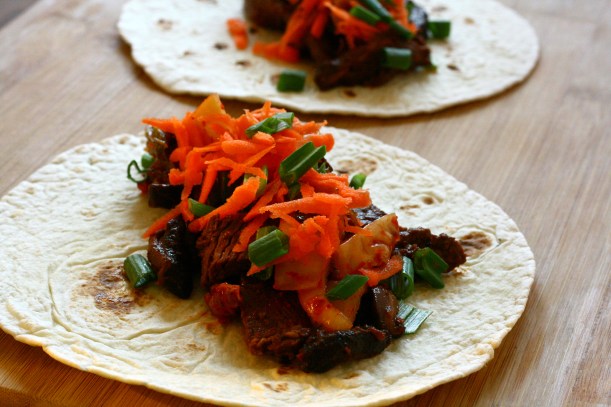
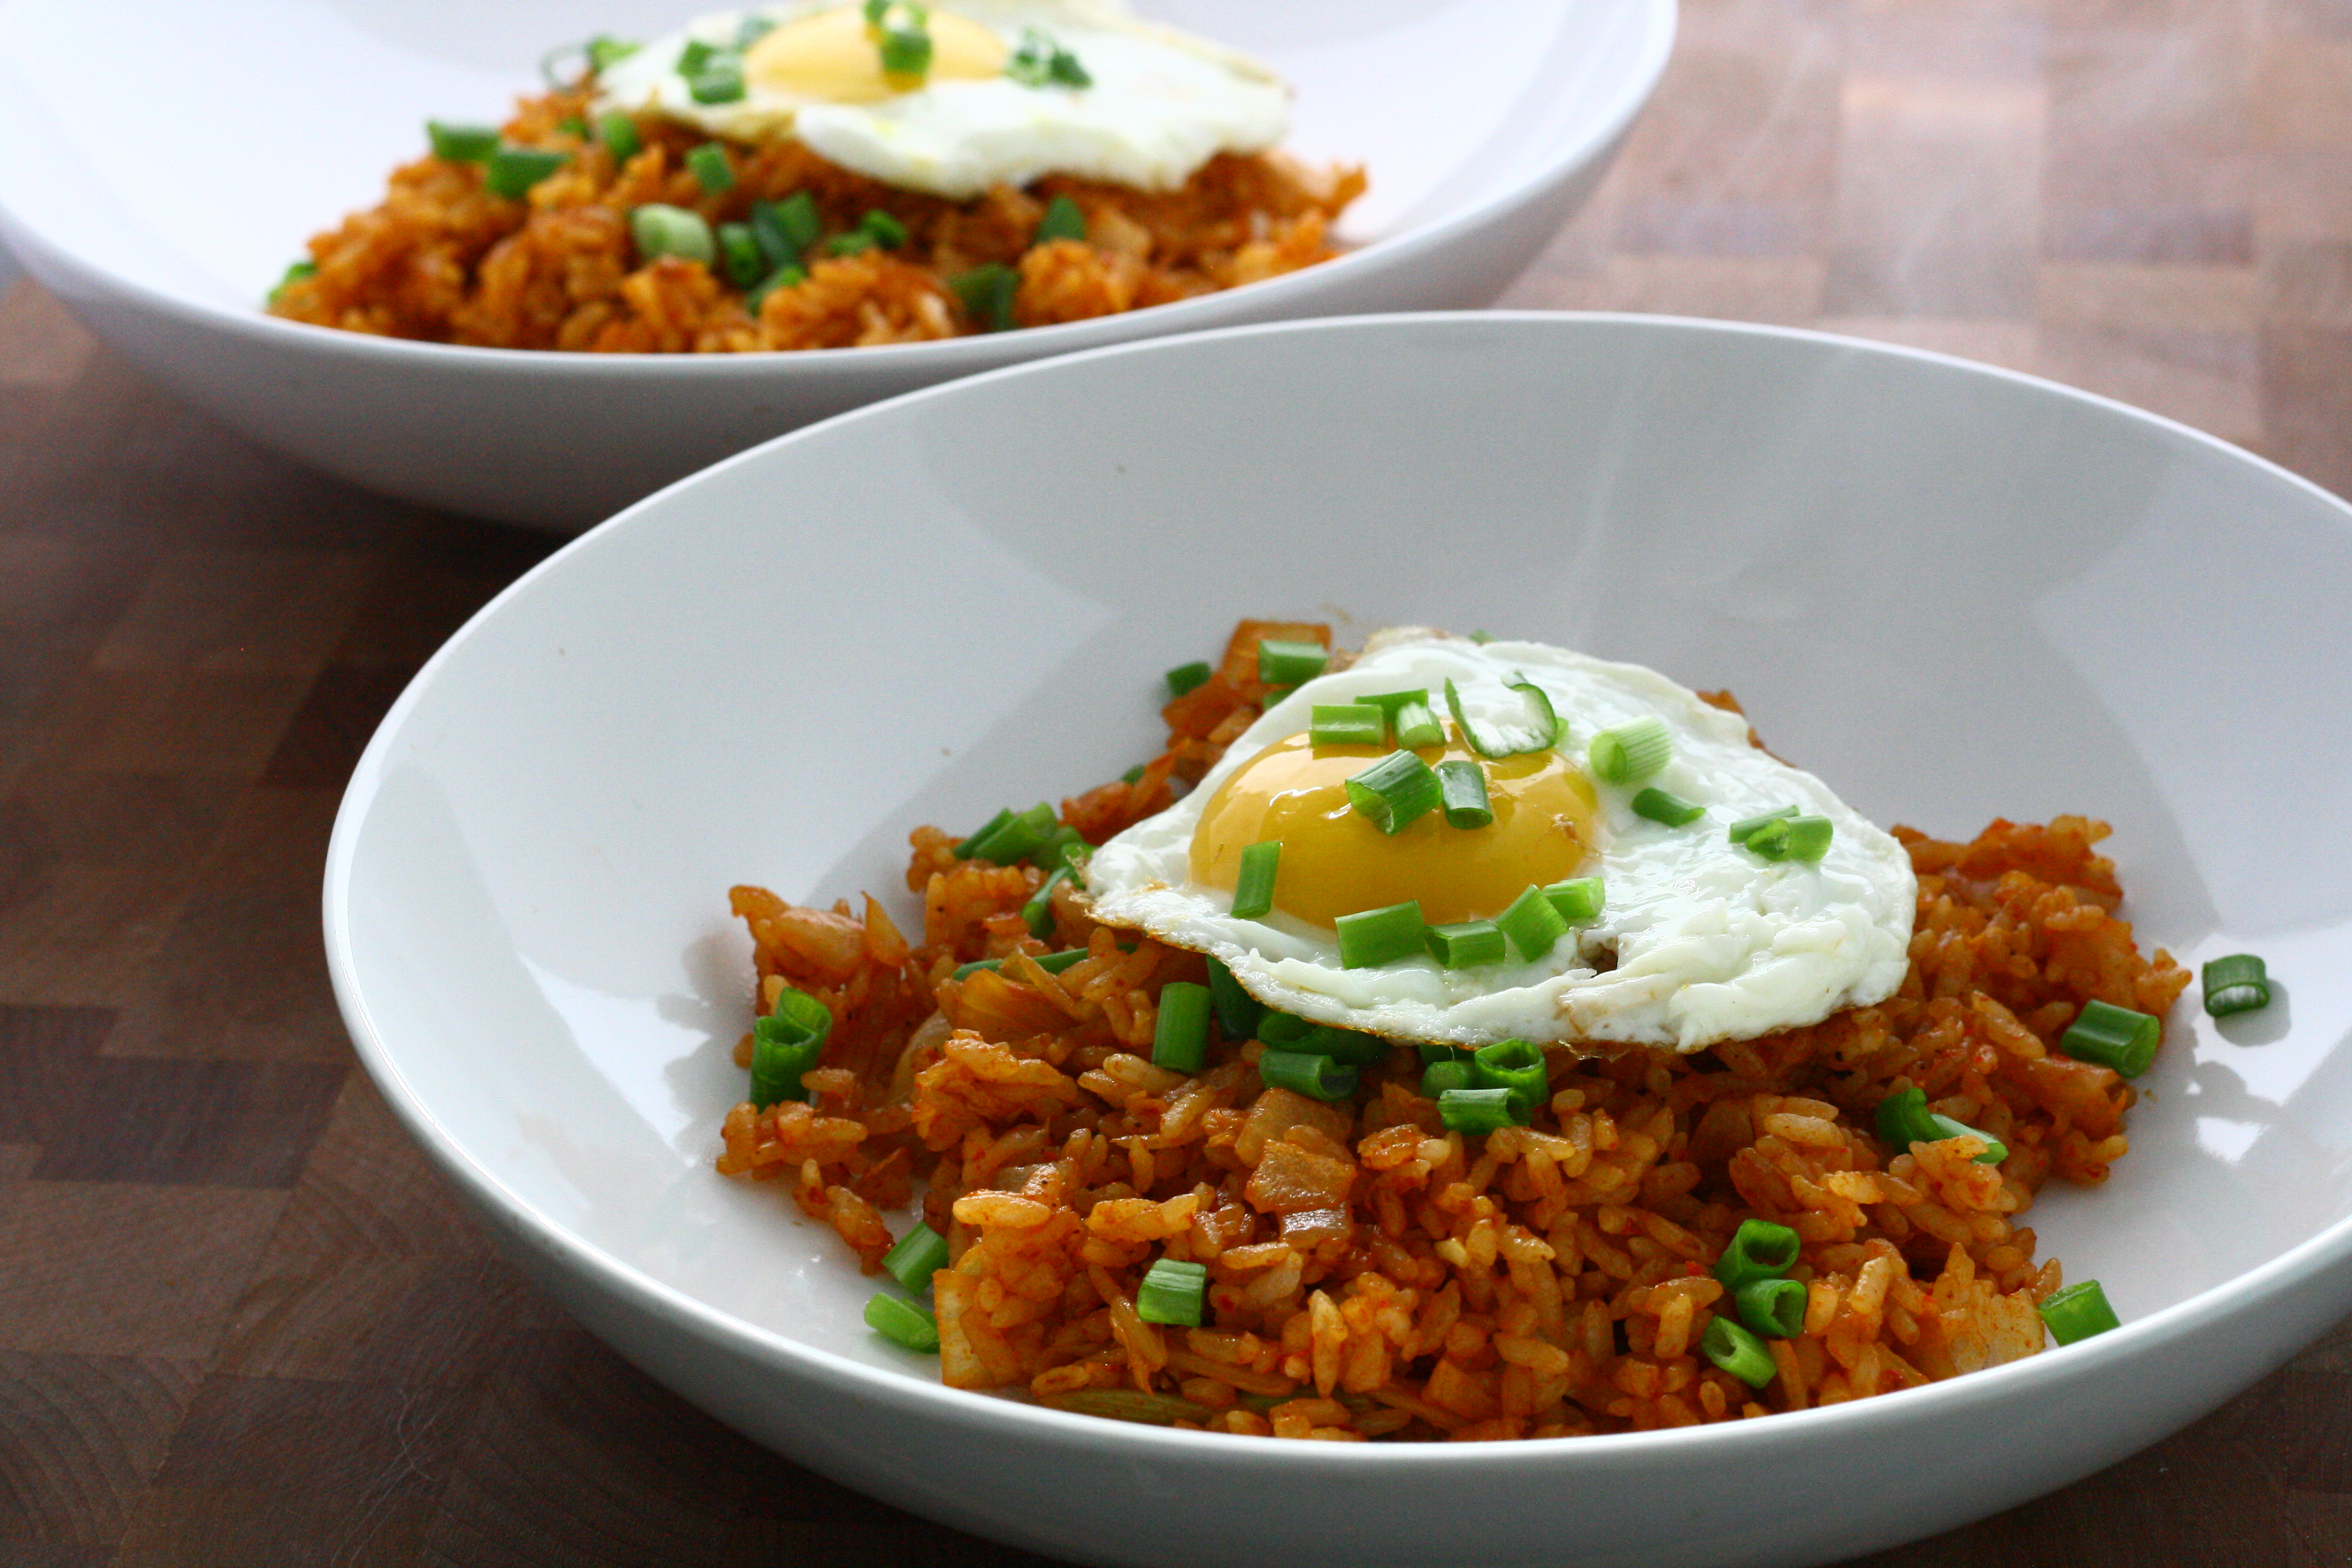
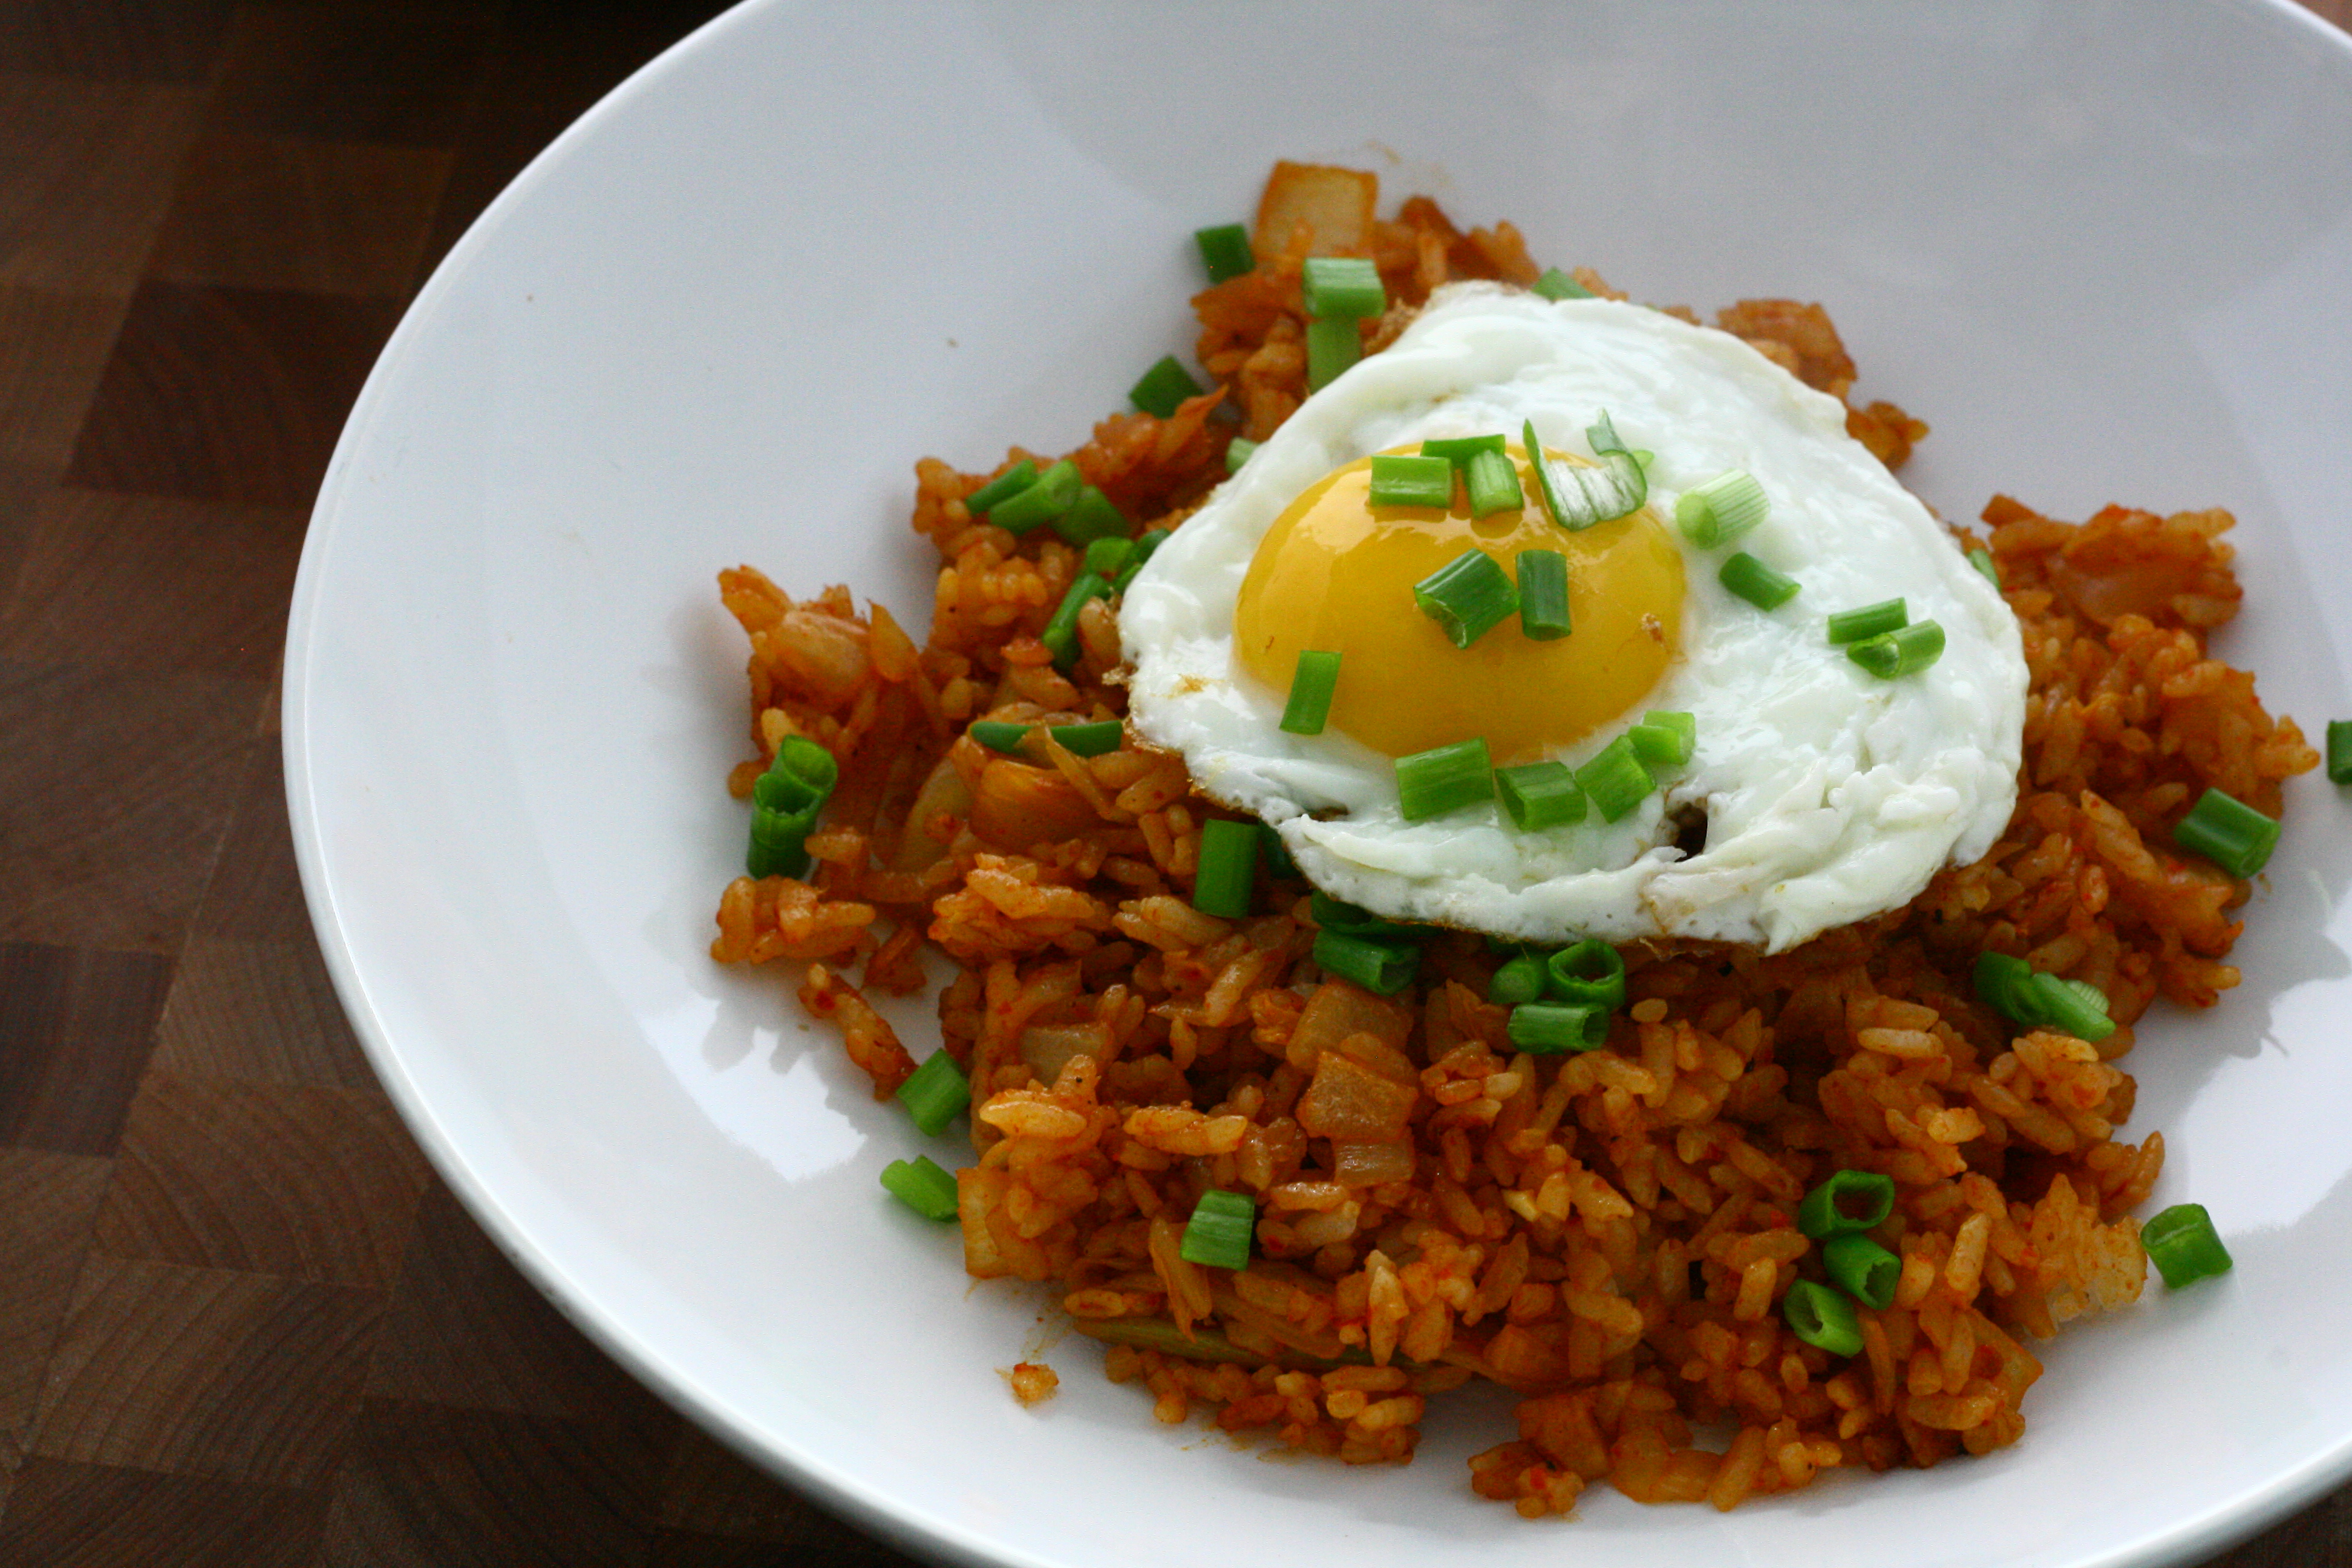
You remember that ginger-apple chutney that I was raving about on Monday? Well, take that and mix it with some pork and chives and… mind blown. I doubled the original recipe because pot stickers freeze wonderfully and are great when you’re in a crunch for dinner. (If you’re not a great planner (coughmecough) and only buy 1 package of wrappers and run out … the filling is pretty darn tasty cooked up and served over some brown rice with a splash of the dipping sauce.)

Pork and Ginger-Apple Pot Stickers
makes about 75 pot stickers
2 pounds ground pork
1/4 cup low sodium soy sauce
1 cup green onions, thinly sliced
2 cups ginger-apple chutney
1/4 teaspoon each: kosher salt, freshly ground black pepper, white pepper (or, to taste)
1 1/2 packages dumpling wrappers (about 75)
canola oil, for frying
for the dipping sauce:
1/2 cup low sodium soy sauce
1/2 cup rice wine vinegar
1 teaspoon toasted sesame oil
1 teaspoon sambal oelek
- To make the filling: combine pork and soy sauce in a large bowl. Fold in green onions, chutney, salt, black pepper, and white pepper. Mix until well combined.
- Set up your station: bowl of filling, stack of pot sticker wrappers, a small bowl filled with water, and a large baking sheet.
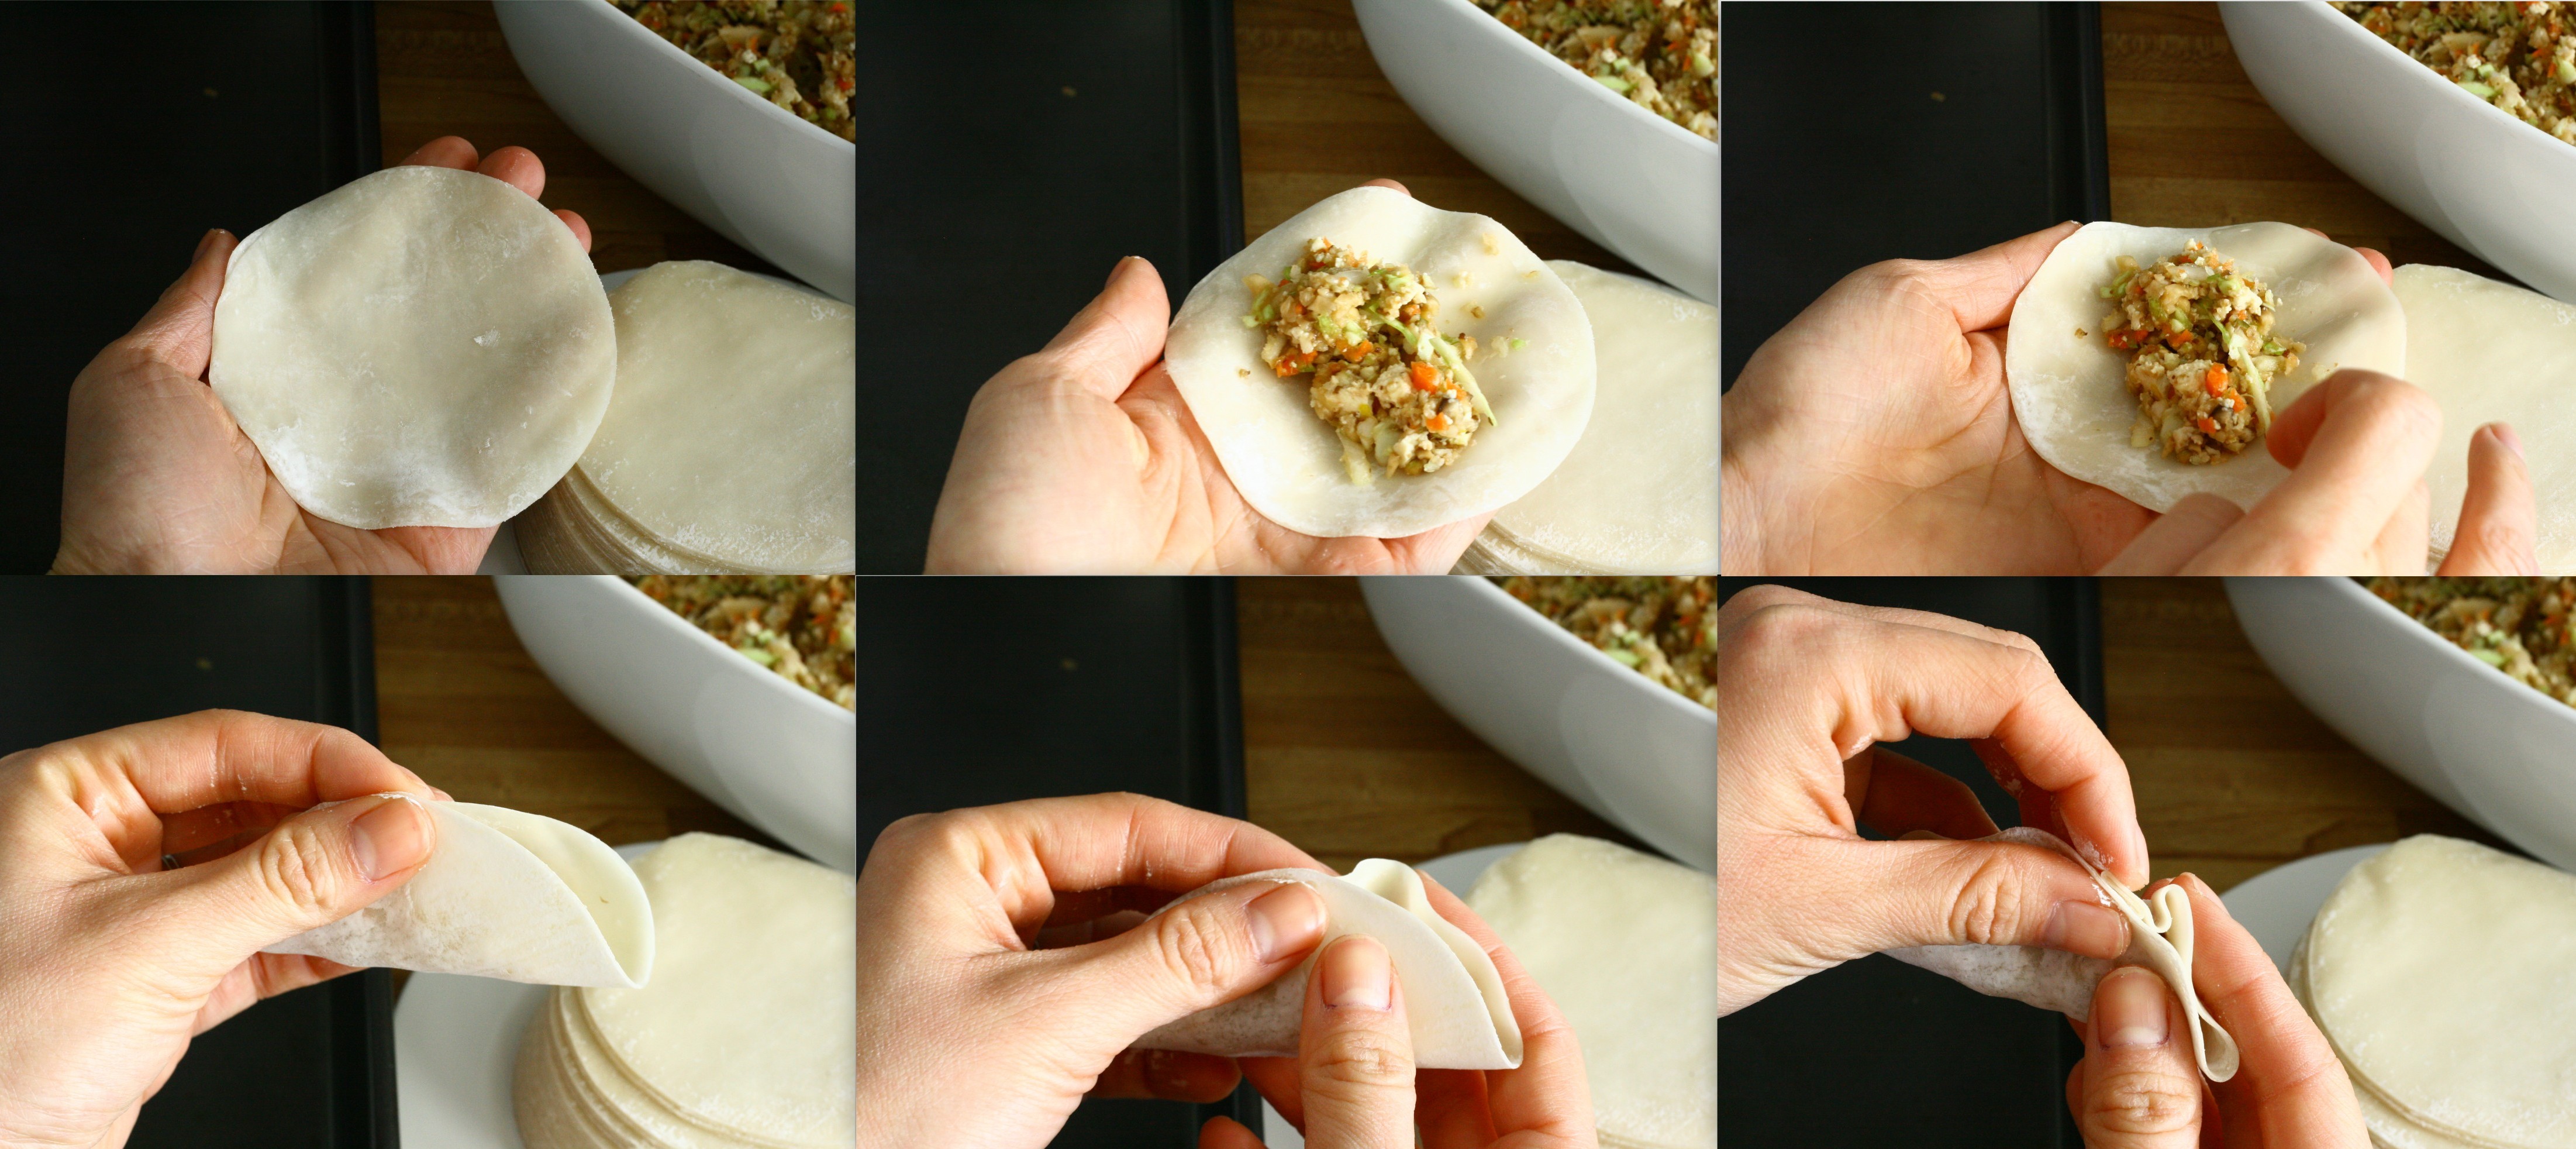
- To fold: place a wrapper in your non-dominant hand. Scoop a scant tablespoon of filling into the center of the wrapper, being careful not to get any on the edge. Wet a finger on your dominant hand and lightly trace the outside of the wrapper. Fold wrapper in half to form a half circle and pinch at the top. Starting at the center, make 3 pleats down toward the bottom-right corner. Repeat on the left side. Continue with the remaining filling and wrappers. (There are pictures on how to fold in my vegetarian pot stickers post.)
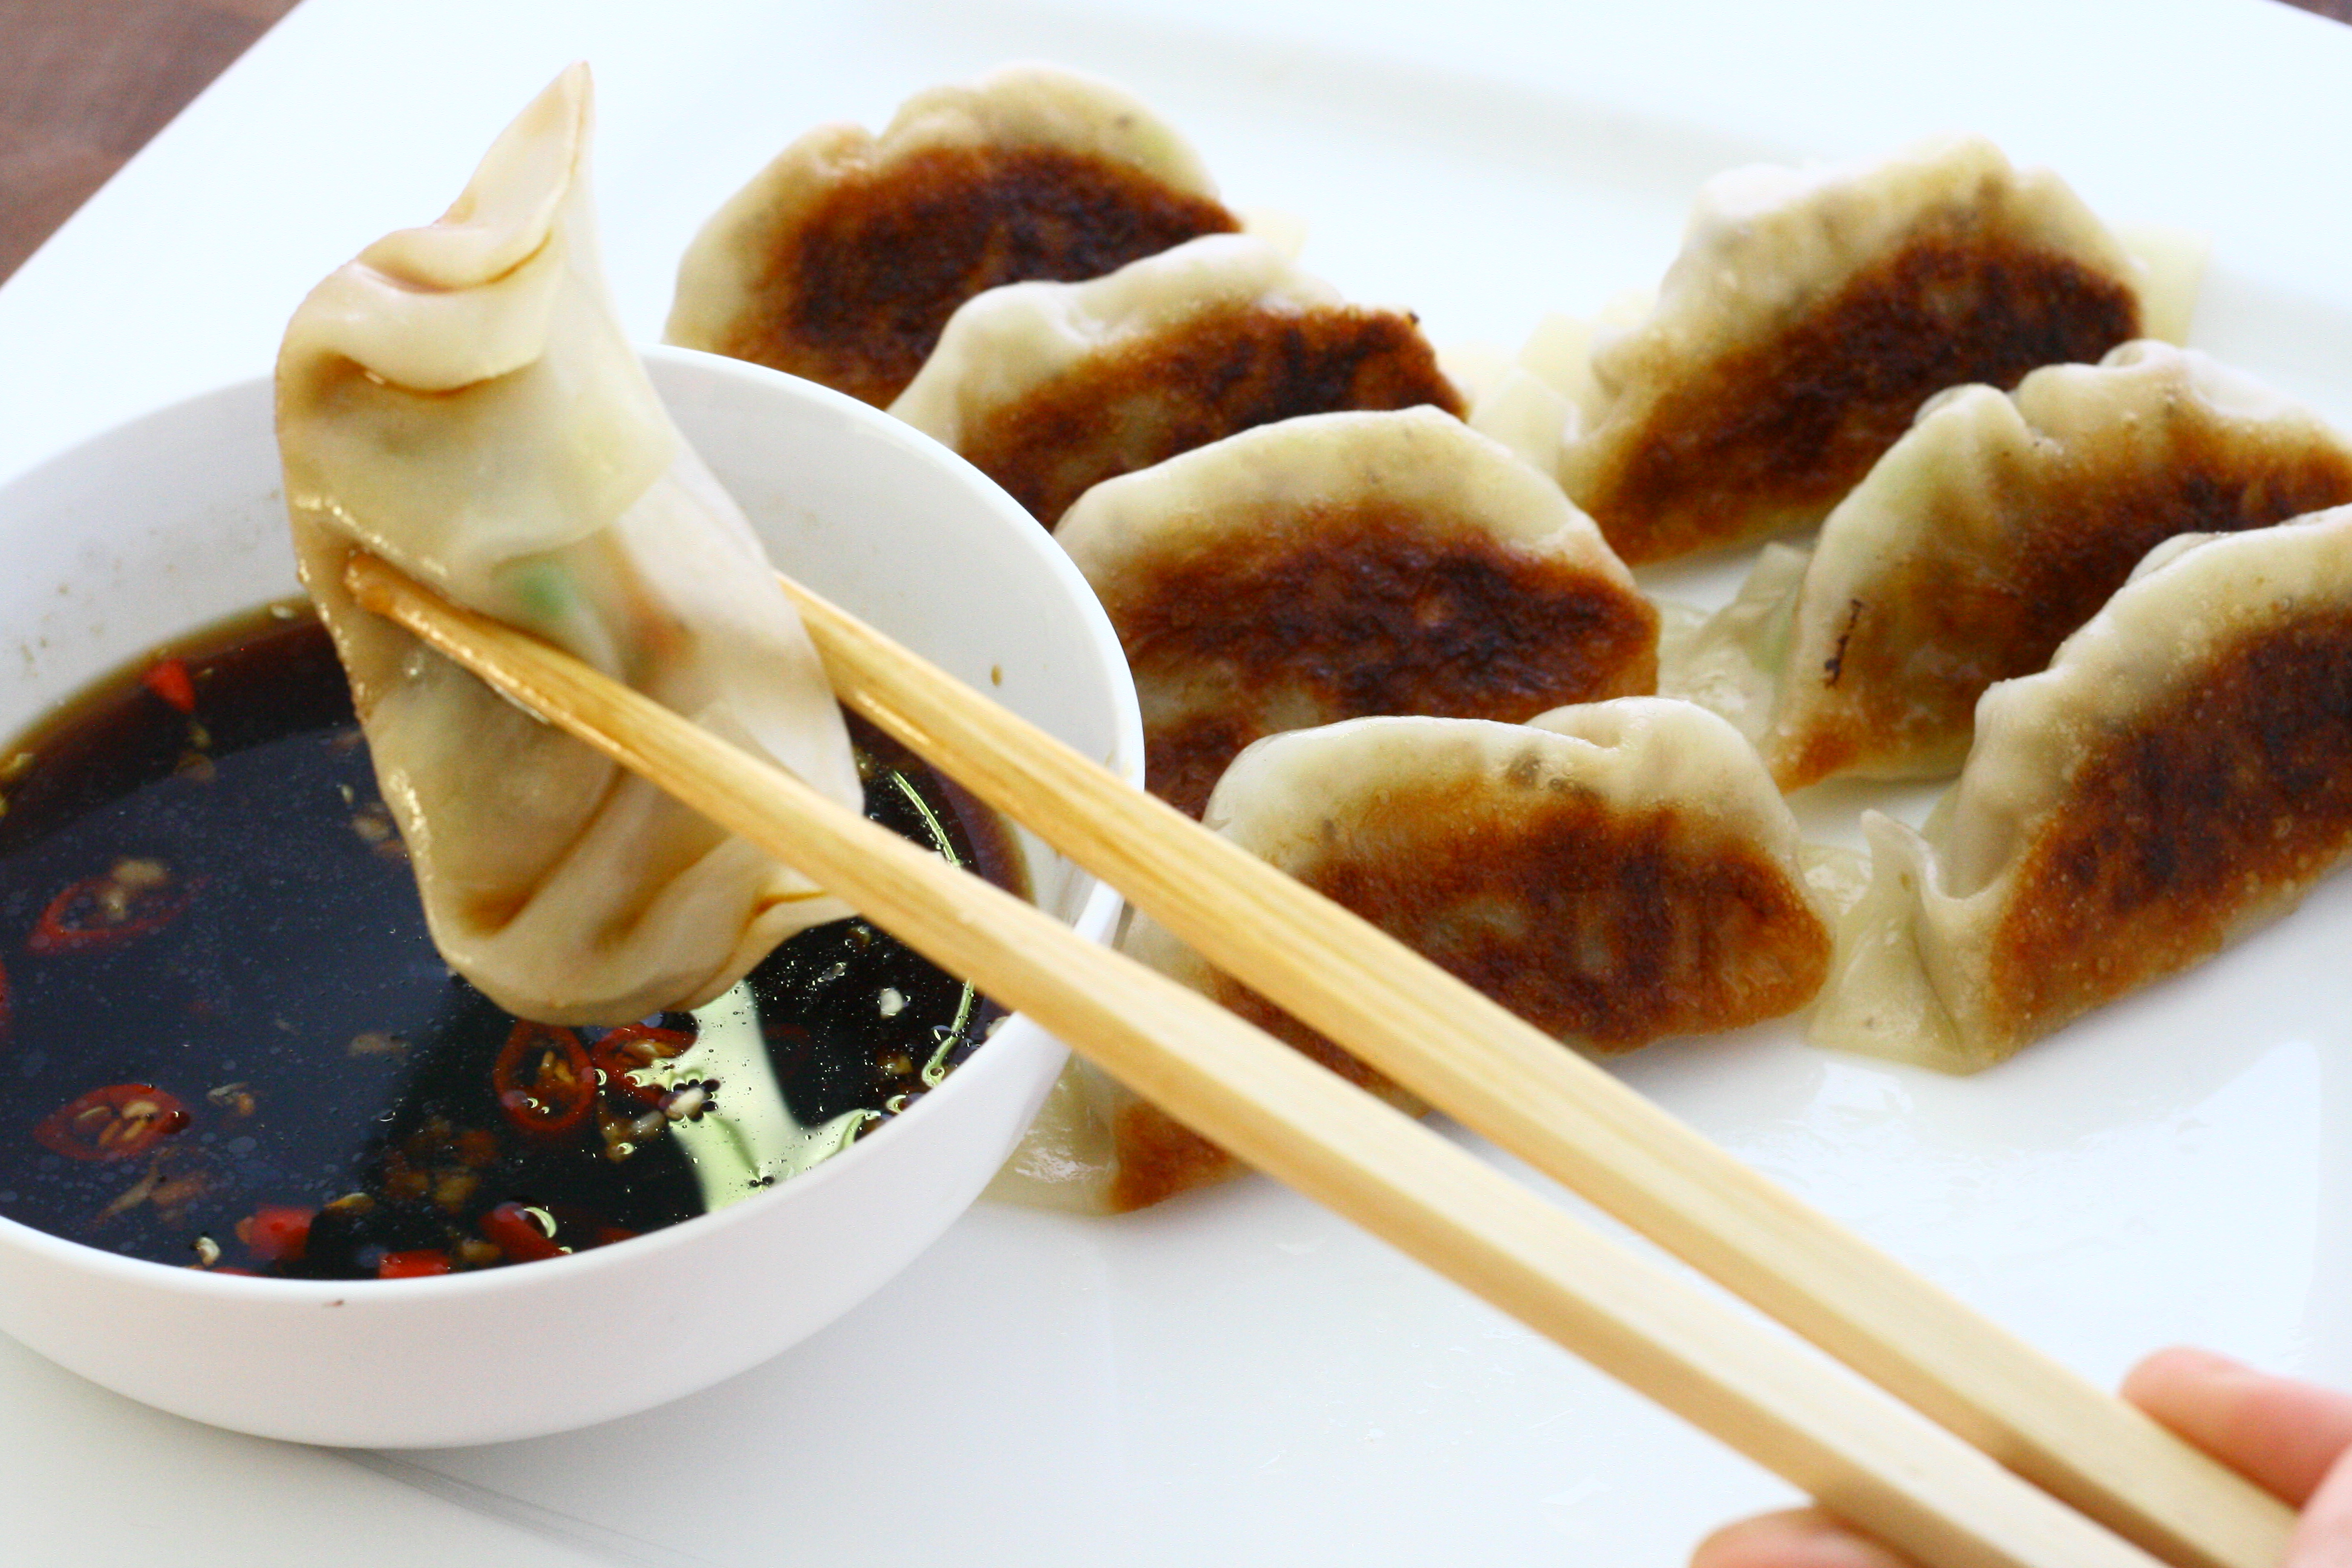
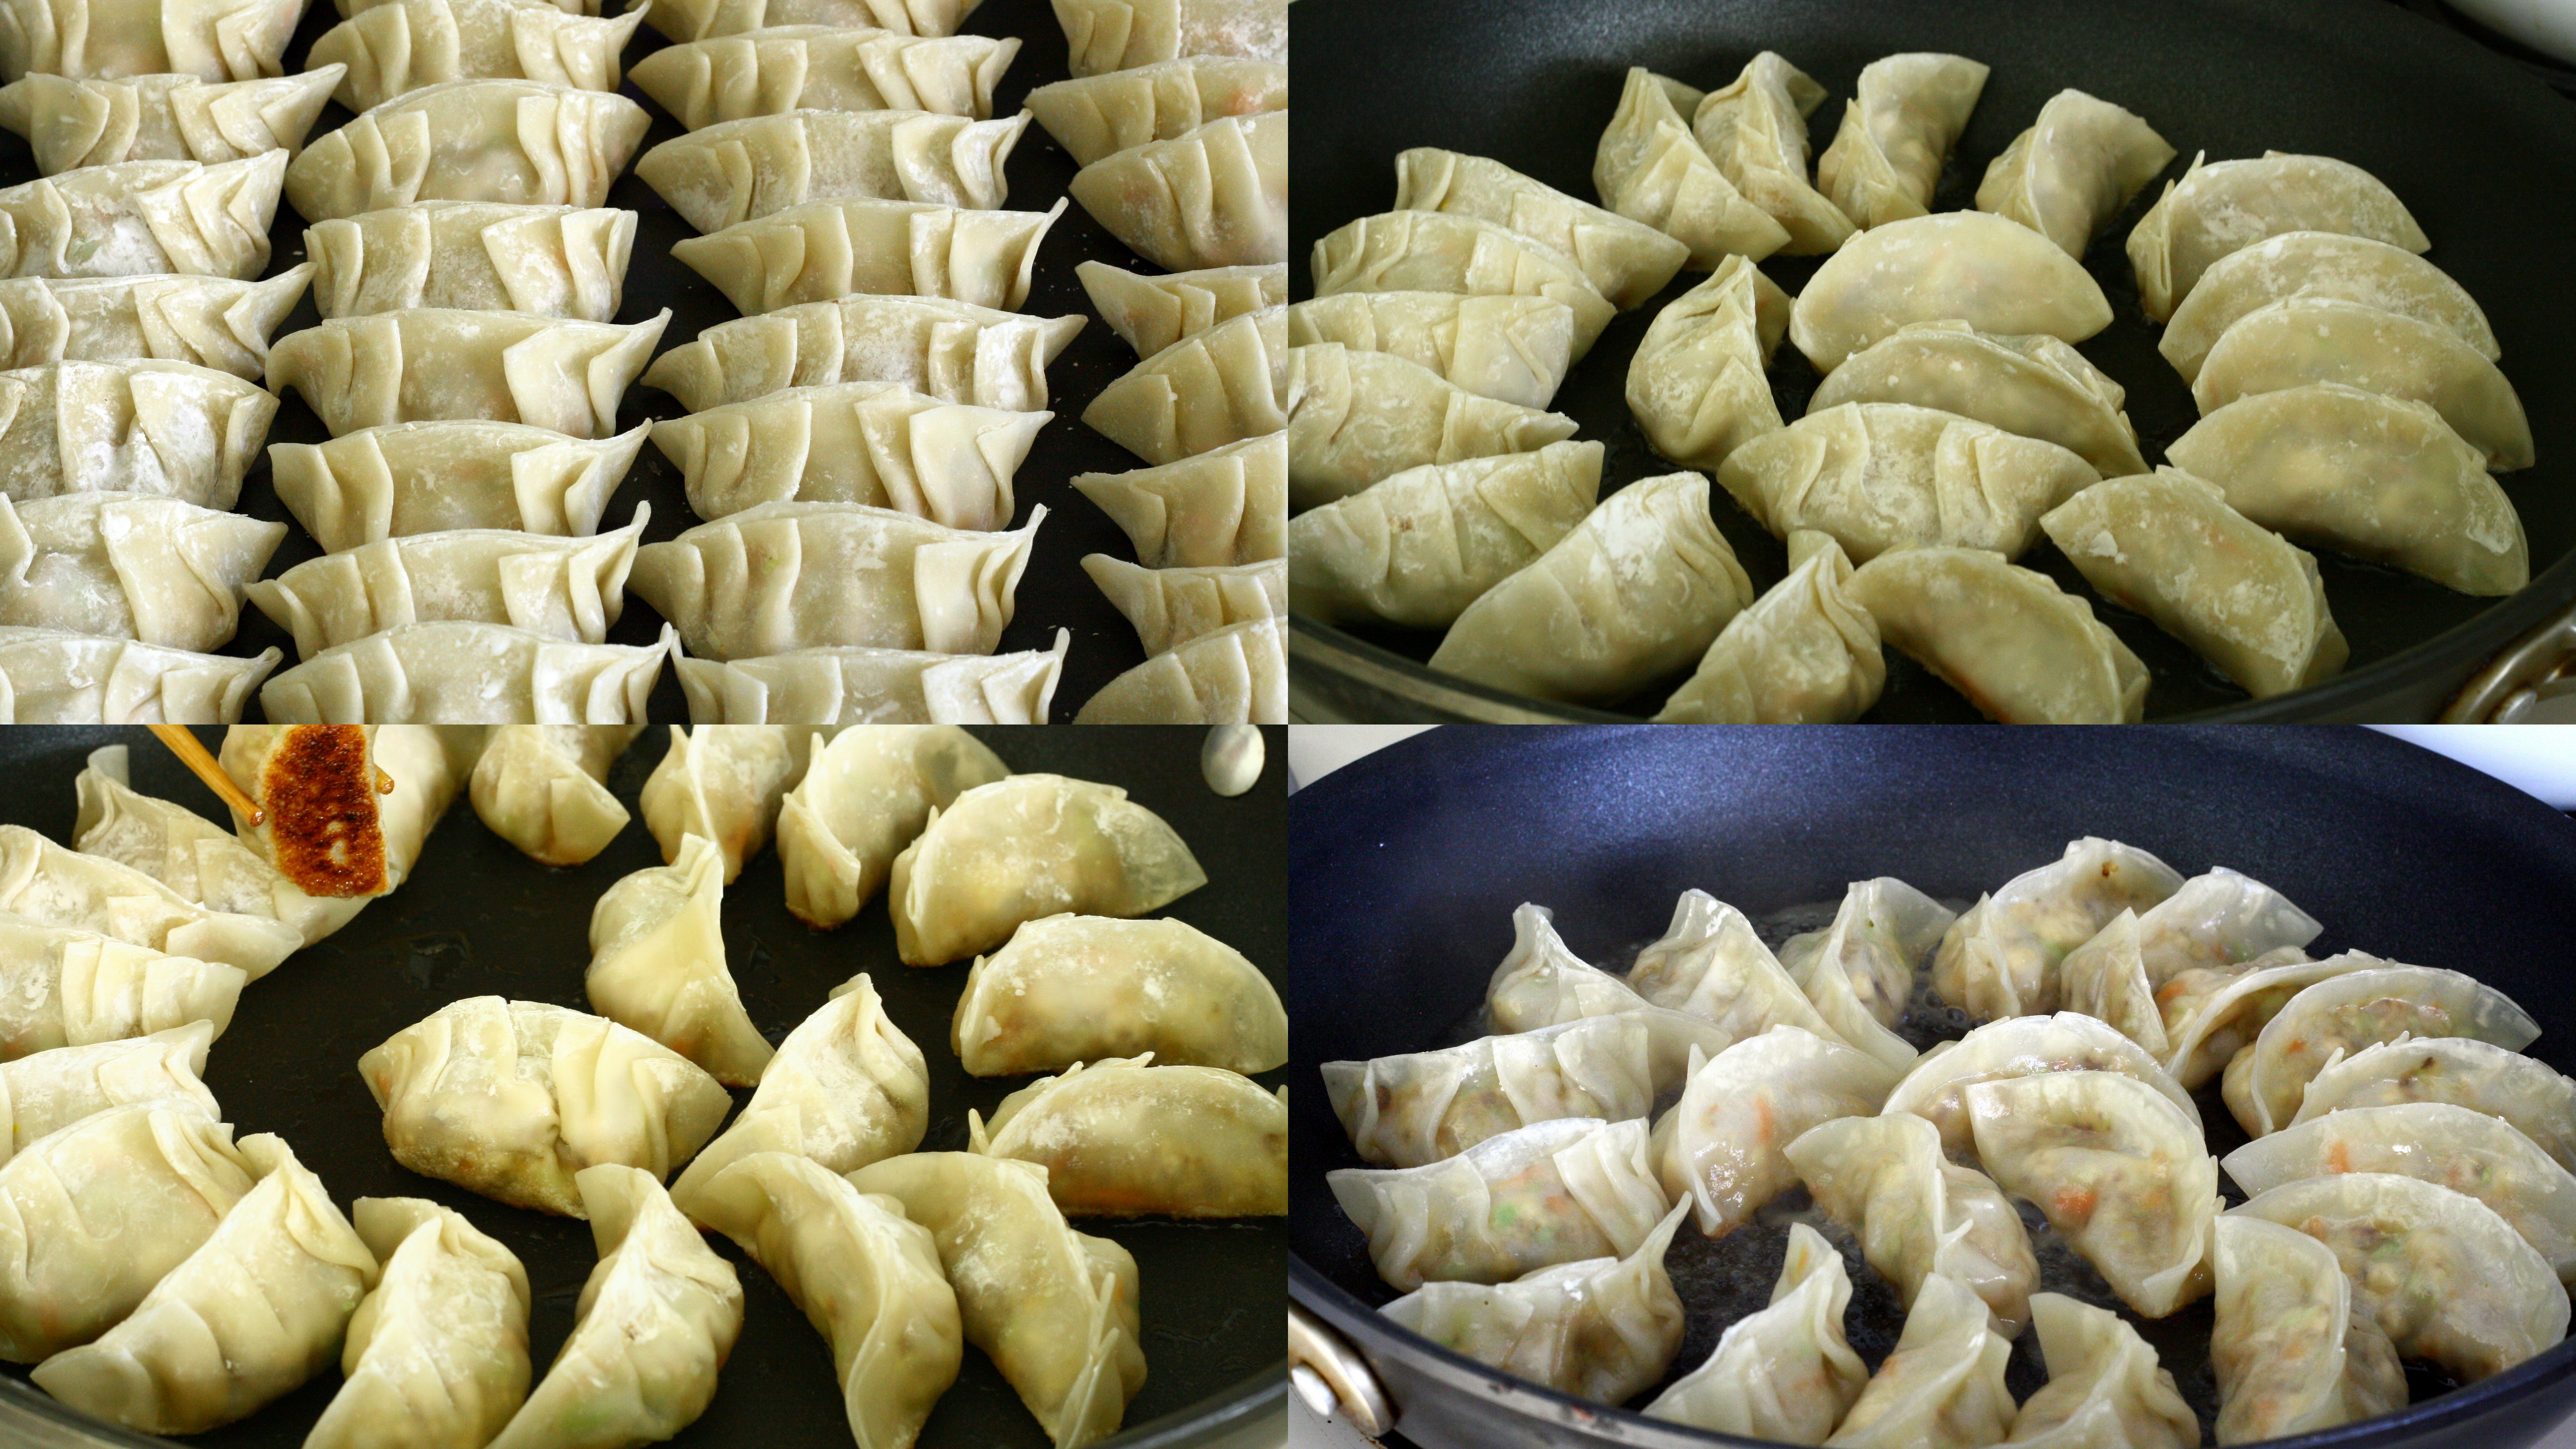
- To cook: heat a large, lidded saute pan over high heat. Add in 1 teaspoon oil and swirl pan to coat. Add pot stickers, pleat-side up, being careful not to overcrowd. Cook until bottoms are browned, about 5 minutes. Add in 1/2 cup water and immediately cover the pan to contain the splatter. After 30 seconds, when splattering has subsided, slightly crack the lid open to allow steam to escape. Cook for an additional 5 minutes or until heated through and water has evaporated. Let cook for an additional 1 – 2 minutes to allow bottom to re-crisp. Serve immediately with dipping sauce.
- To make dipping sauce: combine soy sauce, vinegar, sesame oil, and sambal in a bowl and whisk to combine.
recipe slightly adapted from Ming Tsai