This post two-for-one deal. It’s a running and recipe post all rolled into one! Let me start the race recap with my Saturday. In my last post I talked about my nervousness and how I planned on dealing with it. So, what did I do all weekend?
Well, like I had said before, Mike and I went to the Cellcom Race Expo and picked up my race packet. We bought a running hat (for him) and some more running capris (for me) there. We then headed over to Hinterland for some beer & food. It was so good. We decided to sit in the lounge and I’m so glad we did. The space is really neat – we snagged a corner booth that had a nice view of the downtown area. The service and food were amazing. We’re already planning on next trip back – I’m sad they are a 40 minute trip away, but it’s definitely worth it.

We drank: Cherry Wheat (Crisp, cool and refreshing. Brewed using tart Door County cherries from Seaquist Orchards) and Bourbon Barrel Dopplebock (Dark amber color. Full-bodied. Pronounced notes of caramel and oak with a smooth bourbony finish. Aged 10.5 months). Both were delish.
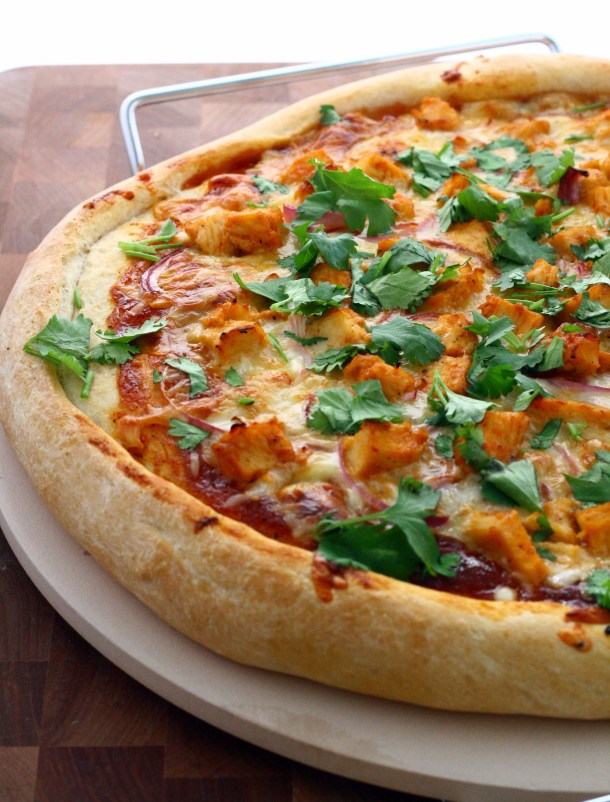
We ate: Caprine supreme goat cheese curds with kimchee ketchup and Nueske’s smoked chicken pizza (maple bock barbecue, mango, chives, goat cheese). The cheese curds were different than any cheese curd I’ve had before – they were light and fluffy and the kimchee ketchup was awesome. The pizza was, of course, delish as well. I loved the addition of the mango.
Saturday, we wasted the day away at home and ran some errands. I felt sick with anticipation almost all day. I was refreshing the weather on my iPad every hour (definitely wasn’t helping). I ended up throwing together dinner early at around 5:00 so we could eat early and get to bed by 9:00.
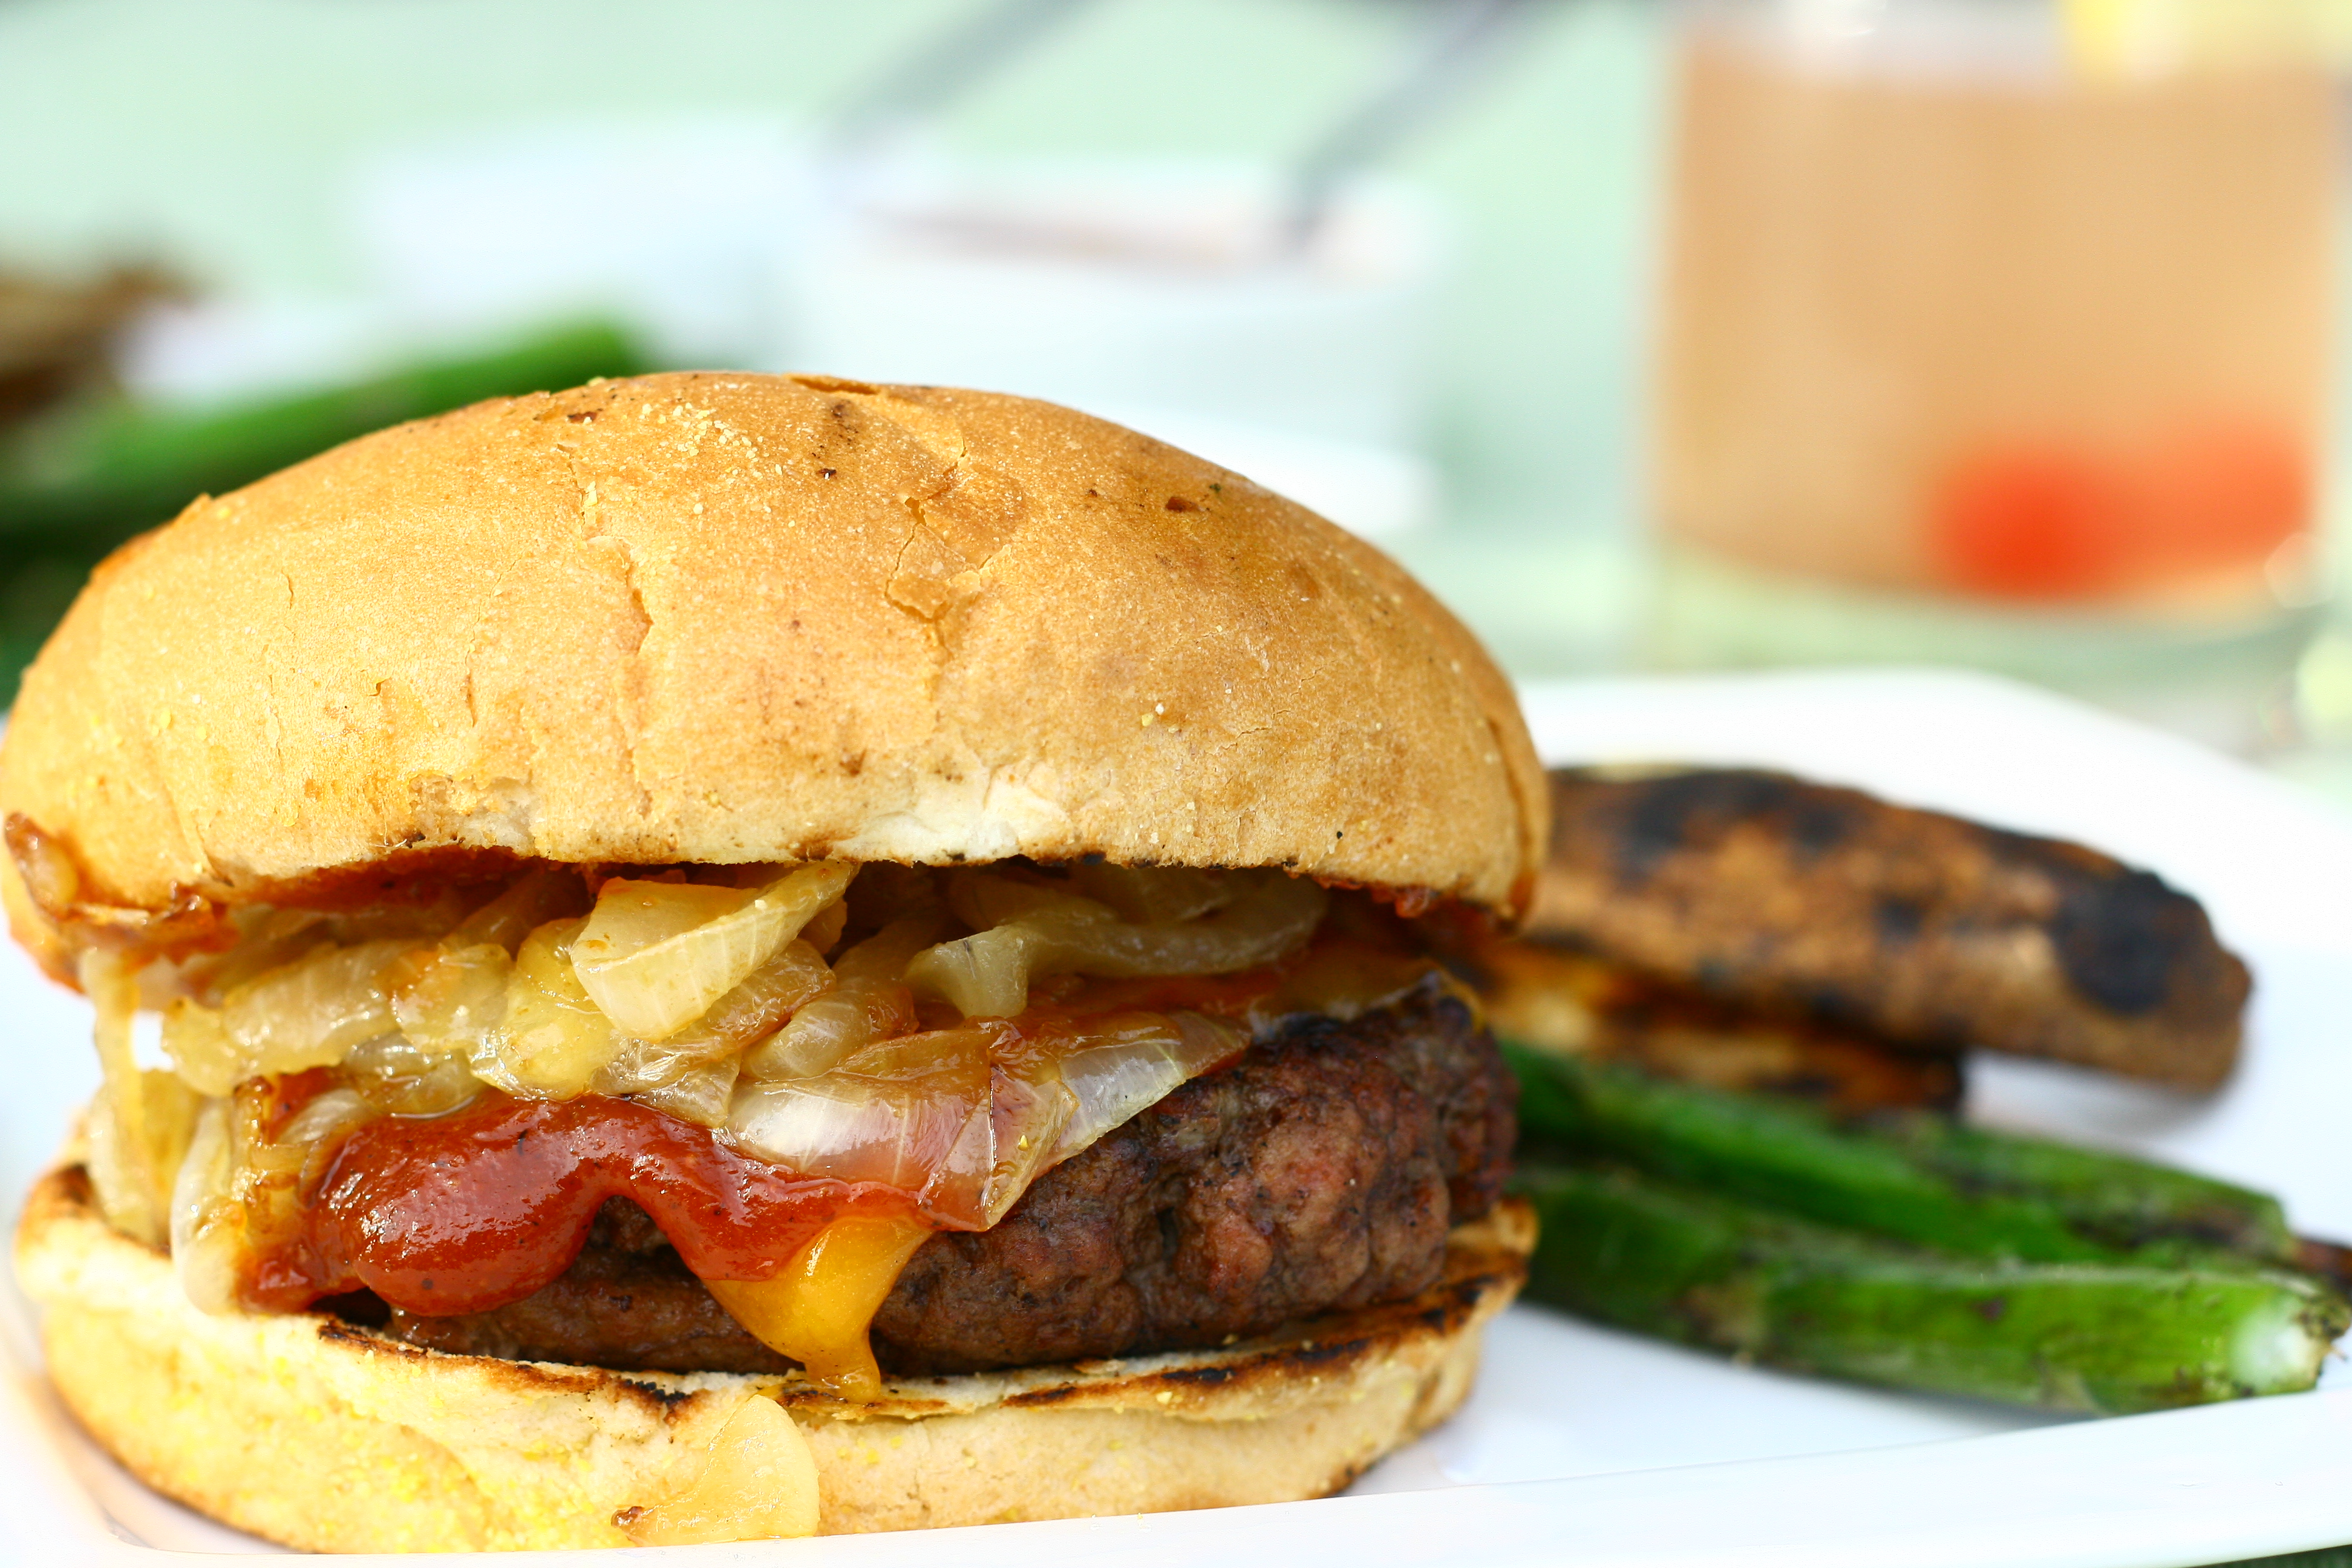
Some people have certain foods they need to stay away from before race day. I’ve found that I can eat almost anything, but it’s best if I stay away from fiber and copious amounts of grease. I ended up making a dish with chicken sausage and bell peppers with a pasta salad side. I loved that this meal was filling, easy, and my stomach handled it perfectly.
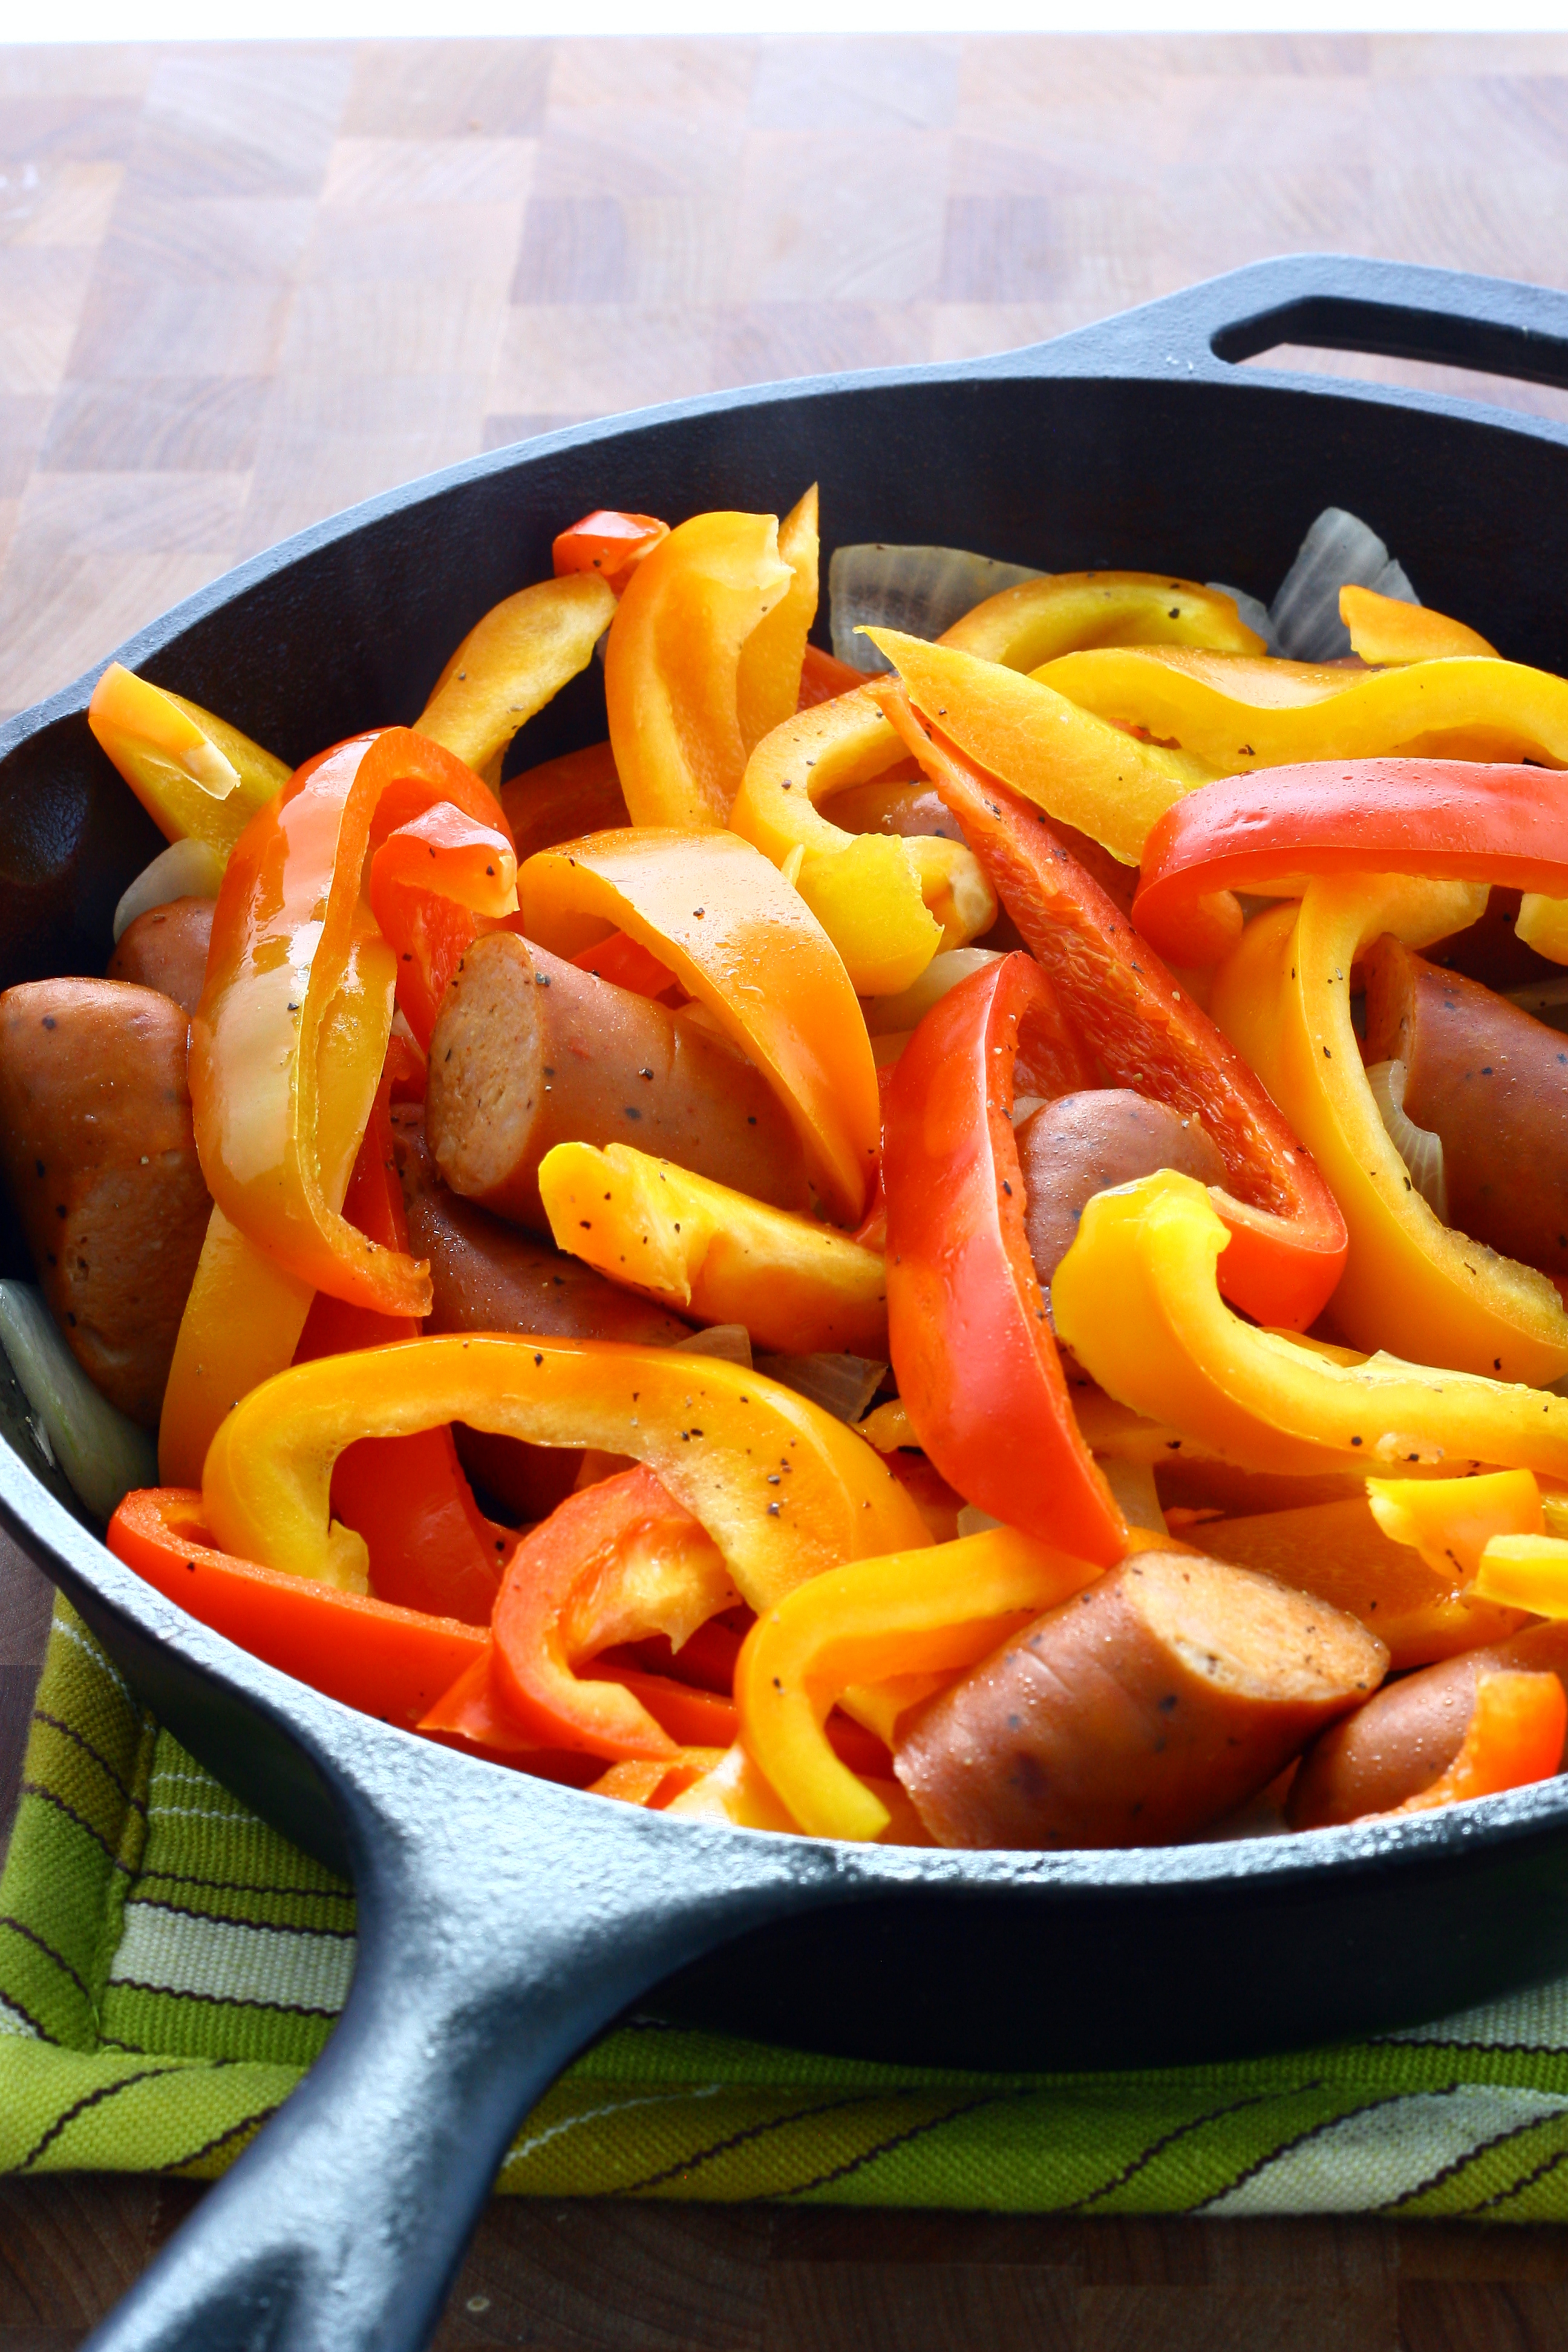
Chicken Sausage & Peppers
1 teaspoon canola oil
1 large onion, chopped
12 ounces fully cooked chicken sausage*, cut into 1 1/2 – 2″ pieces
2 bell peppers, sliced
salt and freshly ground black pepper, to taste
- Heat oil in a large cast iron skillet over medium-high heat. Add in onions and cook for 3 – 4 minutes or until they start to soften.
- Add in sausage and bell peppers and cook until sausage is heated through, 3 – 5 minutes. Season with salt and pepper to taste.
*I used Johnsonville’s Chicken Sausage – Chipotle Montery Jack in my dish. I’ve had this type before and love it so I used it again instead of trying something new.
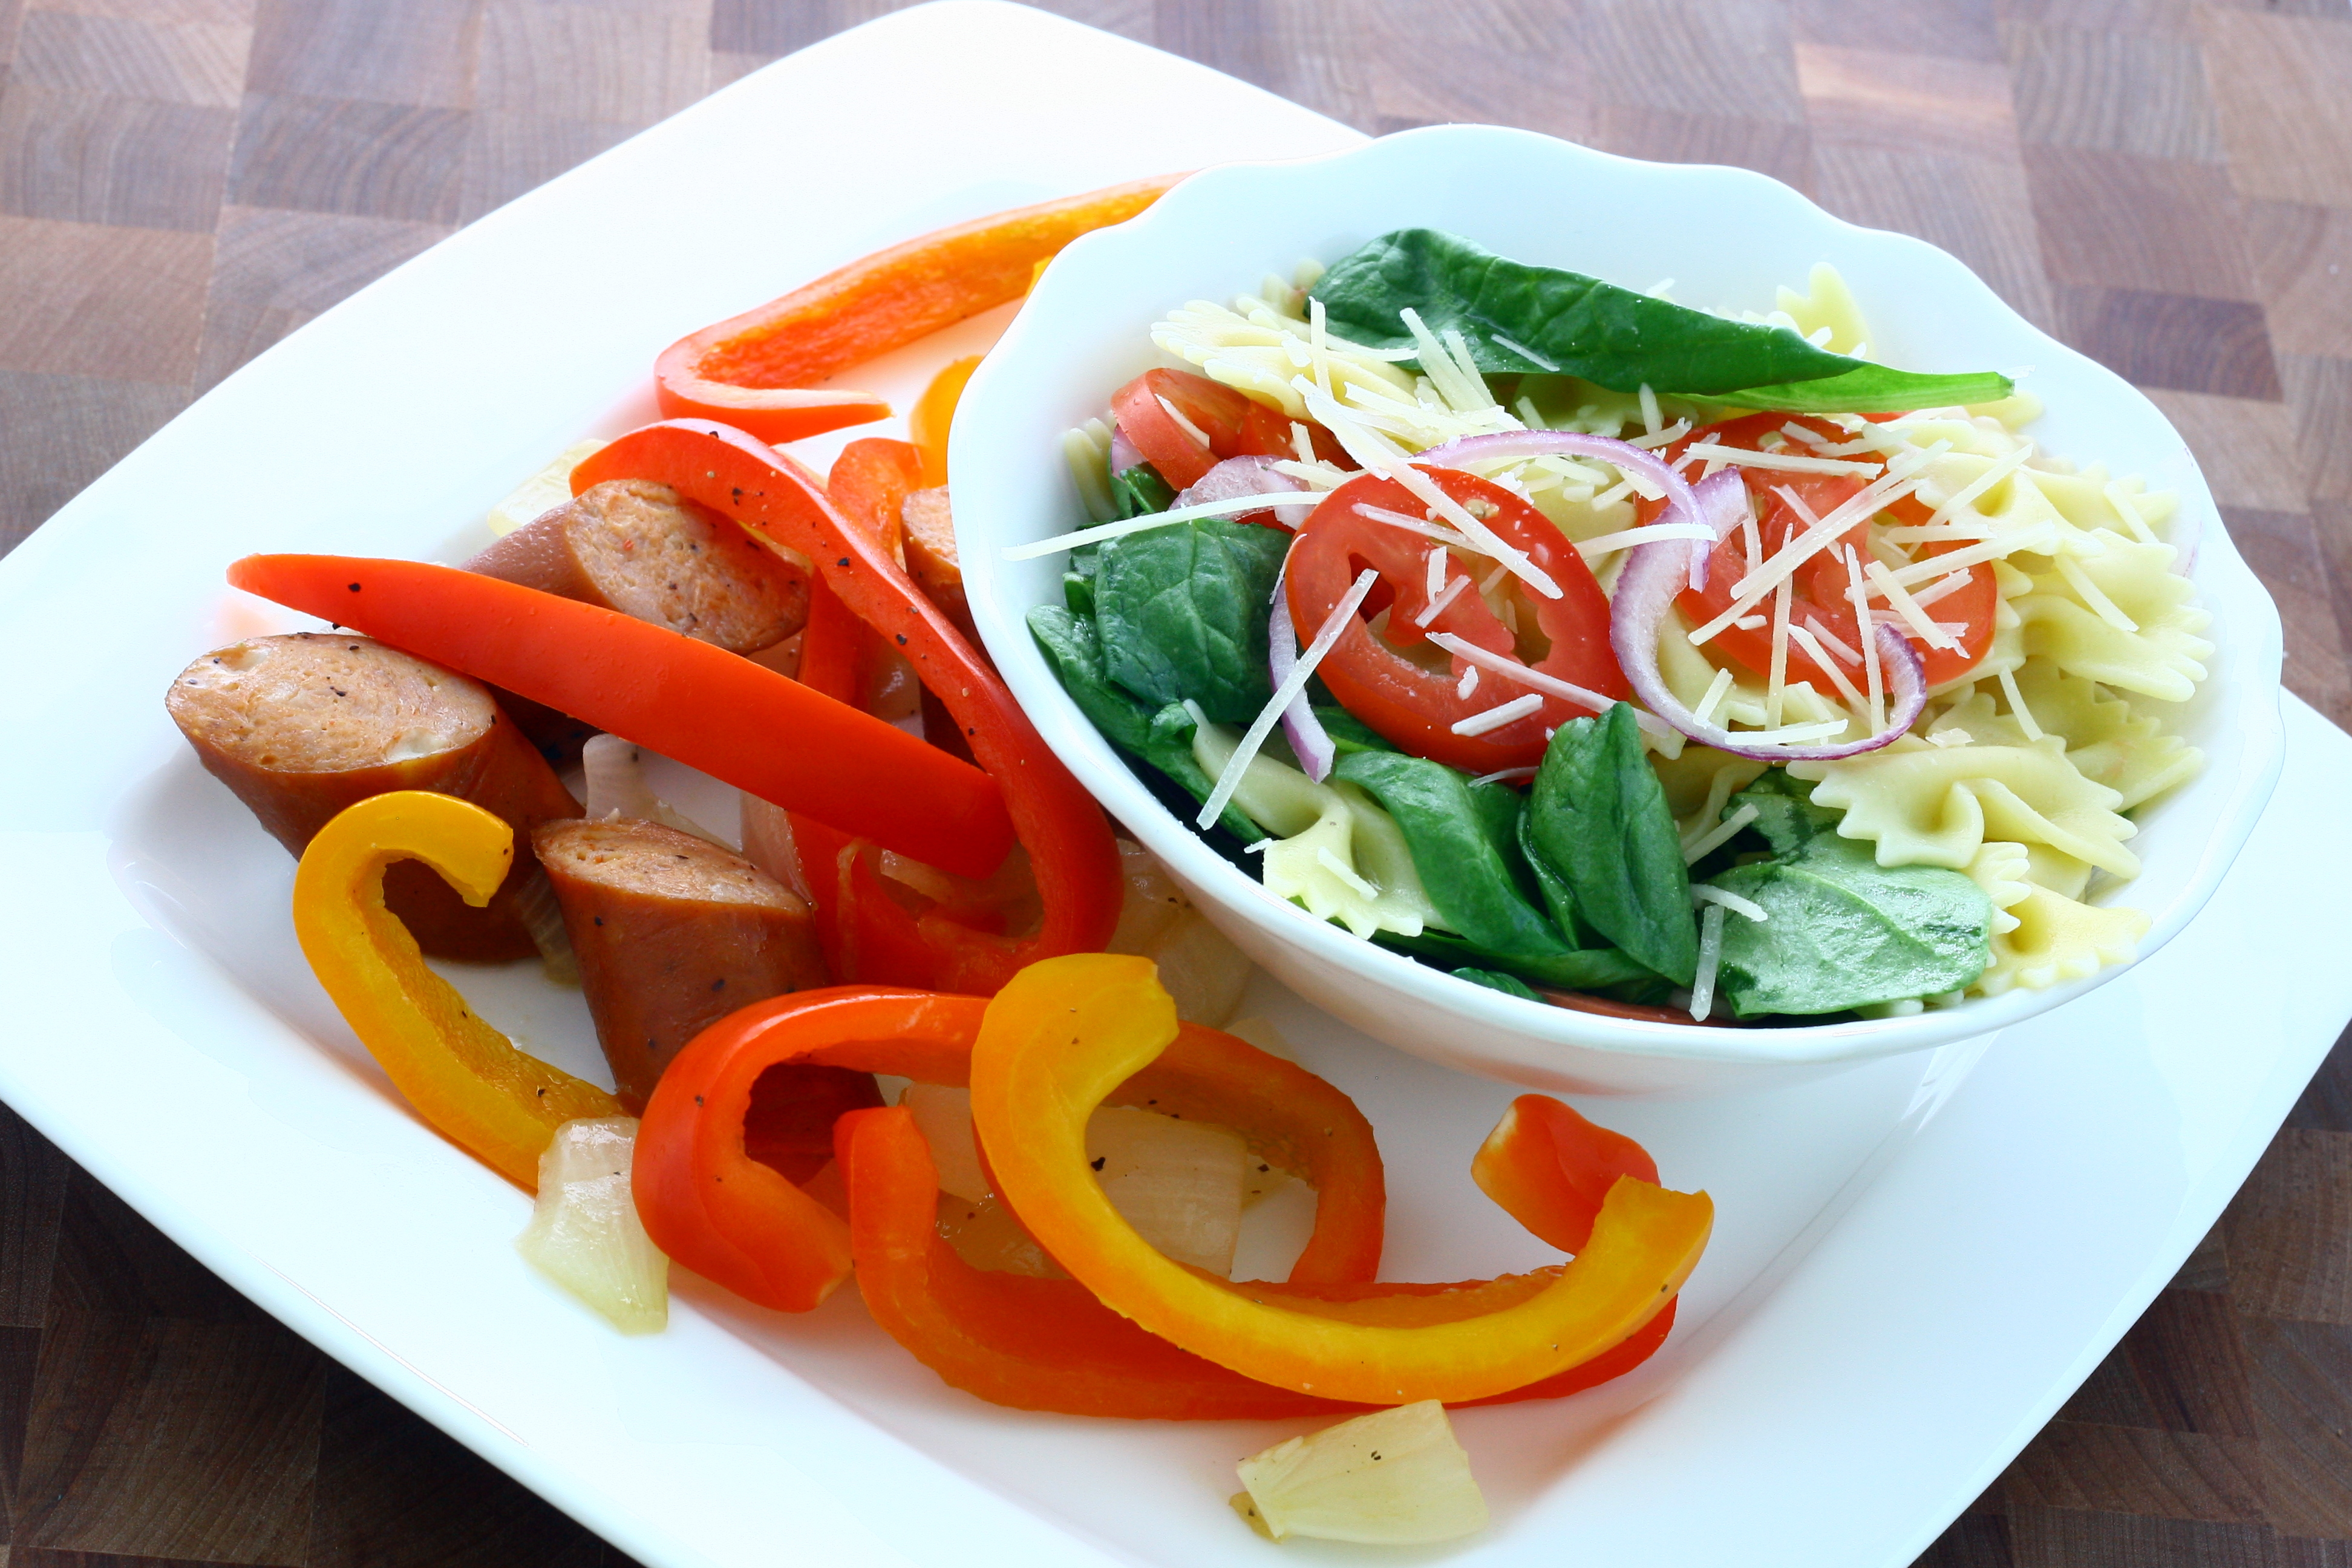
Easy Spinach Pasta Salad
12 ounces farfalle or other small pasta
1 teaspoon garlic olive oil or plain olive oil*
3 cups baby spinach
1/2 red onion, thinly sliced
3 roma tomatoes, thinly sliced
1/3 cup freshly grated Parmesan
salt and freshly ground black pepper, to taste
- Cook pasta according to package directions in a large pot of boiling salted water. Drain and immediately toss with garlic olive oil. Toss warm cooked pasta with spinach, onion, tomato and Parmesan. Season with salt and pepper and serve immediately.
*I used a garlic evoo from a local store, The Olive Cellar. Love the place and will never buy olive oil (or balsamic) from any other place.
After eating a fair amount of this, Mike and I turned in for the night. He tried to calm my nerves by playing the Fun Run episode from The Office. It worked 🙂
Now, that brings us to Sunday: race day. Mike and I rolled out of bed at around 4:00 that morning and I nervously ate a banana and some Quaker Oatmeal Squares. I chugged a little water and then we were off to Green Bay. We weather was beautiful at first. Here’s a picture of me – all happy that it was race day and ready to conquer Cellcom once again.

I got about 2 miles in before I realized just how hot and humid it was. Last year was hotter, but this year was much more humid. I do not handle humidity or heat very well. Put the two together and well… I’m a goner. Let’s just say that there aren’t many pictures I want to post of my grossness mid-run. I will, however, share with you the pics Mike snapped during my last mile in Lambeau Field!

I may look happy and full of energy in the above photos, but miles 2 – 12 were killer. I was dragging and just mentally d-o-n-e with it all. After I crossed the finish line and found Mike, I loaded up on brats and beer. I got my picture taken with a complete stranger (??) and then changed into dry clothes before heading back out to Lambeau and cheering on the marathoners and snapping a few more pics.

I wish I could say that everything was perfect. That I hit my goal time. That I PRed. But none of that is true. I debated sharing my time with the world because I was embarrassed at first. Then, I realized that all runners have good days and bad days. I just happened to have a bad day. And even though my time was 2:27 and I finished nearly 15 minutes after my goal time, I still did better than the person I was just 2 1/2 years ago. I used to be someone who couldn’t run for 20 seconds straight and struggled through Day 1 of Couch to 5k for a solid week.
I don’t run to be first. I run to finish.