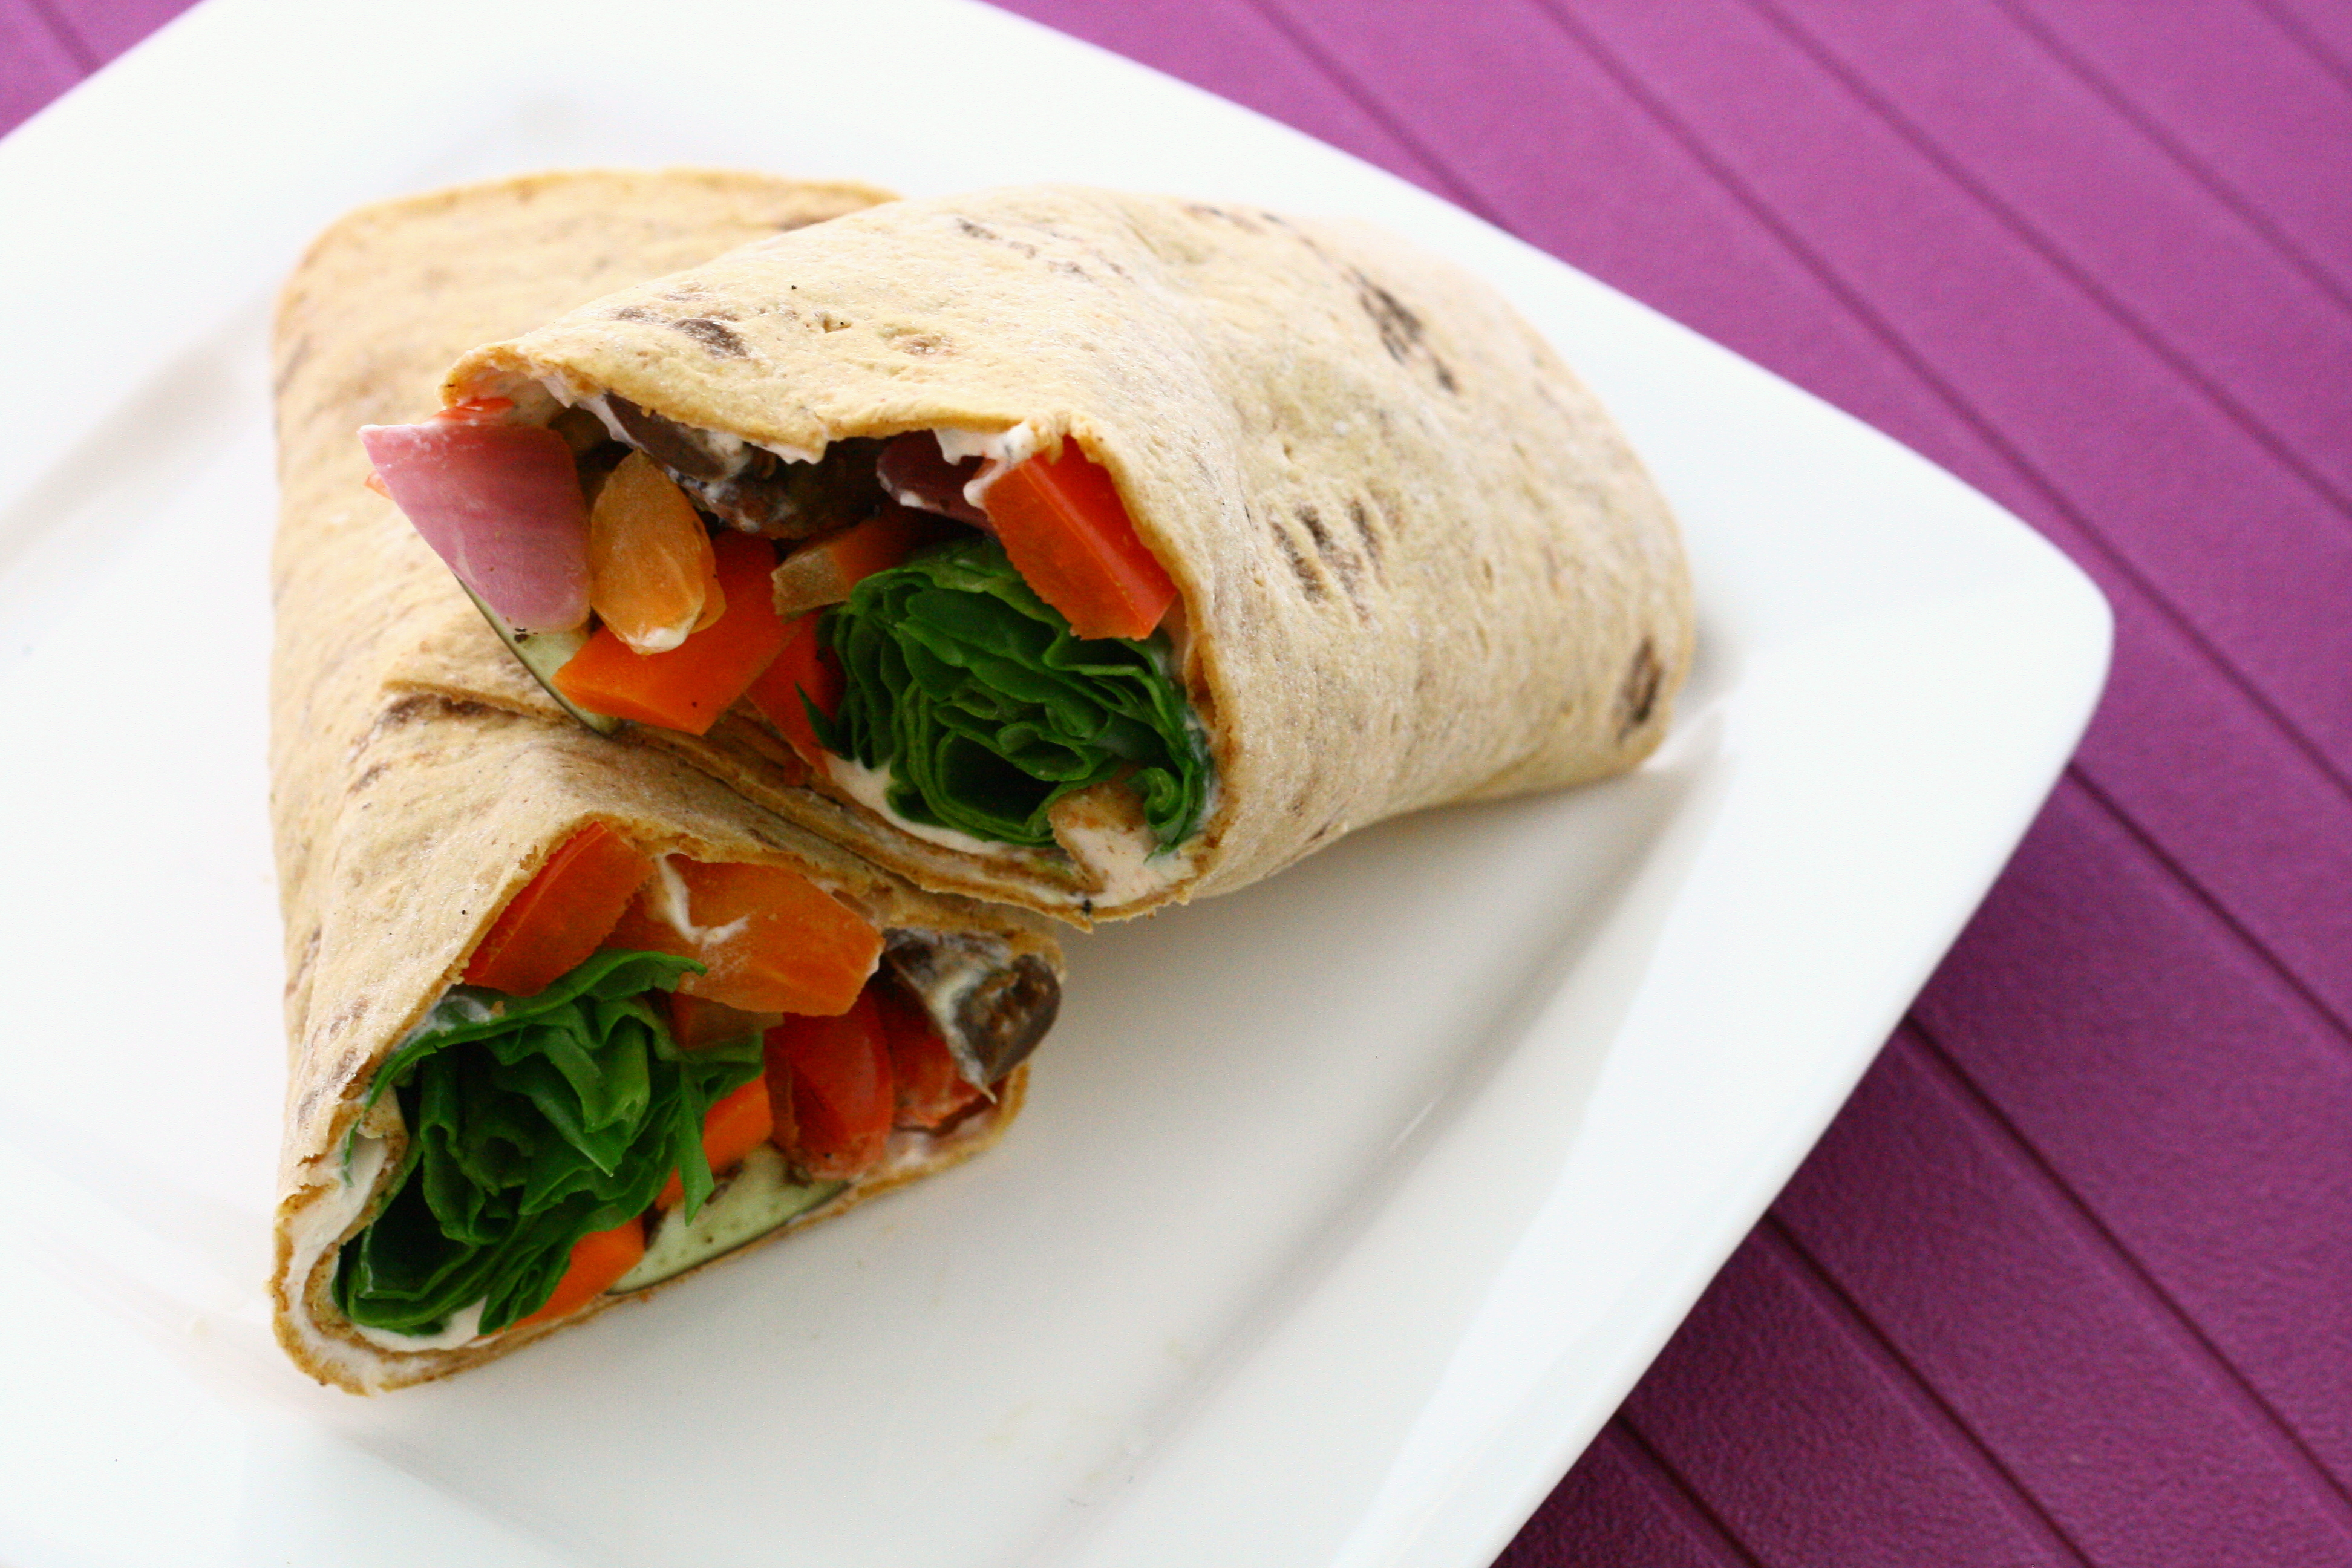
Being split between two cities is going to be difficult for me. I have to learn to live without my fully-stocked pantry and fridge, my stand mixer, endless pots and pans, and my million different cake, cupcake, bread, and cookie pans. I’m going to have to adjust to cooking with the bare minimum.
This dish will have no problem in my “new” life. It requires no special equipment and can be tossed together in no time. The leftovers make for a pretty great lunch the next day, too.
I lightened up this dish by making my own Alfredo sauce. The canned stuff (or worse, the packet stuff) scares me and has no place in my kitchen! This homemade Alfredo also passes on the heavy cream and copious amounts of butter. Trust me, this sauce is delish and you won’t even miss the cream or butter!

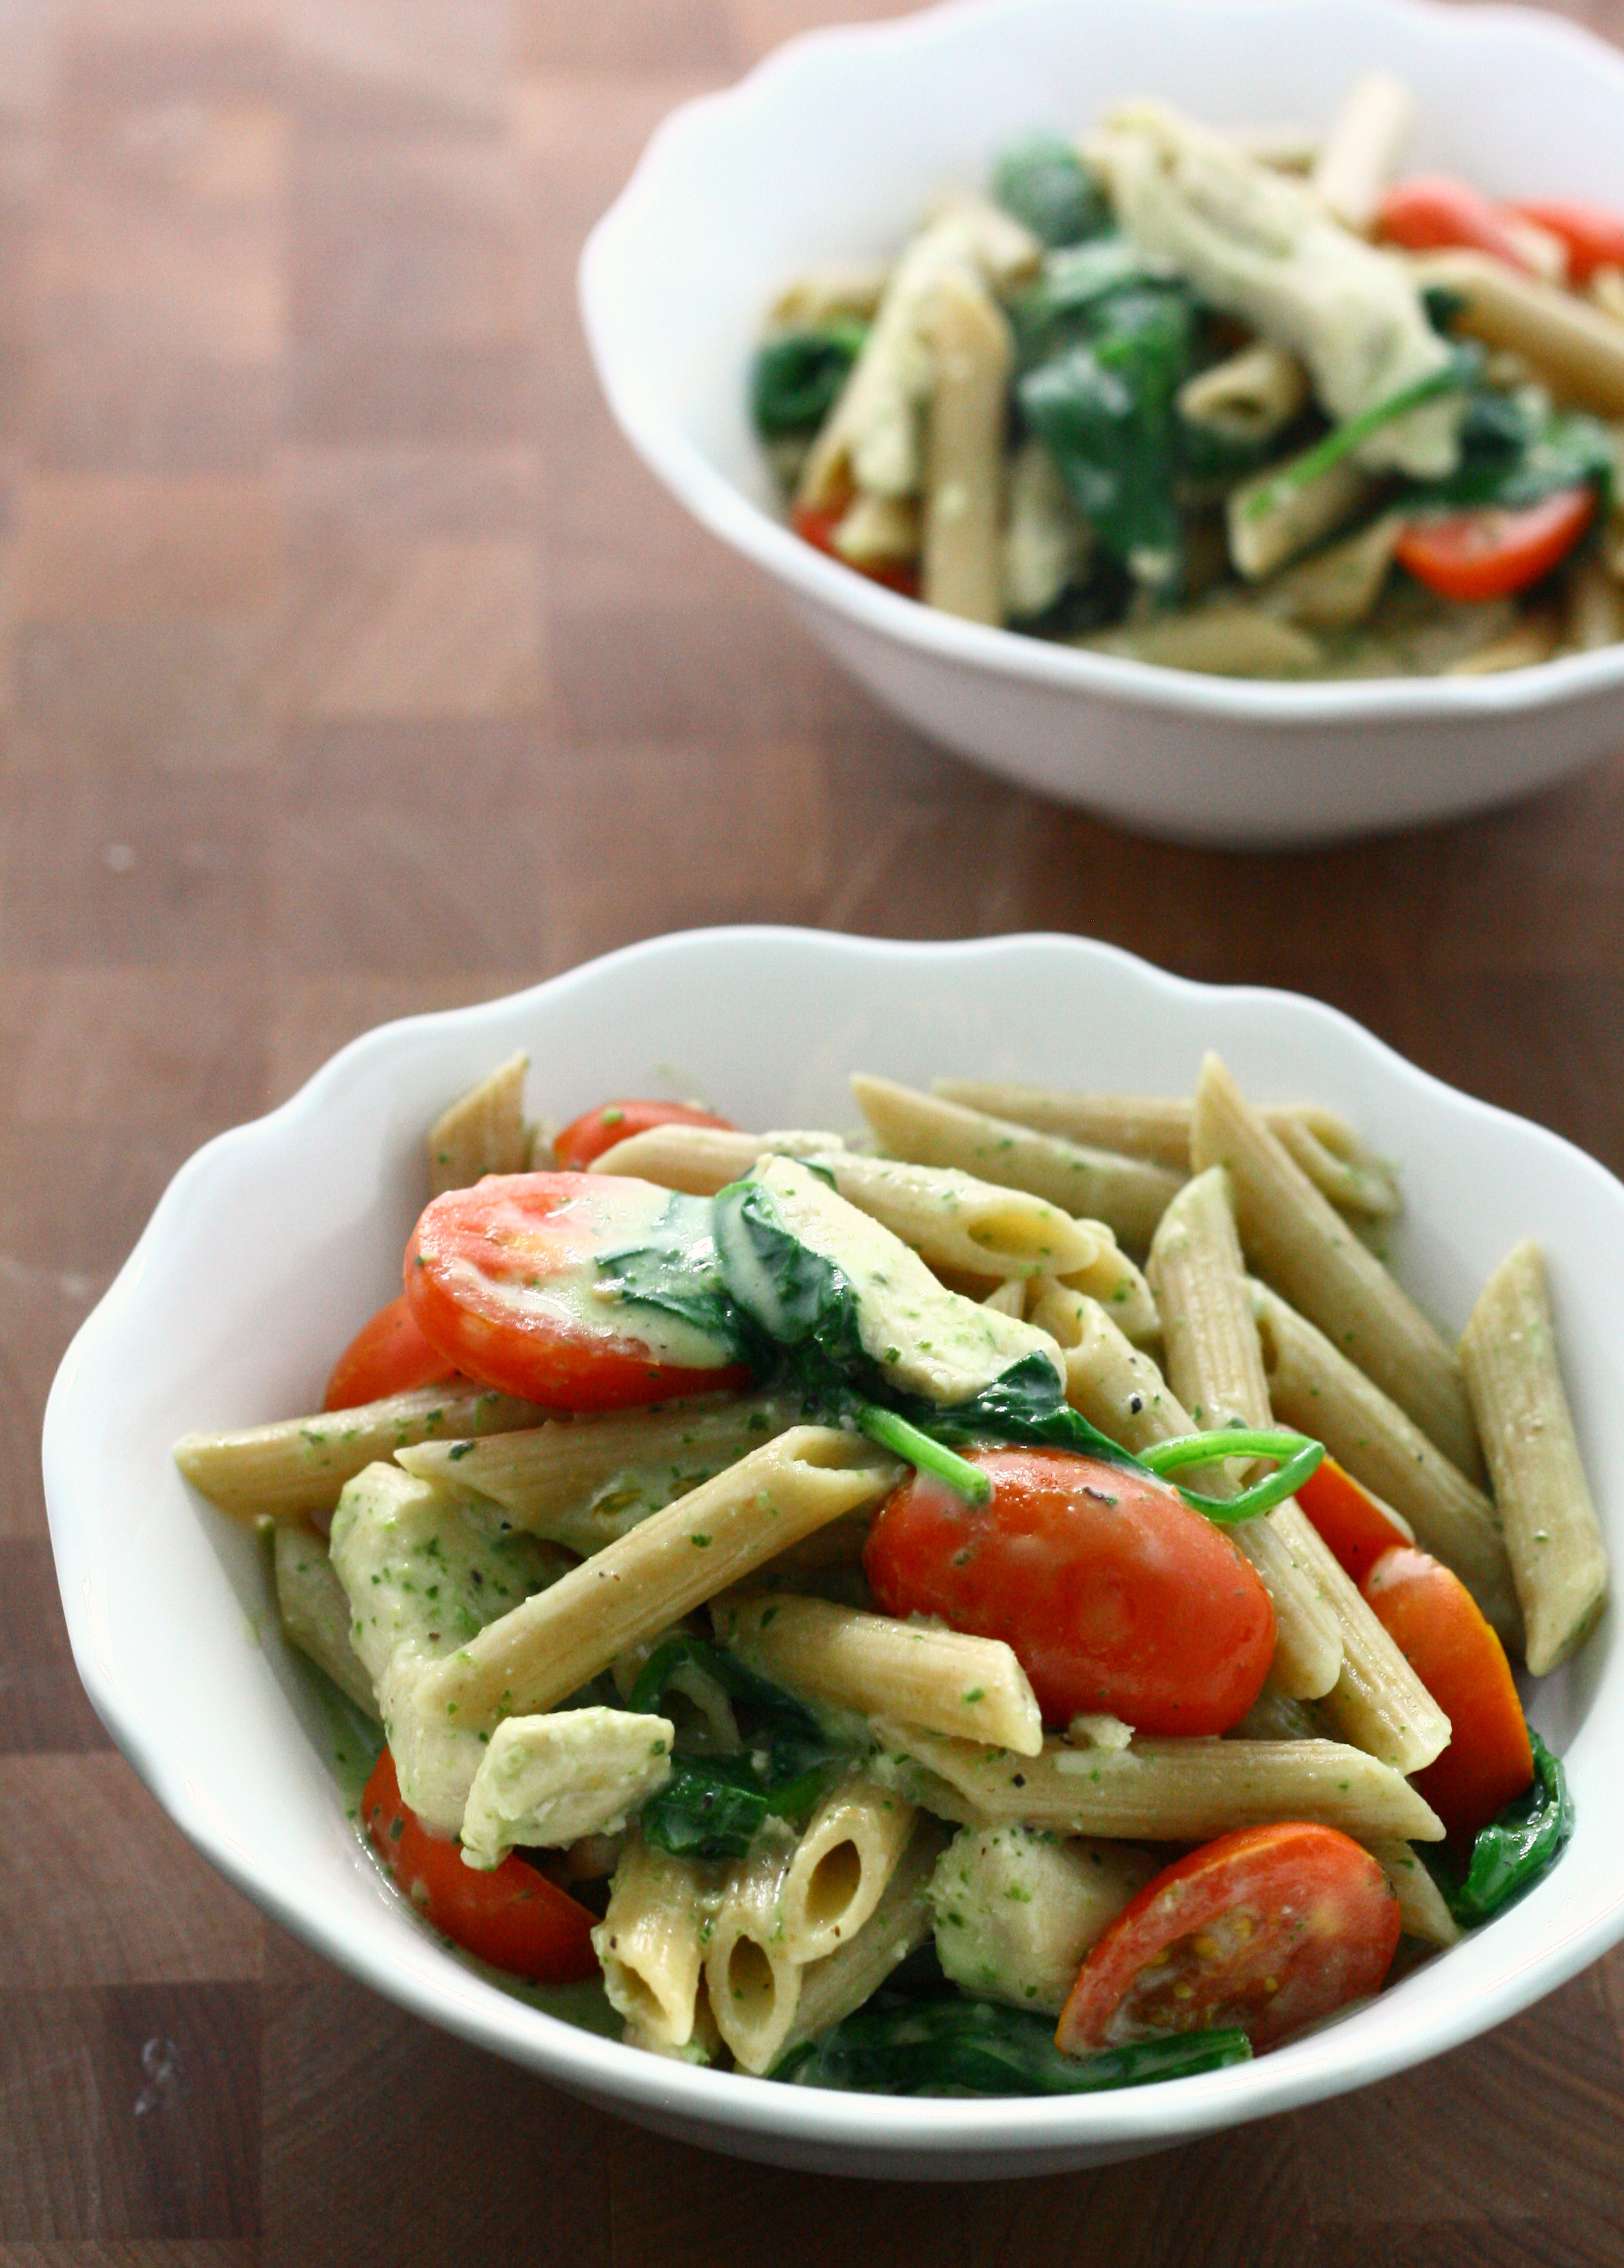
Lightened Up Pesto Chicken Florentine
adapted from All Recipes
8 ounces dried whole wheat penne
1 tablespoon olive oil
2 cloves garlic, minced
2 boneless, skinless chicken breasts, cut into thin strips
1 3/4 cup lightened-up Alfredo sauce, recipe below (jarred will work as well)
2 tablespoons pesto
4 cups fresh baby spinach
1 pint grape tomatoes, halved
- Cook pasta according to package directions.
- Meanwhile, heat olive oil in a large skillet over medium heat. Add garlic and cook for 1 minute. Add in chicken strips and cook until no longer pink on the inside, about 10 minutes.
- Stir in spinach and tomatoes and cook for an additional 1 – 2 minutes, or until spinach is wilted.
- Mix together Alfredo sauce and pesto and pour into cooked pasta. Stir in chicken and spinach and mix well to combine.
- Serve immediately.
Lightened Up Alfredo Sauce
makes 1 3/4 cup
1 tablespoon unsalted butter
1 clove garlic
2 teaspoons all-purpose flour
1/2 teaspoon salt
1/4 teaspoon freshly ground black pepper
1 ounce reduced fat (Neufchatel) cream cheese
1/2 cup shredded Parmesan cheese
- Melt butter in a medium saucepan over medium heat. Stir in garlic and cook for 2 – 3 minutes or until soft.
- Whisk in flour, salt, and pepper and stir until smooth. Cook for 1 minute. Slowly whisk in milk and cook for 3 – 5 minutes or until mixture has thickened slightly.
- Whisk in cream cheese and Parmesan cheese until smooth.