Ok, so this recipe was a total accident. A wonderful, delicious accident. You see, last weekend we went shopping and bought four types of cheese. Yes, four. I was supposed to buy cheddar, cheddar jack, mozzarella, and smoked gouda. But instead of buying smoked gouda, I accidentally bought buffalo jack. So, we went back to the store and got smoked gouda. So we ended up buying five types of cheese this weekend. They are now sitting happily with 3 other types of cheese in our fridge. I guess we really, really like cheese or something.
I had plans for four of the cheeses that we purchased, but since I wasn’t planning on buying a buffalo cheese, I obviously didn’t have anything to do with it. Yet. As I was making barbecue sauce it suddenly dawned on me – buffalo chicken mac & cheese. Bingo.
I encourage you to make this delicious, messy goodness. I definitely do not encourage you to calculate the nutritional info for this. It will make you cry. If you can’t find buffalo jack cheese, feel free to sub in a sharp cheddar.
Welcome to Wisconsin, folks.
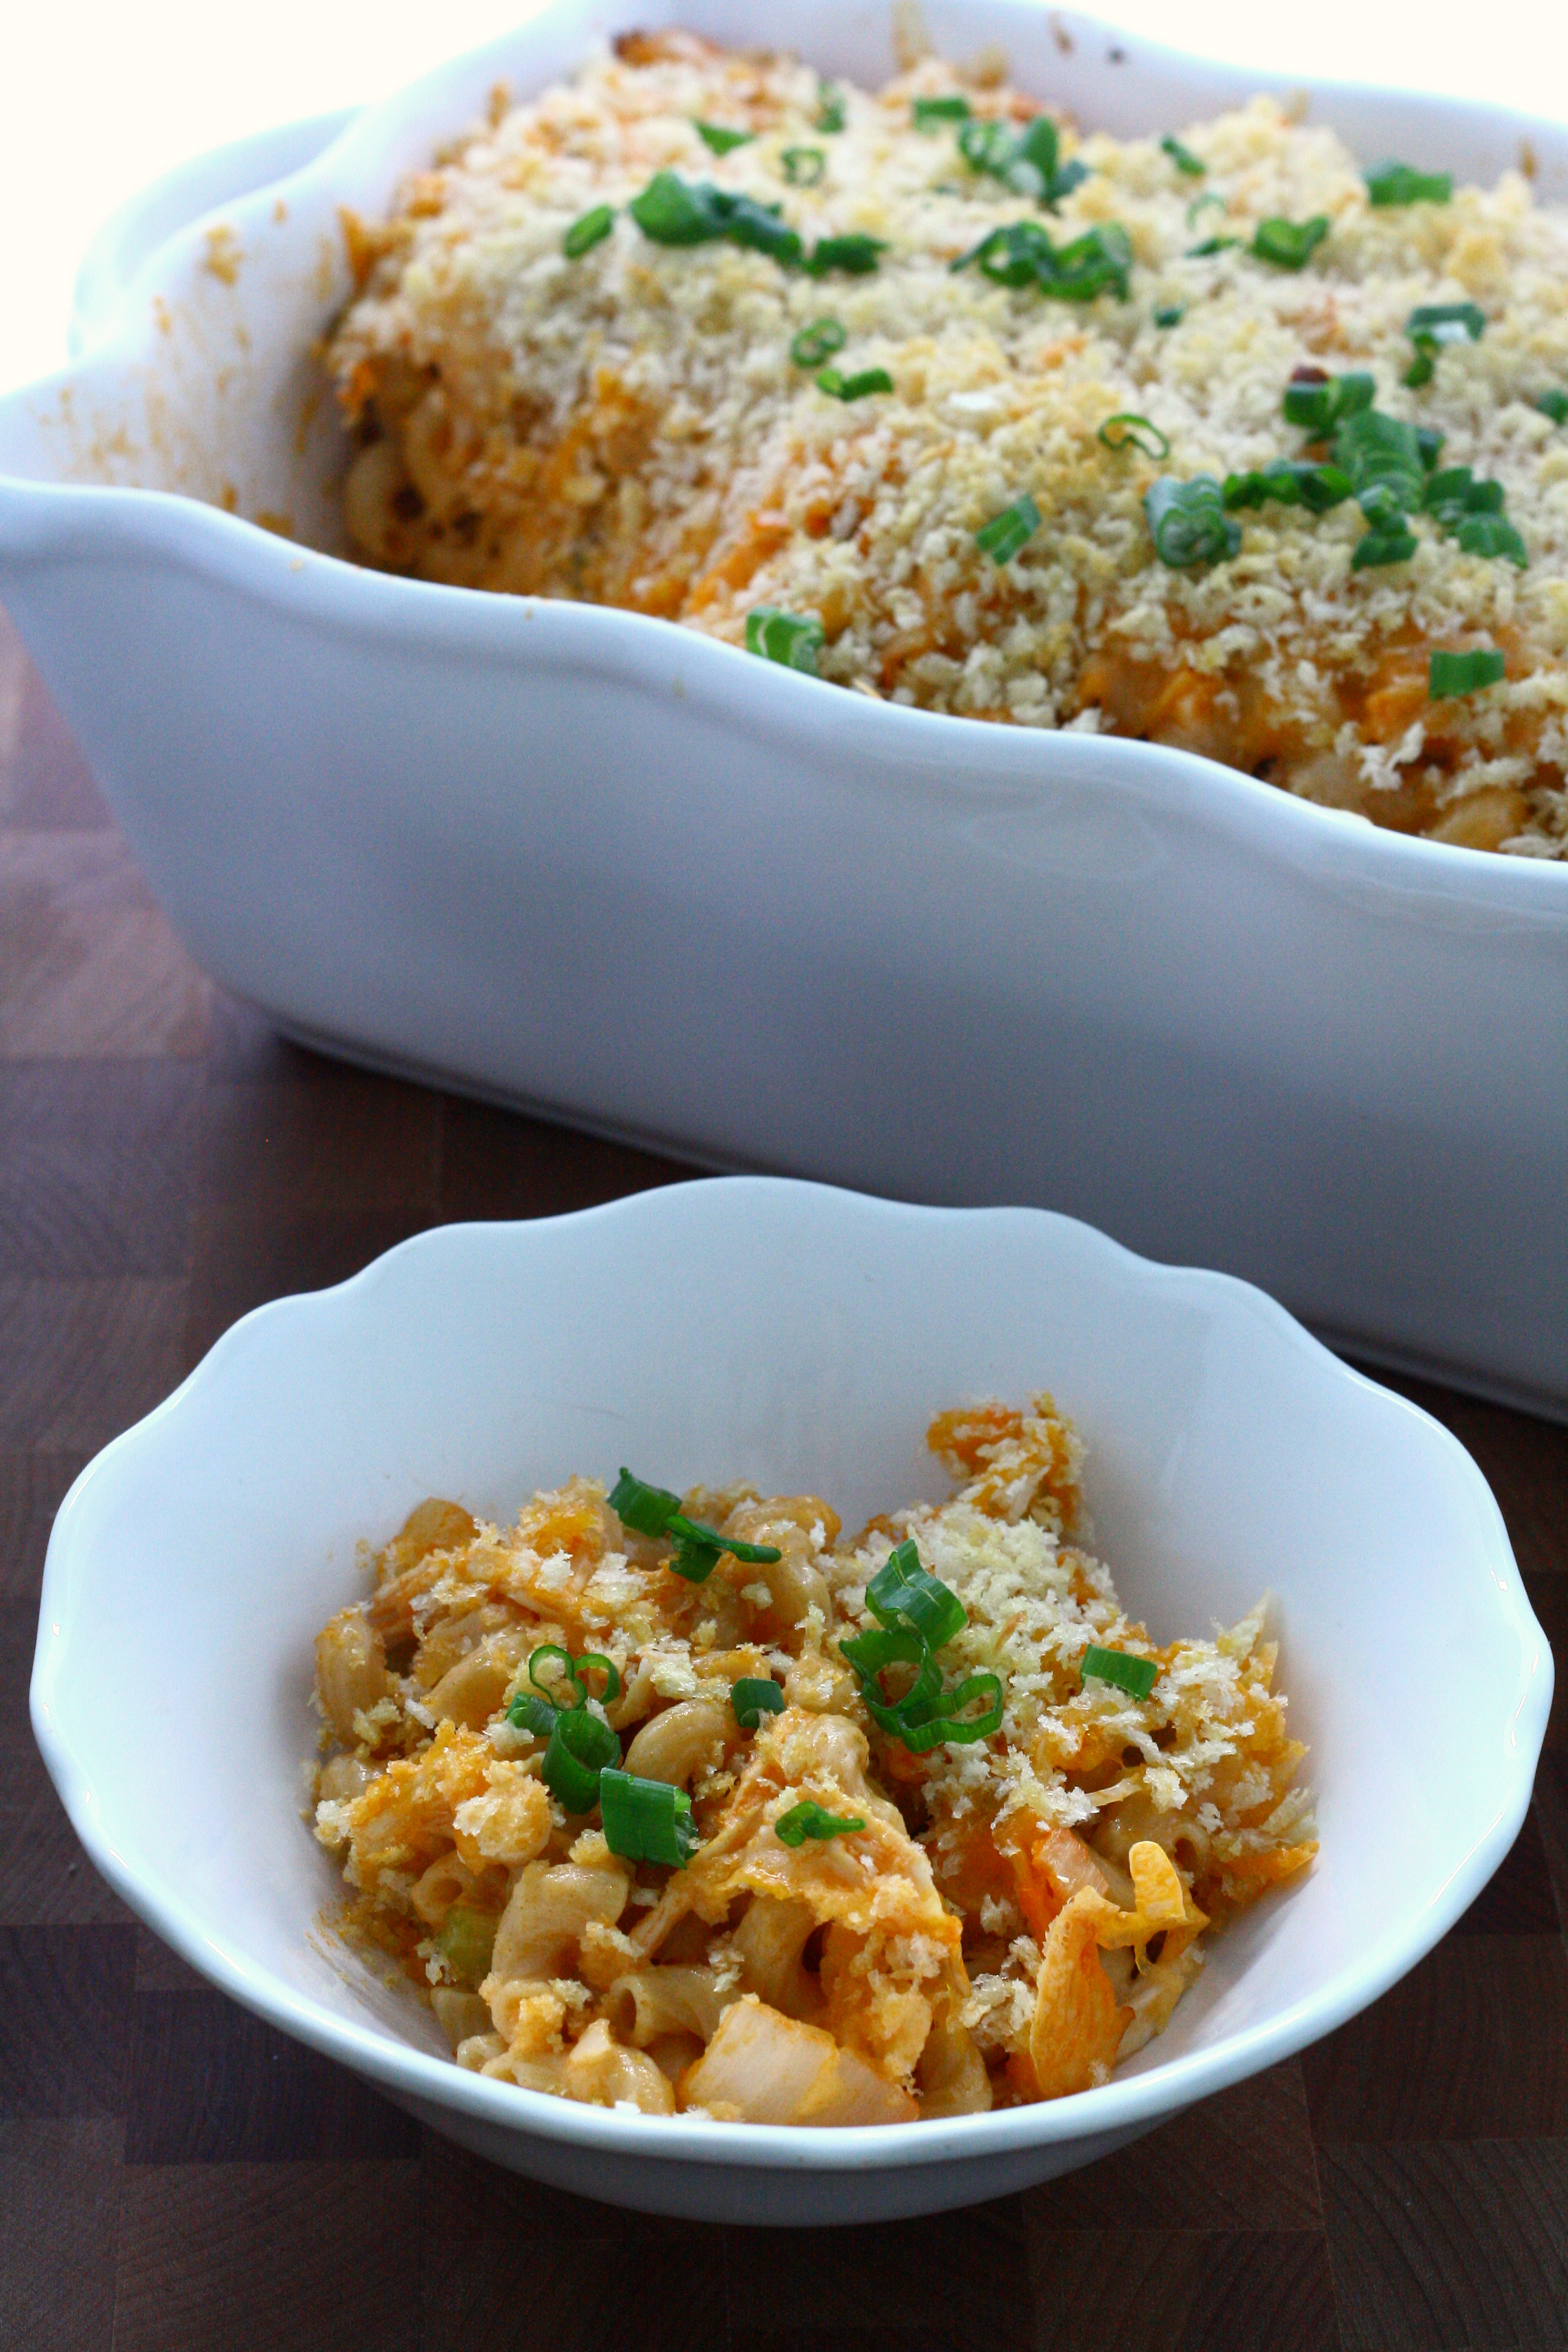
Buffalo Chicken Mac & Cheese
adapted from Food Network
1 pound whole wheat macaroni
1 tablespoon olive oil
1 small onion, finely chopped
2 cloves garlic, minced
1 celery stalk, finely chopped
1 pound cooked boneless, skinless chicken breast, shredded
3/4 cup Frank’s Red Hot or hot sauce of choice, divided
1 bunch green onions, thinly sliced, divided
1 jalapeño, minced
3 tablespoons unsalted butter, divided
2 tablespoons all purpose flour
2 teaspoons dry mustard
2 cups skim milk
2 cups shredded buffalo jack cheese, divided
1 cup shredded sharp cheddar cheese, divided
3/4 cup panko bread crumbs
- Preheat oven to 350°F and lightly coat a 9×13″ baking dish with olive oil. Set aside.
- Cook pasta according to package directions until al dente. Drain.
- Meanwhile, heat olive oil in a large skillet over medium heat. Add in celery and onion and cook until soft, about 3 – 5 minutes. Stir in garlic and chicken and cook until garlic is fragrant, about 2 more minutes. Stir in 1/2 cup of the hot sauce and 3/4 of the sliced green onions.
- Heat 2 tablespoons butter in a small pan over medium heat. Whisk in flour and mustard until smooth. Whisk in milk and remaining hot sauce and cook, stirring frequently, until thick, about 3 – 5 minutes. Whisk in 1 1/2 cups of buffalo jack cheese and 3/4 cup of the cheddar cheese until smooth.
- Spread half the pasta into the bottom of the prepared baking dish. Top with half the chicken mixture and half the cheese sauce. Repeat with the remaining pasta, chicken, and cheese sauce.
- Melt remaining 1 tablespoon butter in a small dish and toss with panko to combine. Toss with remaining 1/2 cup buffalo jack cheese and 1/4 cup cheddar cheese. Sprinkle panko cheese crumbs on top of casserole.
- Bake in preheated oven until bubbly, 30 – 40 minutes. Let rest 10 minutes before serving. Sprinkle with remaining green onions before serving.