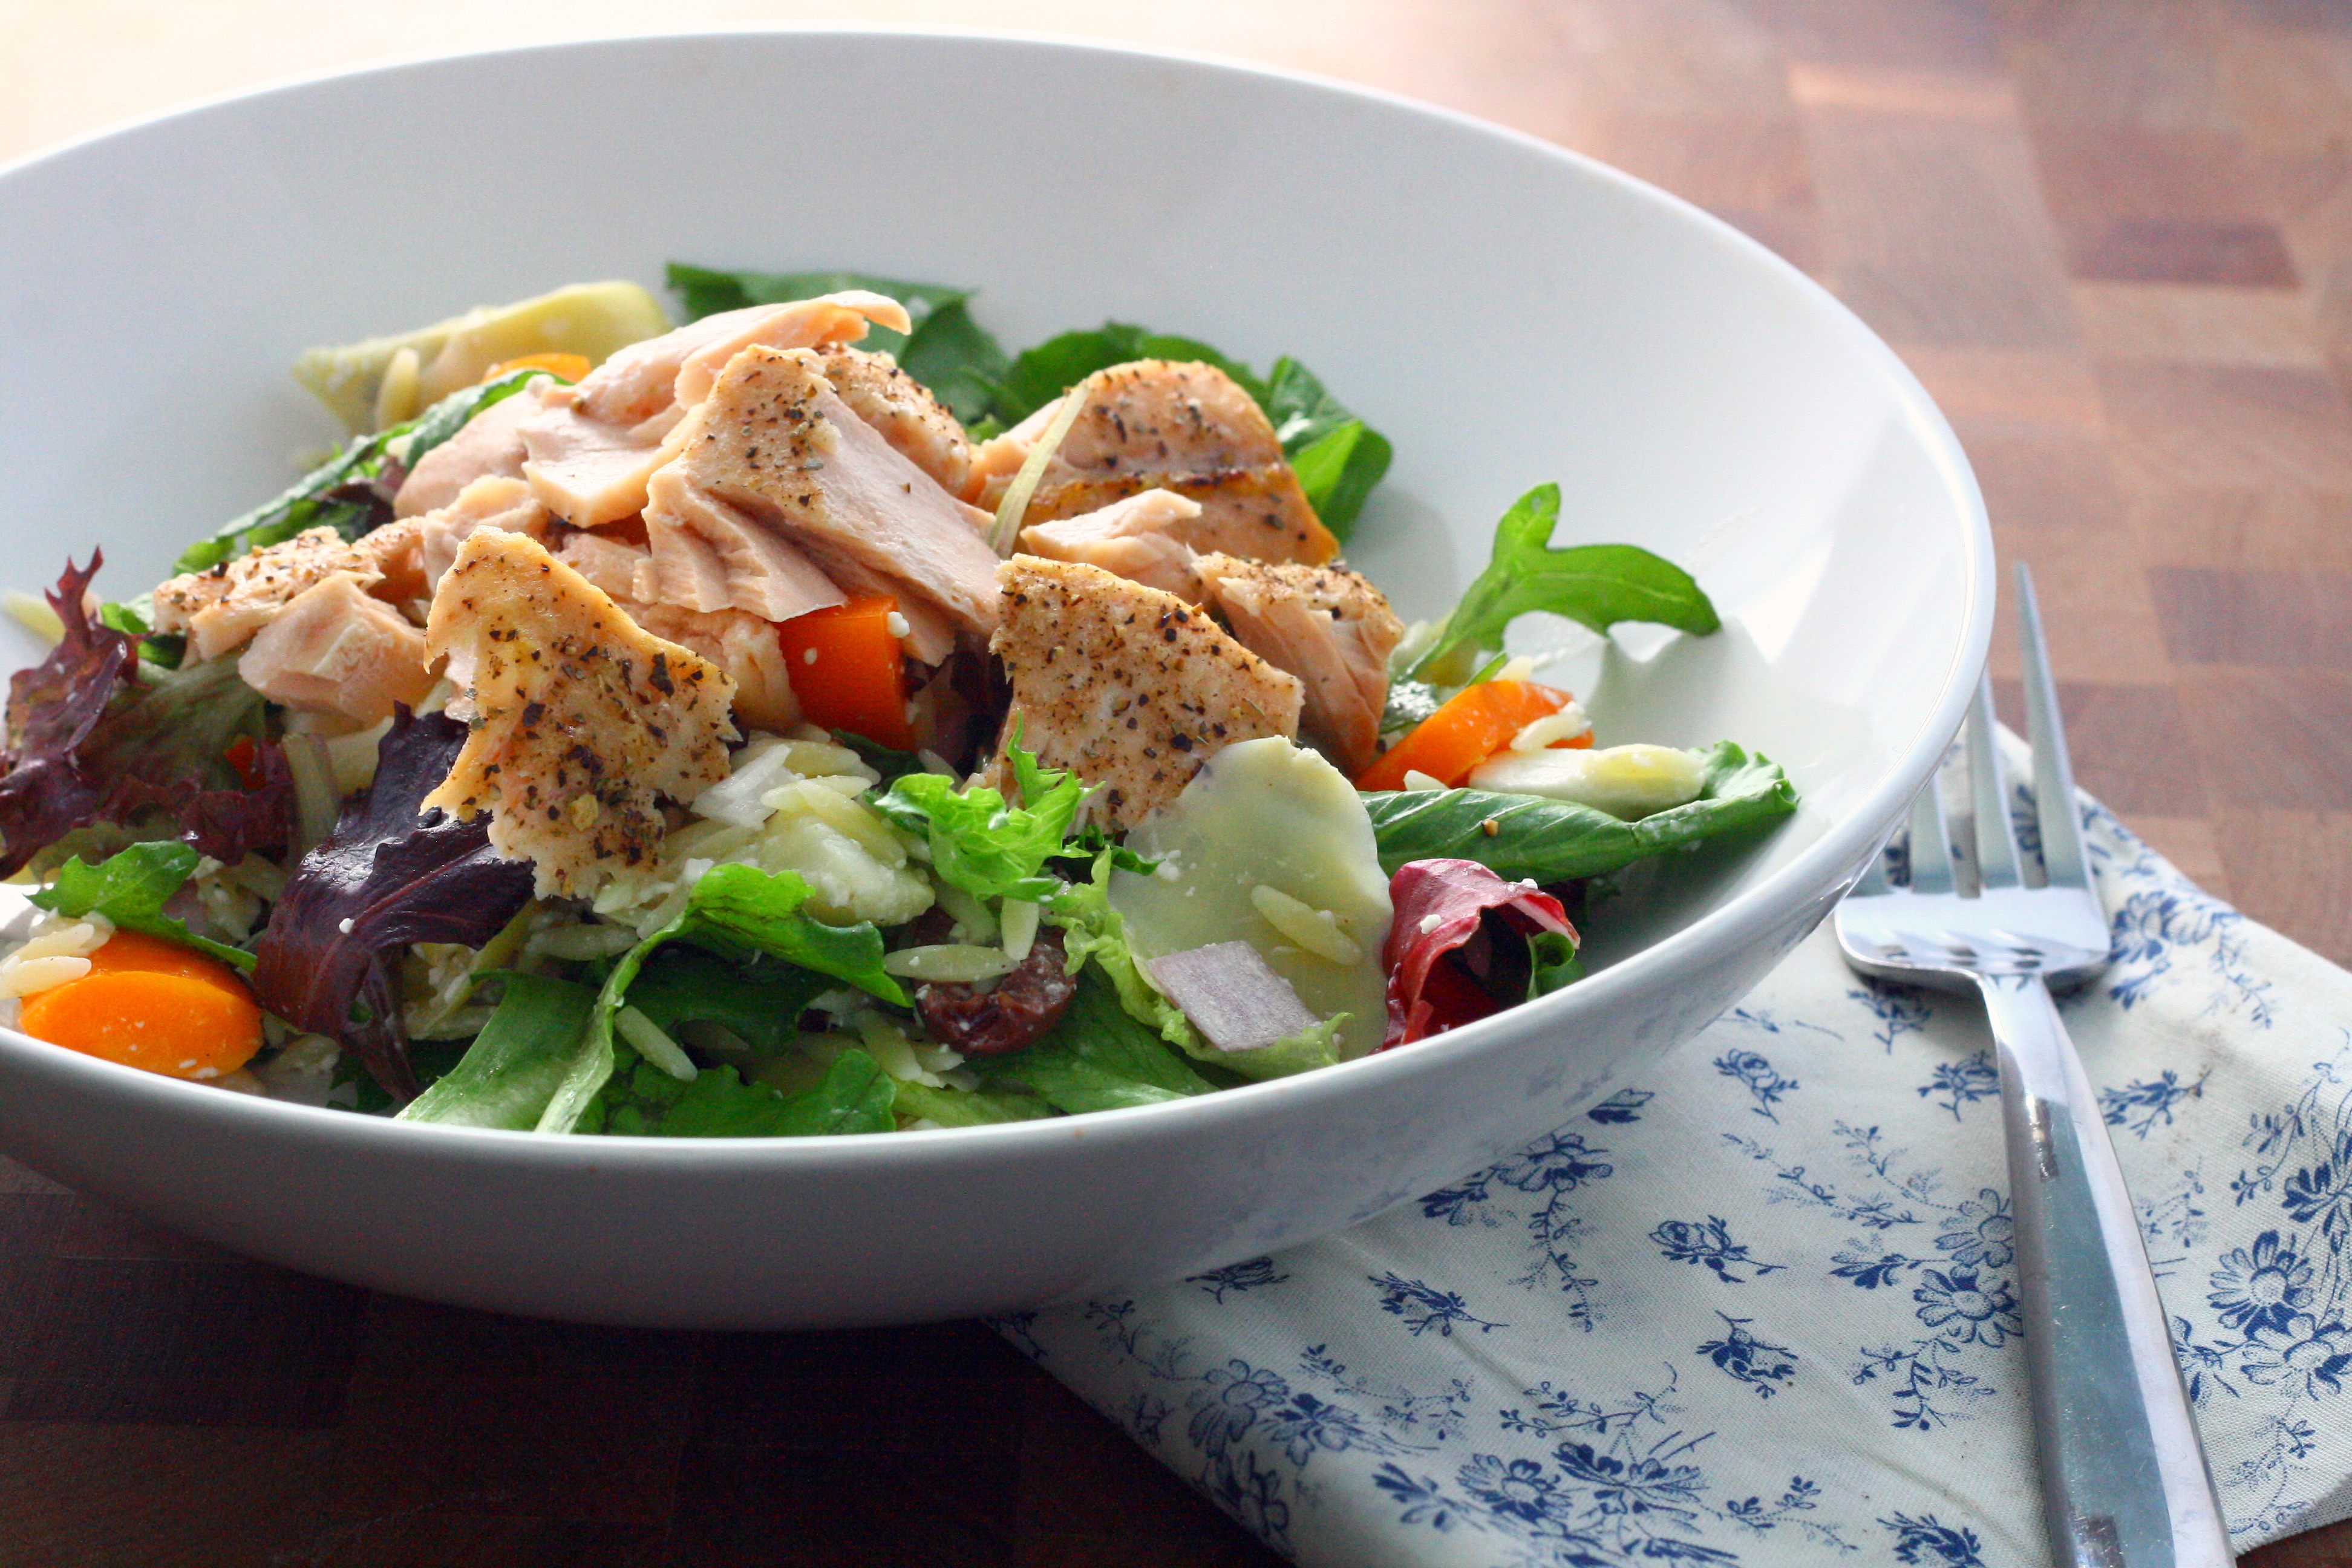
Okay, so I’m a bit of a bad dietitian. I don’t eat fish once a week. Or even once a month, honestly. I can’t really tell you why. I like it, but it just never seems to make it into my menu plan. I almost always have a salmon and tilapia in my freezer, but I very rarely reach for it when I’m putting dinner together. Hmm. Something’s gotta change. To start us off? This delicious salad. This salad isn’t your traditional mostly-lettuce salad. Don’t get me wrong – I love my mostly veggie salads. I eat one for lunch every day during the work week. But sometimes a basic veg salad just doesn’t hit the spot. But this salad most definitely does. It is chock-full of all sorts of goodies from salmon to artichoke hearts to feta to… well, everything I love. I made this again a couple weeks later and forgot the feta and it still tasted great. Best of all, it was super easy to put together. From start to finish, it only took about 20 minutes.
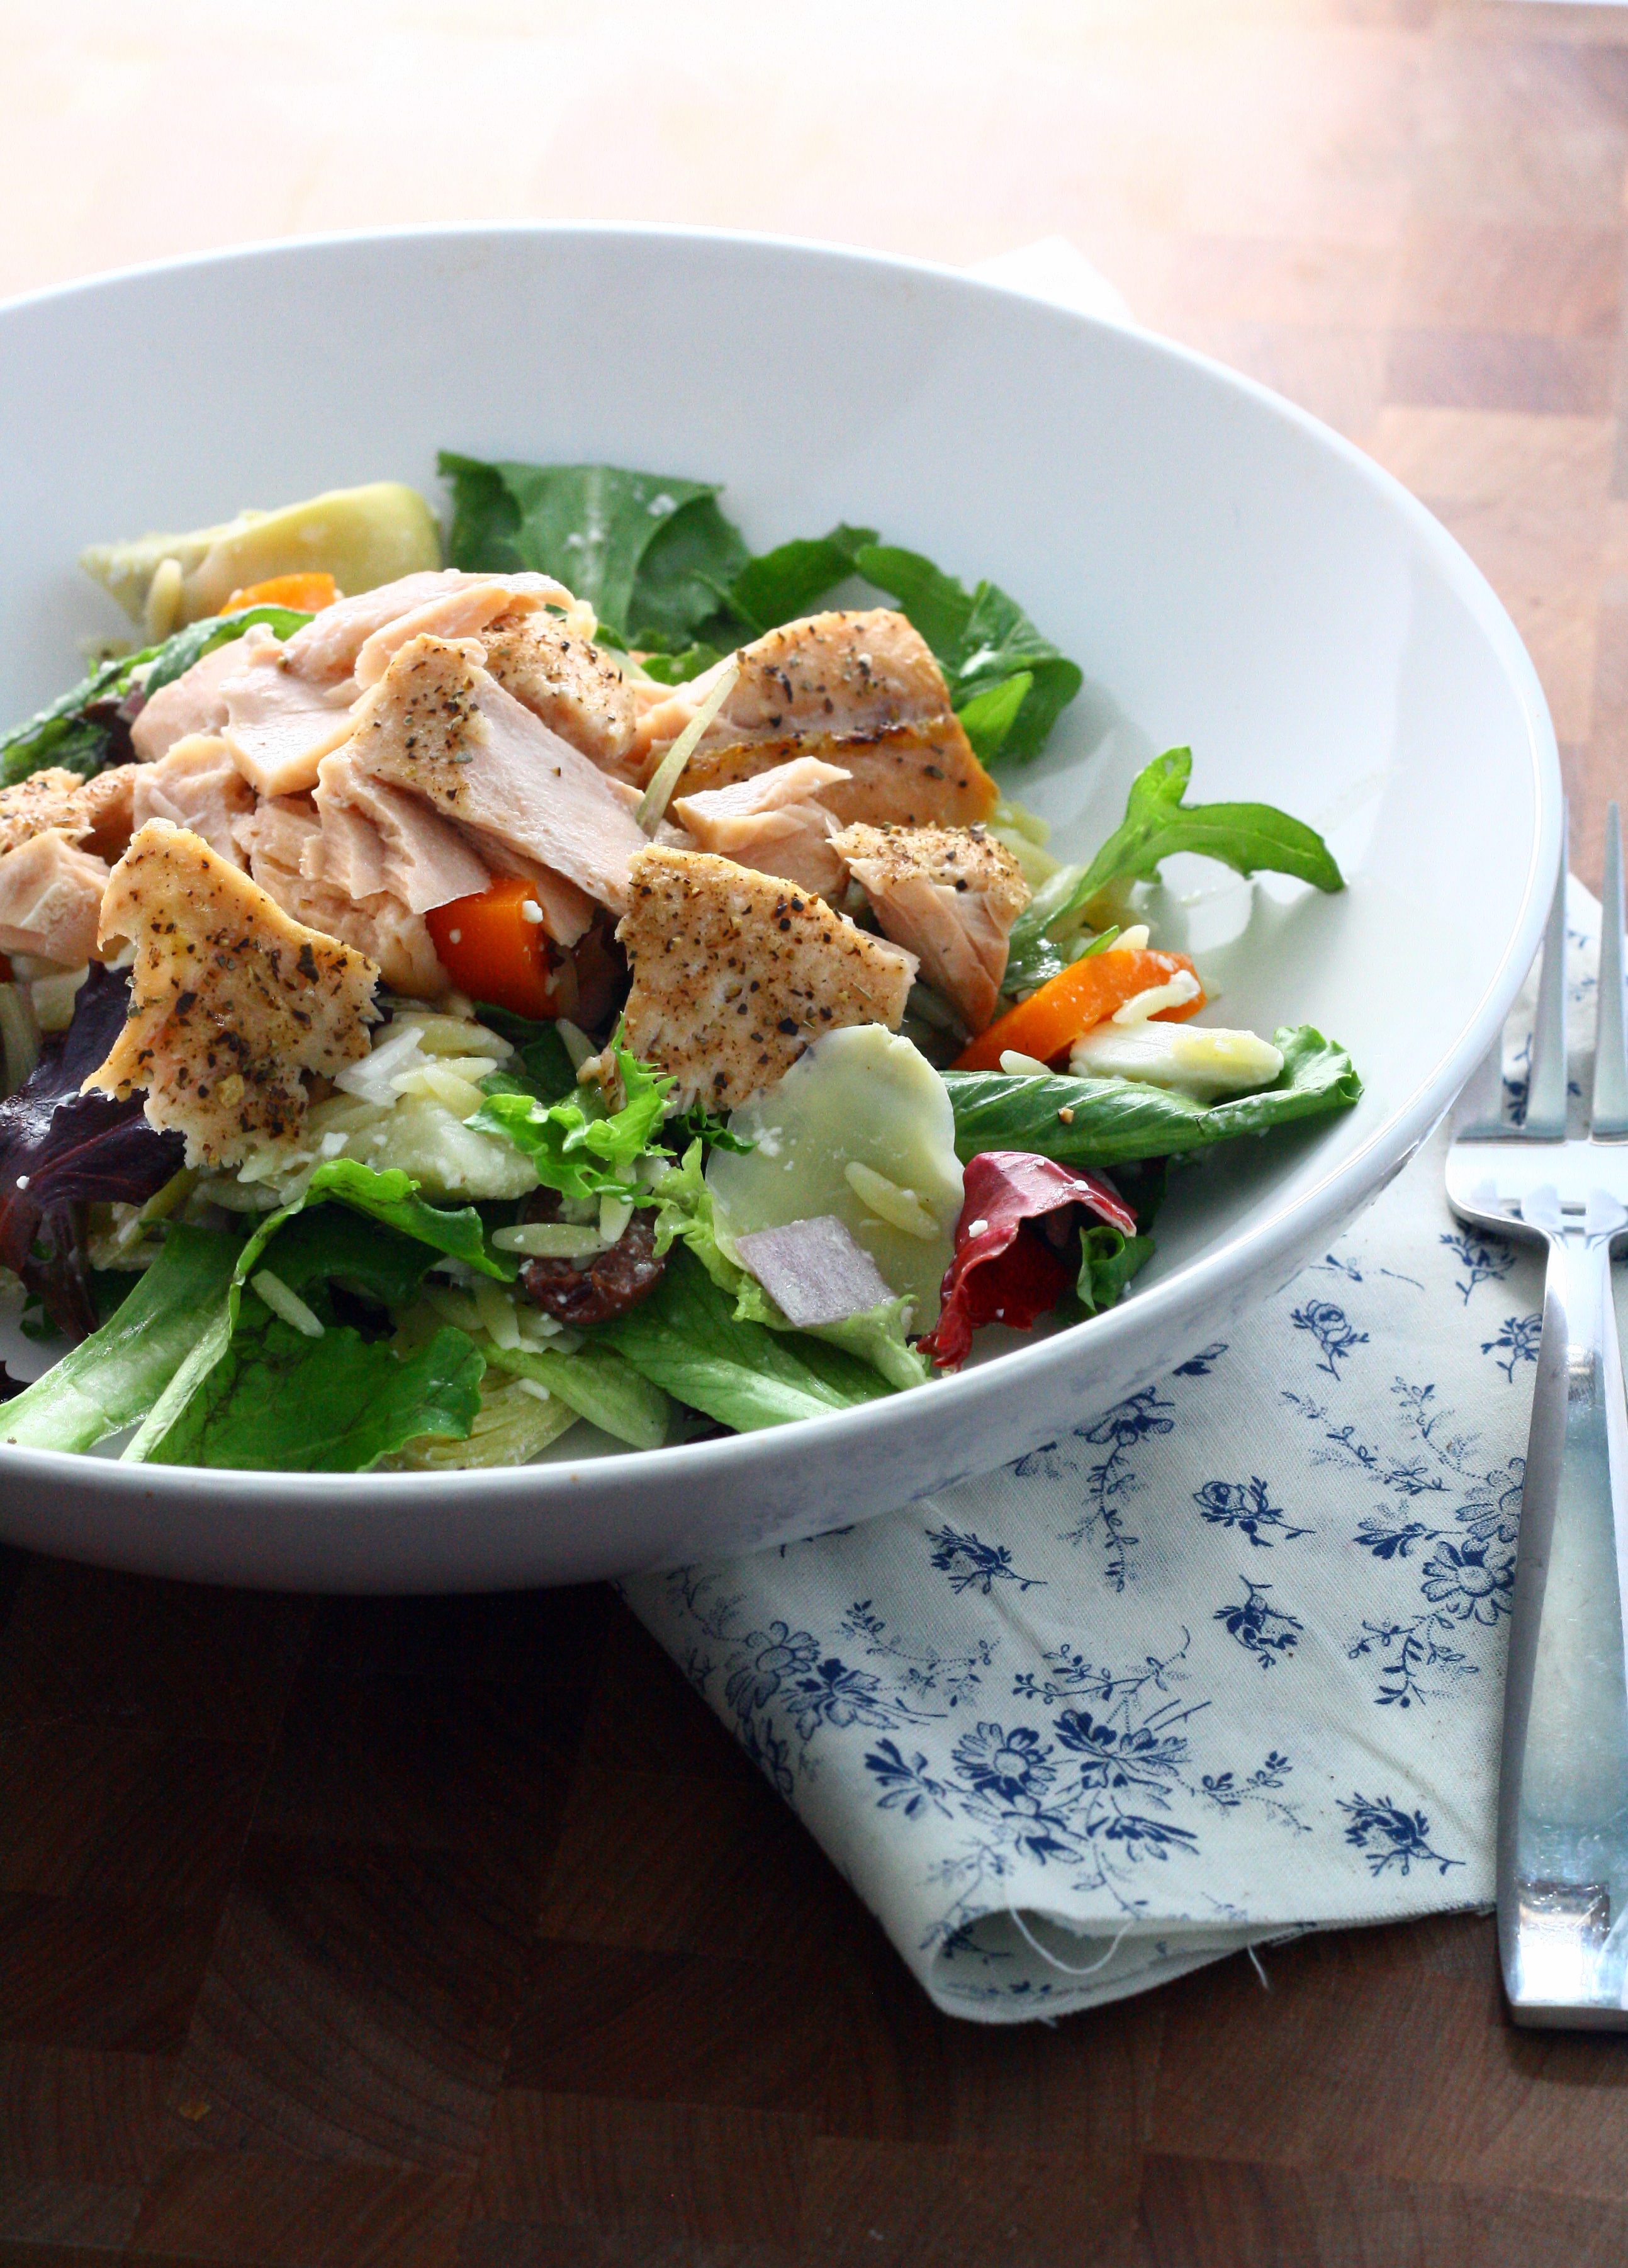
Mediterranean Salmon Salad
slightly adapted from Weekly Bite via Prevention RD
for the dressing:
1/2 cup olive oil
1/2 cup red wine vinegar
1 1/4 teaspoon dried oregano
1 1/4 teaspoon dried basil
1 1/4 teaspoon garlic powder
1 teaspoon onion powder
1 teaspoon salt
1 teaspoon freshly ground pepper
1 teaspoon Dijon mustard
for the salad:
1 pound salmon filet
1/4 teaspoon salt
1/2 teaspoon freshly ground black pepper
1/4 teaspoon dried oregano
1 cup orzo
1/2 cup kalamata olives, halved
1 bell pepper, chopped (~3/4 cup)
1/2 red onion, chopped (~3/4 cup)
5 ounces feta, crumbled
14 ounce can of artichoke hearts, quartered
2 cups spring salad mix
dressing (see above)
- To make the dressing: whisk all ingredients together and set aside.
- To make the salad: Preheat broiler to high. Sprinkle salmon with salt, pepper, and oregano. Place under broiler and cook for 5 minutes, or until center is cooked.
- Cook orzo according to package directions. Drain and place into a large bowl. Pour 1/4 cup dressing over pasta and gently toss. Add in olives, bell pepper, red onion, feta, artichoke hearts, and salad mix to orzo and toss to combine.
- Flake salmon with two forks and place on top of salad. Serve with additional dressing on the side.