DoughSeeDough

a balanced plate with room for dessert


4 Comments

Kimchi Fried Rice

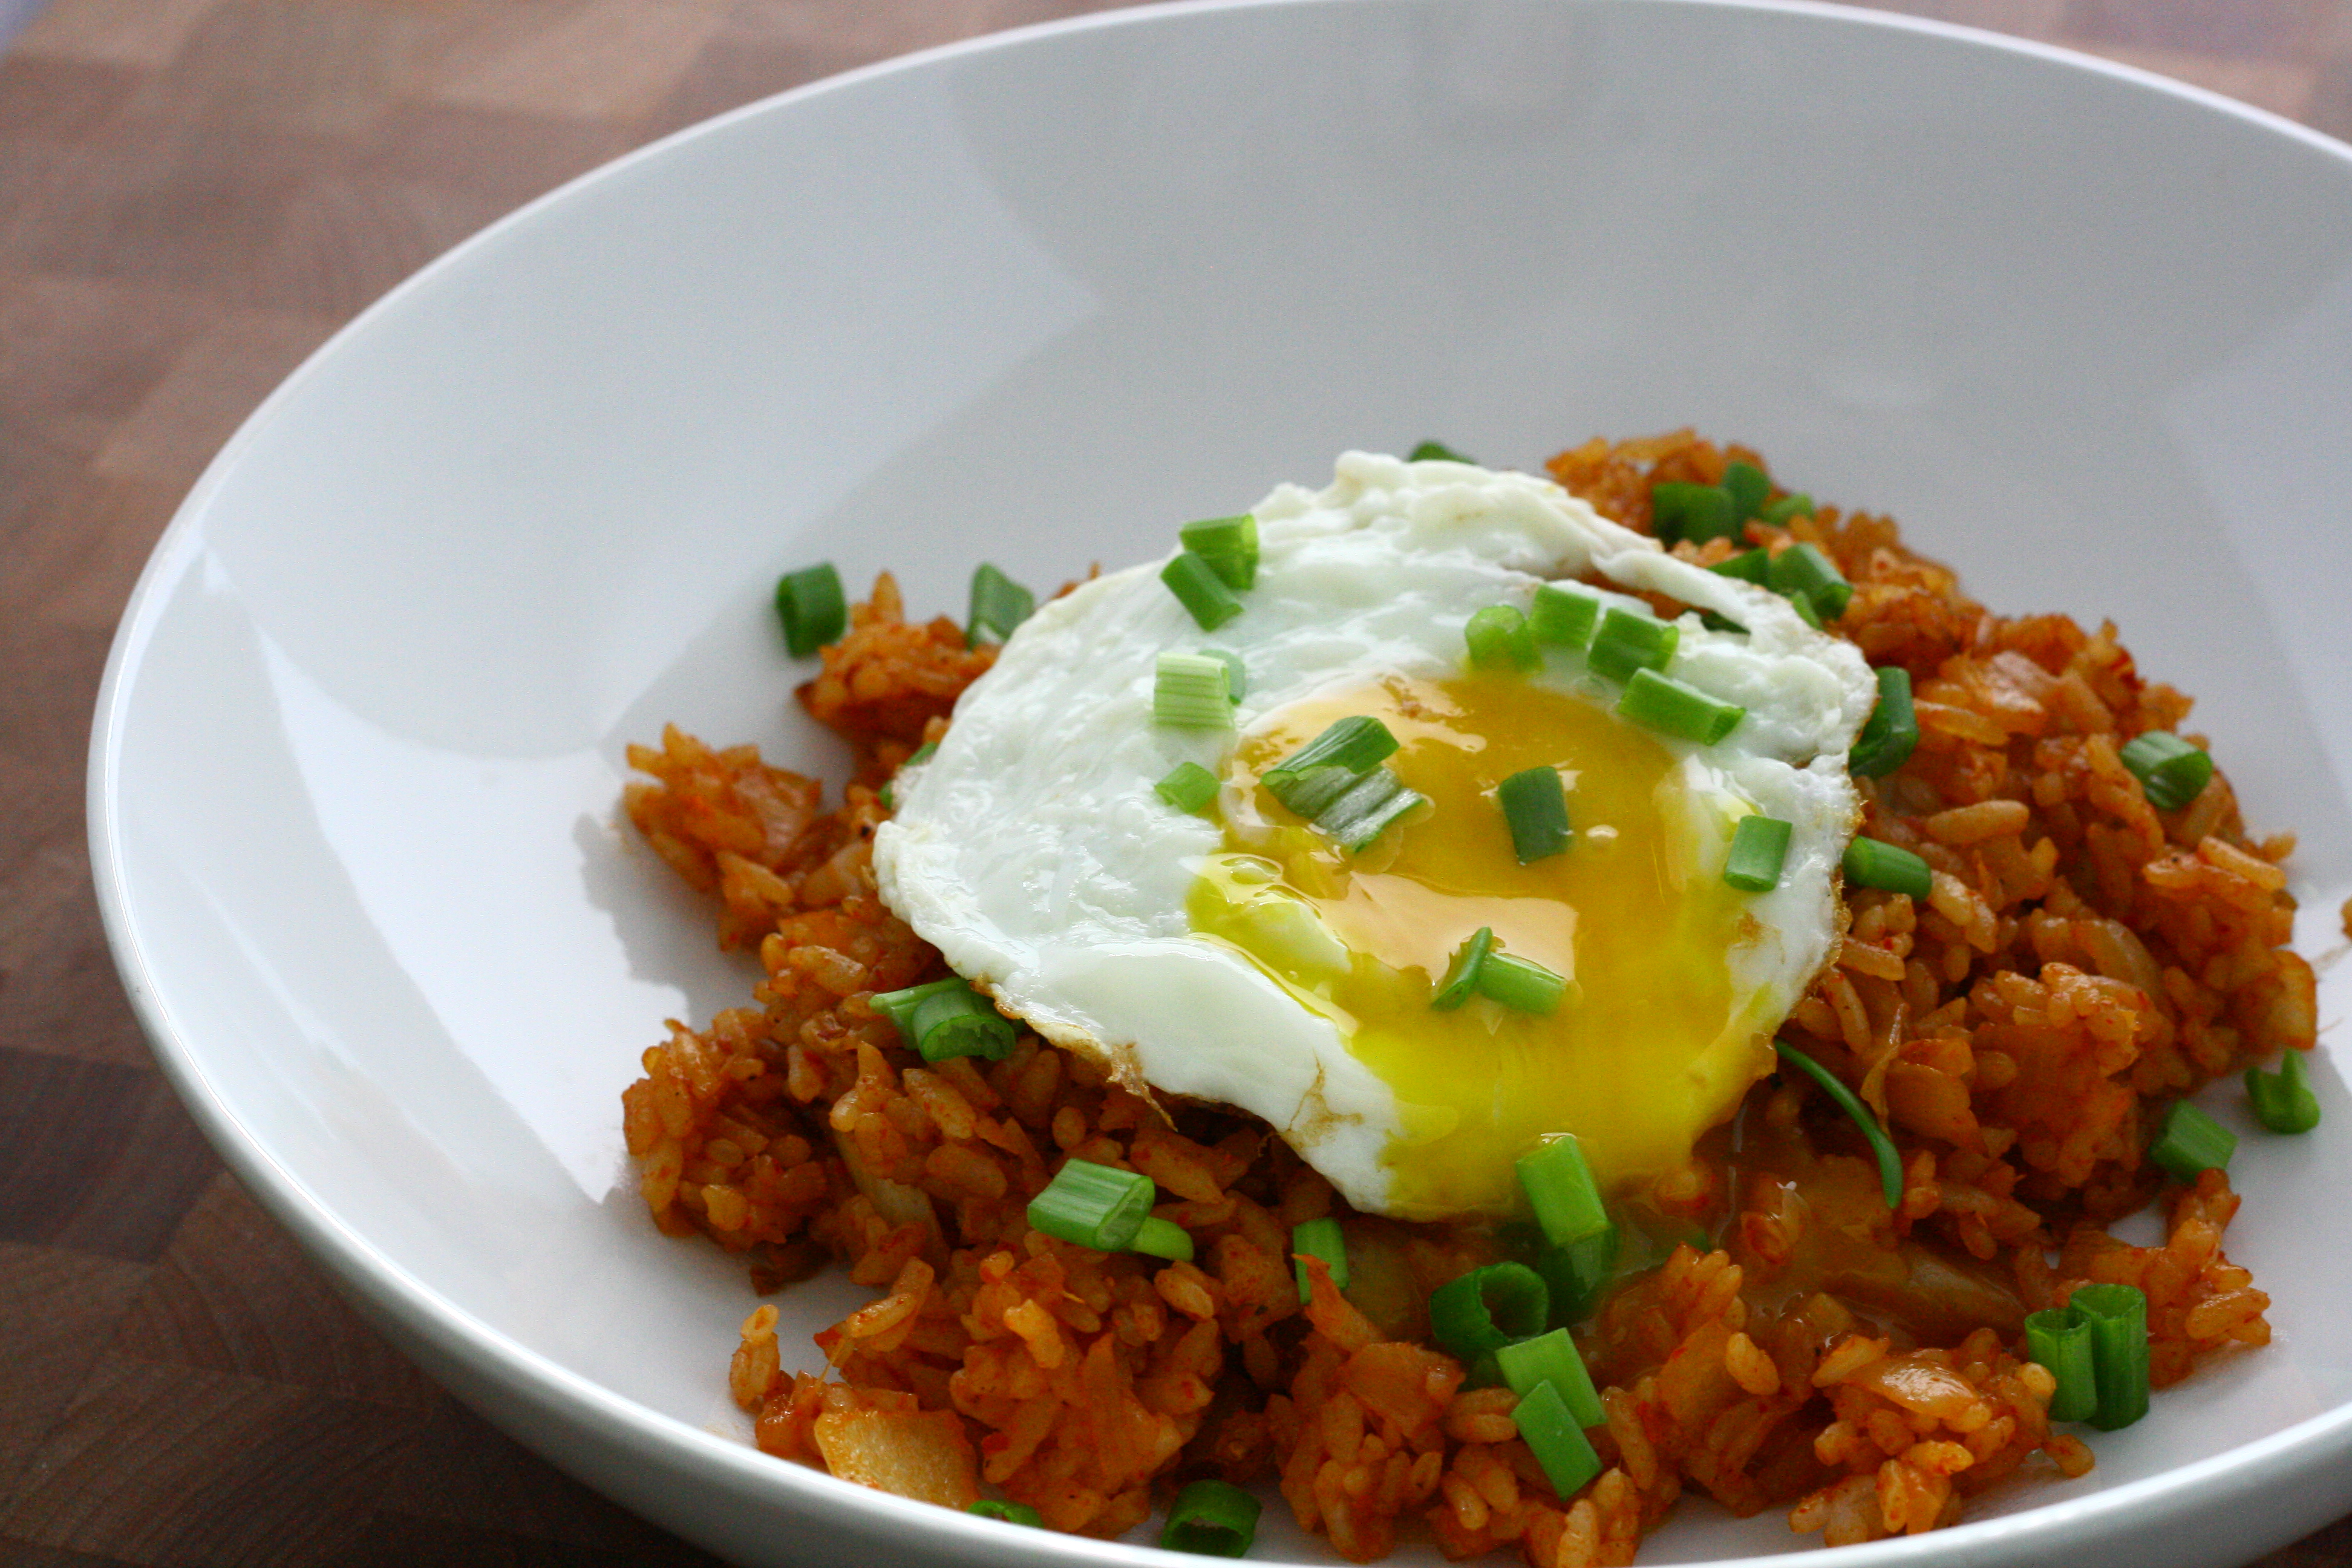
Fried rice is good. Kimchi is good. Together, they are phenomenal. The addition of a sunny-side up egg makes it even better.

kimchi fried rice | doughseedough.net

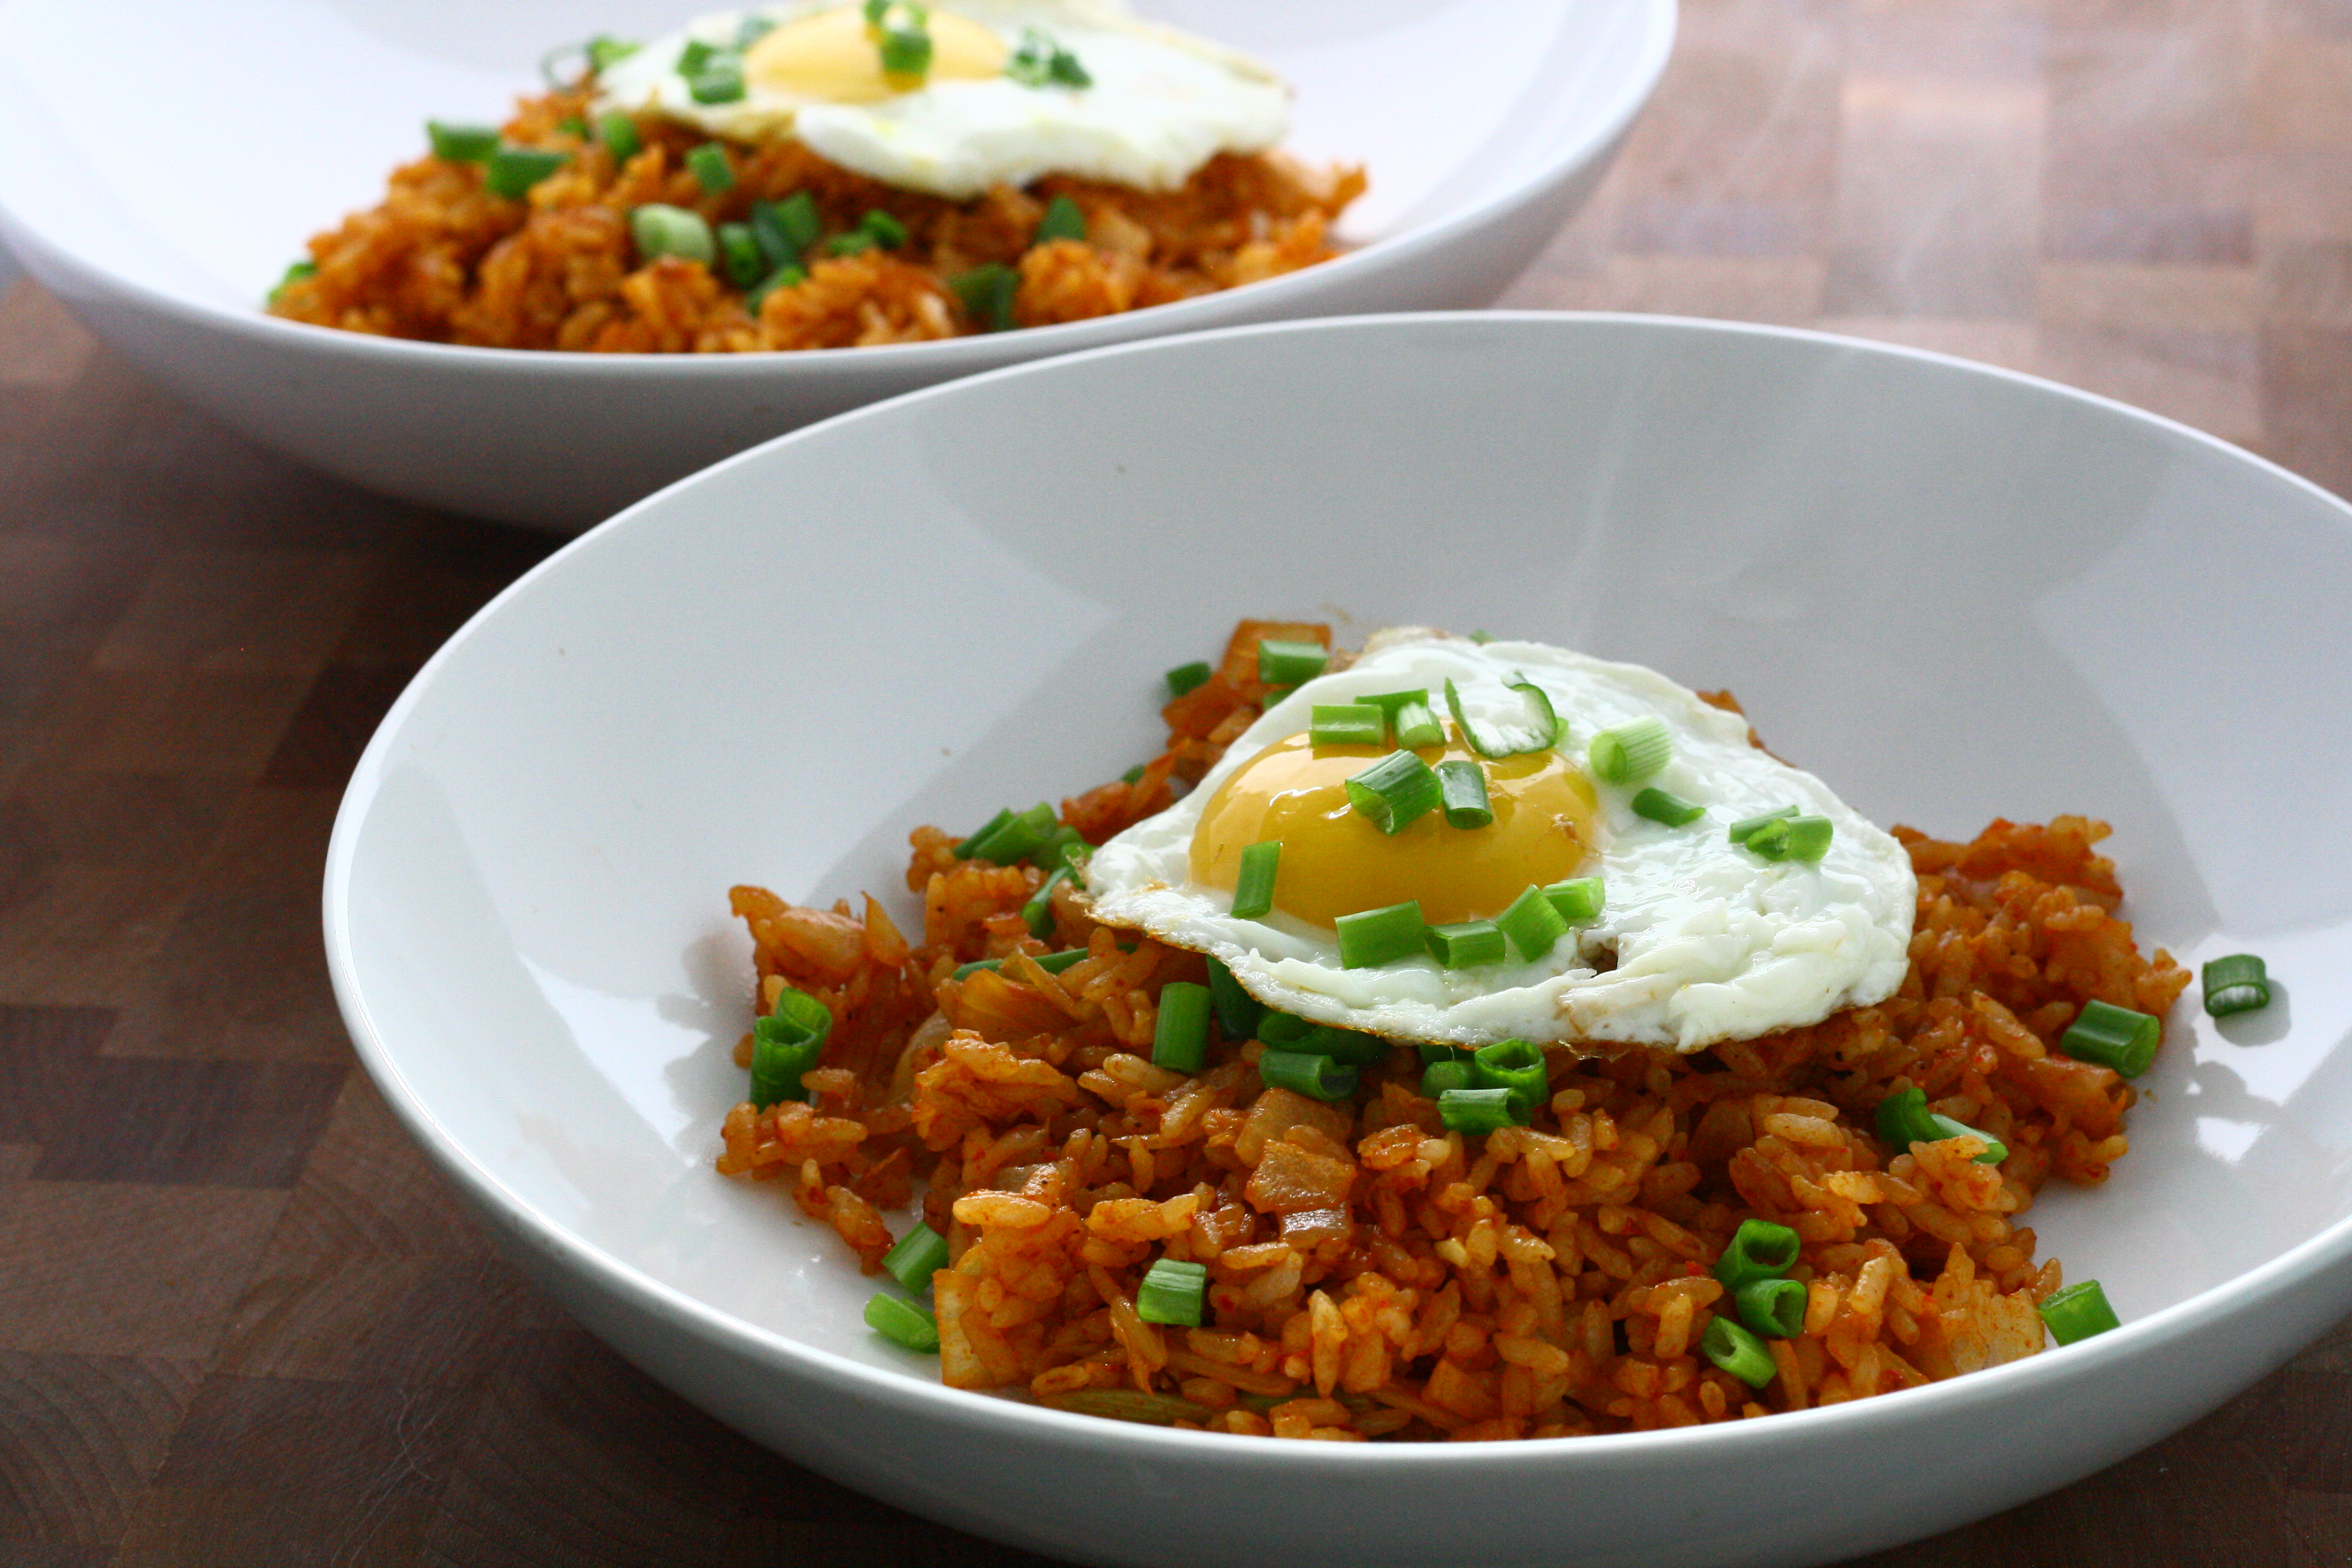
Breaking an egg yolk and watching it run all over the place and slowly soak into the rice is the most beautiful thing.

kimchi fried rice | doughseedough.net

I can’t stress the importance of using day-old rice enough. Day old as in you cook it the night before, stick it in the fridge, and then use it the next day. Day-old rice has a harder texture and will give you a much better fried rice. If you don’t have time to make the rice the day before, cook it and then spread it out in a thin layer and stick it in the fridge to cool it quickly.

I used to make all my fried rice in a wok, but this time I used a huge nonstick skillet and I think it worked out a lot better. This is probably mostly due to the fact that I made less of a mess in the skillet. There’s just something about a wok that causes me to violently stir the food in it. Obviously, this creates a mess. Either way, this fried rice is a winner and it couldn’t be easier.

kimchi fried rice | doughseedough.net

Kimchi Fried Rice

1 tablespoon canola oil
1 onion, diced
2 cloves garlic, minced
1 cup kimchi, roughly chopped
4 cups day-old white rice
1 tablespoon gochujang (chili paste)
2 tablespoons low sodium soy sauce
1/2 teaspoon freshly ground black pepper
5 green onions, green parts sliced, divided
4 eggs, cooked sunny side up

  1. Heat canola oil in a large nonstick oil over medium-high heat. Add onion and garlic and cook until onion is translucent. Stir in kimchi and stir until well combined.
  2. Add in rice and stir to break up large pieces. Cook, stirring frequently, until the rice is well incorporated with the kimchi.
  3. Stir in gochujang, soy sauce, pepper, and half the green onions until well combined.
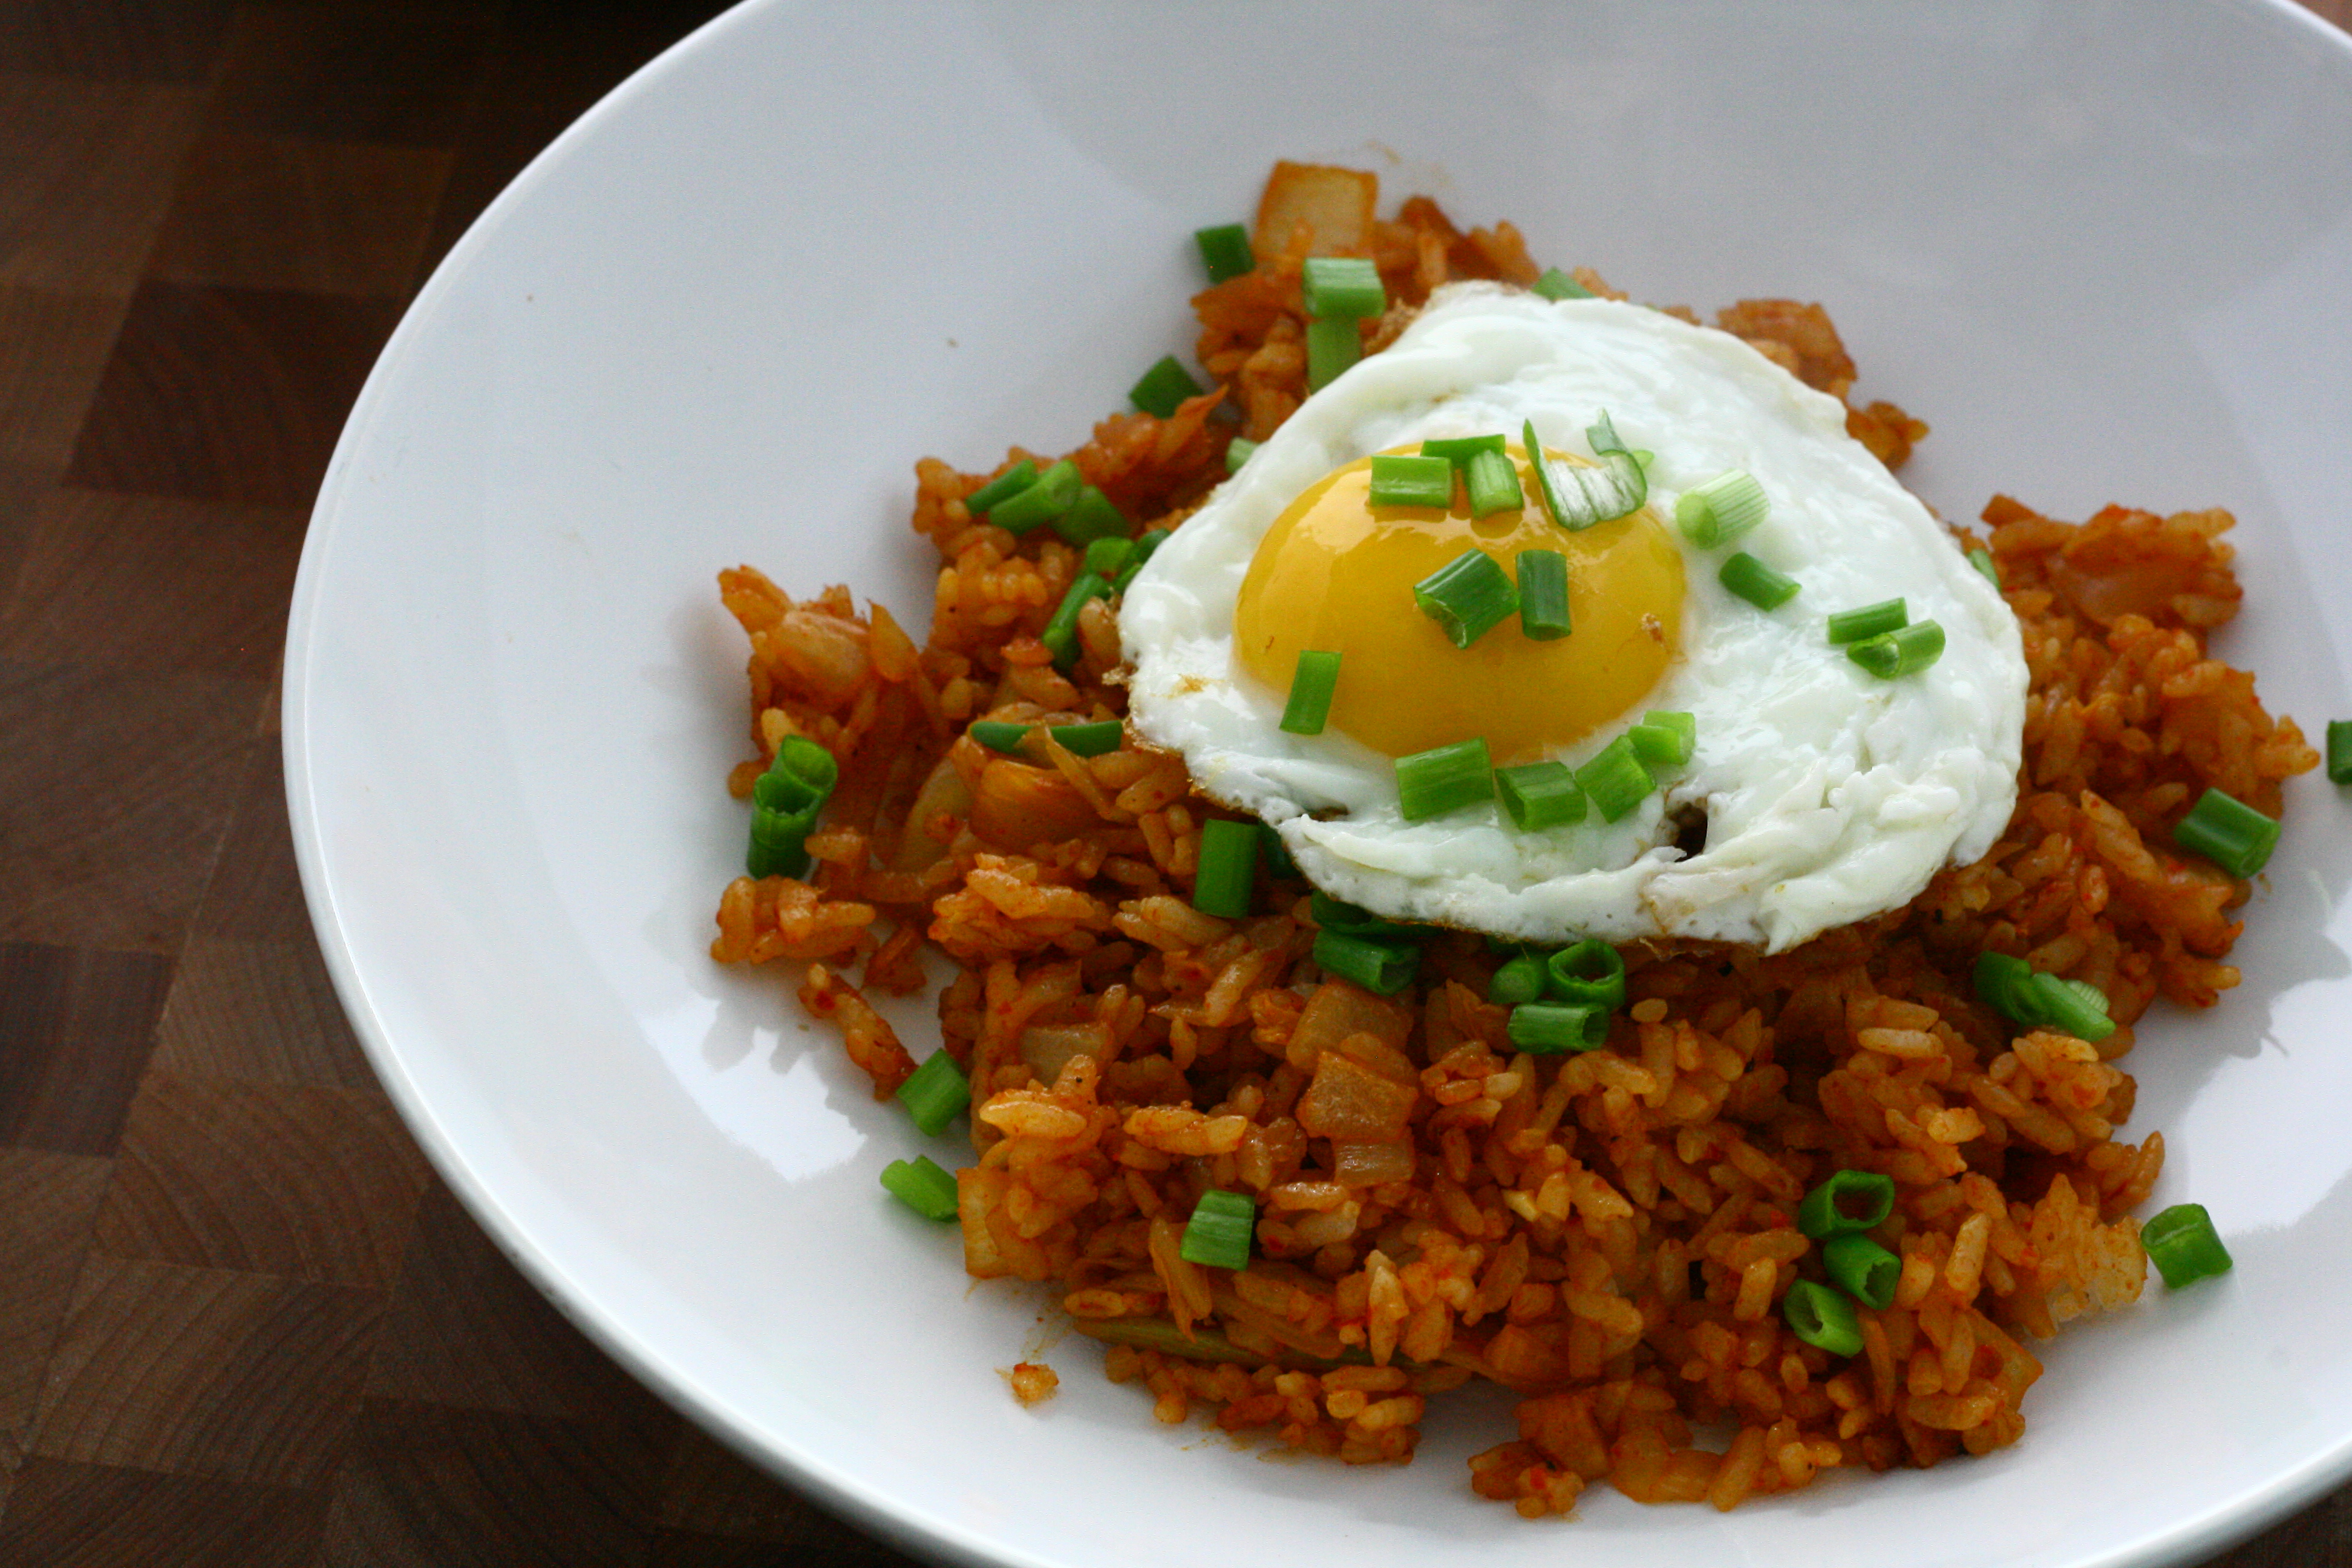
  4. Portion into 4 serving dishes and sprinkle with remaining green onions. Top with egg and serve immediately.


1 Comment

Mapo Tofu – A Healthier Version

Mapo tofu is delicious. It might be the soft, silky tofu that melts in your moth. It might be the in-your-face kick of Szechuan peppercorn. But, I think the real reason it’s delicious is because it’s traditionally made with very, very fatty ground pork. I was afraid that when I “trimmed down” this recipe by subbing in lean turkey for fatty pork it would lose its great depth of flavor. After all, I’ve tried to make healthier version of various dishes and ended up with not-so-appetizing results (I’m looking at you, rock-hard muffins).

Fortunately, this healthier version of mapo tofu is far from being unappetizing. In fact, I would say that it’s pretty dang stellar. I challenge you tofu  haters to try this. It just might change your mind about tofu. If you still don’t like it, then I guess you can mash it up and pretend like it’s just a huge bowl of ground turkey.

mapo tofu

Healthier Mapo Tofu
serves 6

1 tablespoon Szechuan peppercorns
1 tablespoon corn starch
2 tablespoons water
1 teaspoon canola oil
2 tablespoons minced garlic
1.5″ piece of ginger, minced (about 2 tablespoons)
6 green onions, thinly sliced; whites and greens separated
1 1/2 cups low sodium chicken broth
1/4 cup low sodium soy sauce
2 tablespoons hot chili bean sauce
14 ounce package soft tofu, drained and cut into 1″ cubes
1 pound extra lean ground turkey
1/2 teaspoon toasted sesame oil
steamed rice, for serving

  1. Toast peppercorns in a small dry skillet over medium-high heat until fragrant, about 1 minute. Allow to cool and then grind in a spice grinder.*
  2. In a small bowl, whisk together cornstarch and water until well combined. Set aside.
  3. Heat a large skillet over medium-high heat. Add in canola oil and swirl to coat. Add garlic, ginger, and white parts of the scallion and stir fry until fragrant, about 2 minutes. Add turkey and cook until meat is no longer pink.
  4. Add in chicken broth, soy sauce, and chili sauce, stirring to combine. Bring to a boil and add corn starch mixture and stir until the sauce becomes thick and clear. Gently stir in tofu and cook until heated through, about 2 – 3 minutes. Stir in Szechuan peppercorns, to taste. Drizzle with sesame oil.
  5. Serve immediately with steamed rice. Garnish with remaining green onions.


*I don’t own a spice grinder. I tossed the cooled peppercorns into a zip-top bag, shut it, and then rolled and lightly pounded it with a large rolling pin. It worked!


3 Comments

Brown Rice California Roll

It’s crazy how fast time flies when you’re running on fumes. I cannot wait for the dietetic internship to be over. Working, homework, and trying to find time to work out and cook is leaving me with very little time to sleep. What has been keeping me so busy? On top of the work we have to do in rotations 8 hours a day, we have additional projects, homework, readings, etc. to keep us busy. I had the great honor to be one of the managers for cooking demos we held in late January and early February.

The interns presented 6 dishes total; I had a blast making this Brown Rice California Roll with a fellow intern for our audiences! It’s so simple and so good that I just couldn’t resist sharing the recipe that we came up with!

Sushi is one of my favorite foods in the world. No lie – I could eat it for every meal, every day and not get sick of it. As much as I love going out for sushi, it can get a little pricey. So while it’s nice to dine out once in a while, it makes a lot more sense to just make it at home! I can’t recall how long I’ve been making sushi. I do remember my mom making rolls for parties growing up, and I’m fairly certain I just picked up the skill from observing her. I still think observation is the best way to learn how to roll sushi, but I had Mike document the process and I hope that these pictures will help!

Brown Rice California Roll
makes 4 rolls 

2 cups brown rice
4 teaspoons low sodium soy sauce
4 tablespoons seasoned rice vinegar
4 sheets nori*
1 kirby cucumber, cut into 1/16 matchsticks
1/2 large carrot, cut into 1/16 matchsticks
1 ripe avocado, thinly sliced
3 sticks imitation crab meat, shredded
1/2 cup + 2 tablespoons fat free mayonnaise, divided
2 tablespoons Sriracha chile sauce
1/4 teaspoon roasted sesame oil

Special Equipment:
Bamboo sushi mat*

  1. Cook rice in rice cooker and medium pot with 4 cups water and 2 teaspoons of the soy sauce.
  2. When rice is cooked, transfer to a flat, non-metal bowl. Sprinkle remaining soy sauce and seasoned rice wine vinegar on top and toss to coat. Cool rice about 15 minutes, tossing occasionally.
  3. Add 2 tablespoon mayo to imitation crab and stir to combine.To roll the sushi:
  4. Set bamboo mat on flat surface with slats running crosswise.
  5. Arrange nori shiny-side down on mat.

  6. Using damp fingers, press 3/4 cup rice onto nori in 1 layer, leaving a 1 3/4″ border on the side of farthest from you.
  7. Arrange 1/4 of the carrots in an even strip horizontally across rice, about 1″ from the side closest to you.
  8. Arrange 1/4 of the cucumber in the manner, just above the carrots.
  9. Arrange 1/4 of the avocado slices just above the cucumber.
  10. Evenly distribute 1/4 of the crab on top of the carrot, cucumber, and avocado.
  11. Beginning with the edge closest to you, lift mat up with thumbs, holding filling in place with your fingers.
  12. Fold the mat over the filling and gently squeeze firmly along the length of the roll, tugging on the edge of the mat farthest from you to tighten.
  13. Continue to roll, by lifting up the mat, rolling the sushi forward, and squeezing. Be careful not to roll the mat into the sushi!
  14. Open mat and roll log forward to seal completely.
  15. Transfer roll, seam side down, to a cutting board. Slice into 9 pieces with a wet serrated knife.
  16. To make the dynamite sauce, mix together 1/2 cup mayo, Sriracha, and sesame oil together in a small bowl.

*You can find these items at an Asian grocery store. Larger grocery stores may carry these as well.


8 Comments

Copy Cat Burrito Bowls

TGIF!! Even though I’m loving my rotation in school food service, I’m still so so so very happy that it’s Friday. So, here are my Friday Favorites for this week.

Favorite Fitness Must Have: Garmin Forerunner 910XT with HRM. Ok, calling this $450 fancy watch a “must have” is a bit of a stretch. Maybe I should say it’s a “Lust Have” instead. The watch is seriously awesome. The price is a little steep for a student budget, though. Eh, maybe when I get out of school and find a job I can reward myself with one of these babies with my first paycheck.

image from runningwarehouse.com

Favorite Cold Treat: Kemp’s Java Chip Ice Cream. Oh boy. I can’t even begin to tell you how much I love this stuff. A bowl full of this + some espresso chocolate chip cookies = the best dinner ever.

image from kemps.com

Favorite Make-Me-Smile Read: 10 Reasons Running Doesn’t Suck As Much As You Think on Hello Giggles. Part of me really wants to print this out and stick it on my fridge.

Favorite Restaurant Meal Copy Cat: Burrito Bowls! I made these on a night where I had a craving for burritos. They were so good that we made them again the next night with different toppings. The best part? They were SO easy to make! Seriously, we put them together in the time it would have taken us to drive across town, wait in line, and drive back home. It’s an added bonus that they were so cheap to make, too! Now that’s my kind of meal – delicious, quick, and cheap.

Copy Cat Burrito Bowl

3 cups brown rice
1 lime, zested and juiced
1/2 cup cilantro, roughly chopped, divided
3 boneless, skinless chicken breasts
1/2 teaspoon chili powder
1/2 teaspoon onion powder
1/2 teaspoon garlic powder
1/2 teaspoon cumin
1/2 teaspoon oregano
1 teaspoon olive oil
2 roma tomatoes, chopped
1/2 red onion, diced
salt and pepper, to taste
1 can black beans, drained and rinsed
1/2 cup reduced fat cheddar cheese, shredded

Other optional toppings:
Sour cream
Jalapeños
Avocado
Queso
Hot sauce

  1. Cook brown rice according to package directions. I use a rice cooker and use a 1 cup brown rice: 2 cups water ratio. When rice is cooked, mix with 1/4 cup cilantro, lime zest and lime juice.
  2. Meanwhile, mix chili powder, onion powder, garlic powder, cumin, and oregano together and sprinkle generously over chicken breasts.
  3.  Heat olive oil in a medium-sized skillet over high heat. Cook chicken until cooked through. Remove to cutting board and chop.
  4. In a separate bowl, make the pico de gallo. Combine tomatoes, 1/4 cup cilantro, red onion, salt and pepper. Toss to combine.
  5. To assemble: place rice in bowl and top with black beans, chicken, pico de gallo, shredded cheese, and any other toppings you desire. Enjoy!


1 Comment

Mushroom Risotto

I order risotto at restaurants whenever I can, but I’ve never made it before. I came across this risotto recipe that featured one of my favorite ingredients ever – mushrooms.

Look how delicious they are. I love cremini, white button, portabella, shiitake, oyster, all the funky ones in Chinese cuisine… I could never tire of them.

I figured that this recipe just couldn’t go wrong. Risotto and mushrooms, oh heck yes. I spent a good half hour in front of the stove, stirring constantly and it was so worth it.

Mushroom Risotto
adapted from allrecipes.com

6 cups chicken or beef broth
3 tablespoons olive oil, divided
8 ounces cremini mushrooms, finely sliced
8 ounces white button mushrooms, finely sliced
2 shallots, finely diced
1 1/2 cups Arborio rice
1/2 cup dry white wine
salt and freshly ground pepper, to taste
3 tablespoons finely chopped chives or green onions
3 tablespoons butter
1/3 cup freshly grated Parmesan cheese

  1. In a saucepan, warm broth over medium heat. Keep at just below simmering level.
  2. Warm 2 tablespoons olive oil in a medium saucepan. Cook mushrooms until soft, 3 – 5 minutes. Transfer mushrooms and juices to a bowl and set aside.
  3. Heat remaining 1 tablespoon olive oil in pan. Cook shallots for 1 minute. Add rice and cook, stirring to coat with oil. Cook until rice is a toasted golden color.
  4. While stirring rice, pour in wine. Stir constantly until all liquid is absorbed.
  5. Add broth 1/2 cup at a time, stirring constantly until liquid is fully absorbed before adding more. Continue until all broth is gone and rice is al dente, about 25 minutes.
  6. Remove from heat and stir in mushrooms with their liquid, butter, cheese, and chives. Add salt and pepper to taste. Serve immediately with more Parmesan and chives as garnish.


1 Comment

Fried Rice

I love rice. Mike and I went through 30 pounds of rice this year! Whenever I have leftover rice, Mike asks me to make fried rice. He claims that it’s the best he’s ever had. I normally just mix a bunch of random stuff together and call it fried rice, but this time I actually measured out the ingredients. My thoughts? It didn’t taste quite as good… I’ll keep tweaking this recipe until I am able to write down a recipe that tastes as good as the fried rice I improvise.

IMG_6115

Fried Rice

1/2 teaspoon sesame oil
1/2 teaspoon vegetable oil
1 bunch green onion
4 Chinese sausages, sliced
2 cups leftover white rice, refrigerated
1 head broccoli
3 large carrots, peeled and chopped
4 celery stalks, chopped
3 tablespoons rice wine vinegar
4 tablespoons cup soy sauce

  1. Heat the sesame oil and vegetable oil in a wok over medium high heat. Add the green onions and cook for 2 minutes.
  2. Add in the sausage, broccoli, carrots and celery and cook until the sausage is cooked through.
  3. Stir in the rice and stir fry until the rice is heated through and slightly browned.
  4. Drizzle the soy sauce and vinegar over the fried rice and mix in thoroughly!


3 Comments

Soy-Mirin Tofu Over Rice with Broccoli and Peanut Sauce

I stumbled across this recipe at VeganYumYum and just had to make it. I love tofu and am up for making just about anything that involves it! An added plus – this meal was insanely easy to prepare!

soy mirin tofu

Soy-Mirin Tofu Over Rice with Broccoli and Peanut Sauce
from VeganYumYum

1 block extra firm tofu, pressed and cut into small squares
1 tablespoon canola oil
2 teaspoons soy sauce
2 teaspoons mirin
1 head of broccoli, steamed
1 carrot, peeled and shredded
Peanuts, crushed (optional)
1 cup dry brown rice

Peanut Sauce
1/4 cup peanut butter
1/4 cup water (or coconut milk if you have it!)
1 tablespoon sugar
1 tablespoon soy sauce
1 tablespoon seasoned rice wine vinegar
1 teaspoon hot chili oil
Pinch of salt

  1. Start cooking your rice. Mix sauce ingredients until smooth and set aside.
  2. Pan fry tofu in the oil over high heat in a non-stick skillet until browned on both sides. Drain and return to hot pan (turn off the heat). Mix soy sauce and mirin together and pour over tofu, mixing well. It will bubble up and form a light glaze.
  3. Plate rice, add broccoli, tofu, carrot, and crushed peanuts. Drizzle with sauce and serve.

Note: if you don’t have mirin, use a combination of cooking wine and sugar.