DoughSeeDough

a balanced plate with room for dessert


2 Comments

Baked Sweet Potato Chili Cheese Fries

I. love. fries. Like, really love fries. I like to pretend that I’m not fully aware of how bad they are for you and always get fries at restaurants. Well, not always… more like 90% of the time. The last time I turned down fries was a couple months ago at a German restaurant. I opted for liver dumpling soup instead :-P. The last time I was out and had an option, Mike and I were in Milwaukee. I could choose between cottage cheese, fruit, or fries. I actually asked about the fruit first, but it had cantaloupe in it and I found out about a year ago that whenever I eat cantaloupe my throat and ears get really itchy. So… that wasn’t going to happen again. Long story short, I chose fries. 

I could have fries with every meal and be happy. In fact, I could have fries as  my meal and be happy. 

Yup. 

That’s what I did. I made a meal out of these and I don’t regret it one bit. 

baked sweet potato chili cheese fries | doughseedough.net

Baked Sweet Potato Chili Cheese Fries
adapted from Joy the Baker

2 pounds sweet potatoes, scrubbed clean
1/4 cup corn starch
3 tablespoons chili powder
1 tablespoon Mexican chili powder
1/2 teaspoon red pepper flakes
1/2 teaspoon garlic powder
1/2 teaspoon ground cumin
1 teaspoon chipotle chile pepper powder
2 tablespoons olive oil
1 tablespoon Worcestershire sauce
1 tablespoon grill seasoning
1 cup shredded sharp cheddar cheese
1 fresh jalapeño, thinly sliced
2 green onions, sliced

  1. Place a rack in the center of the oven and preheat to 425°F. Lightly grease two large baking sheets with nonstick cooking spray and set aside. 
  2. Cut sweet potato into 1/4-inch slices. Stack slices and then slice lengthwise into 1/4-inch strips. Repeat with remaining sweet potatoes to cut fries. 
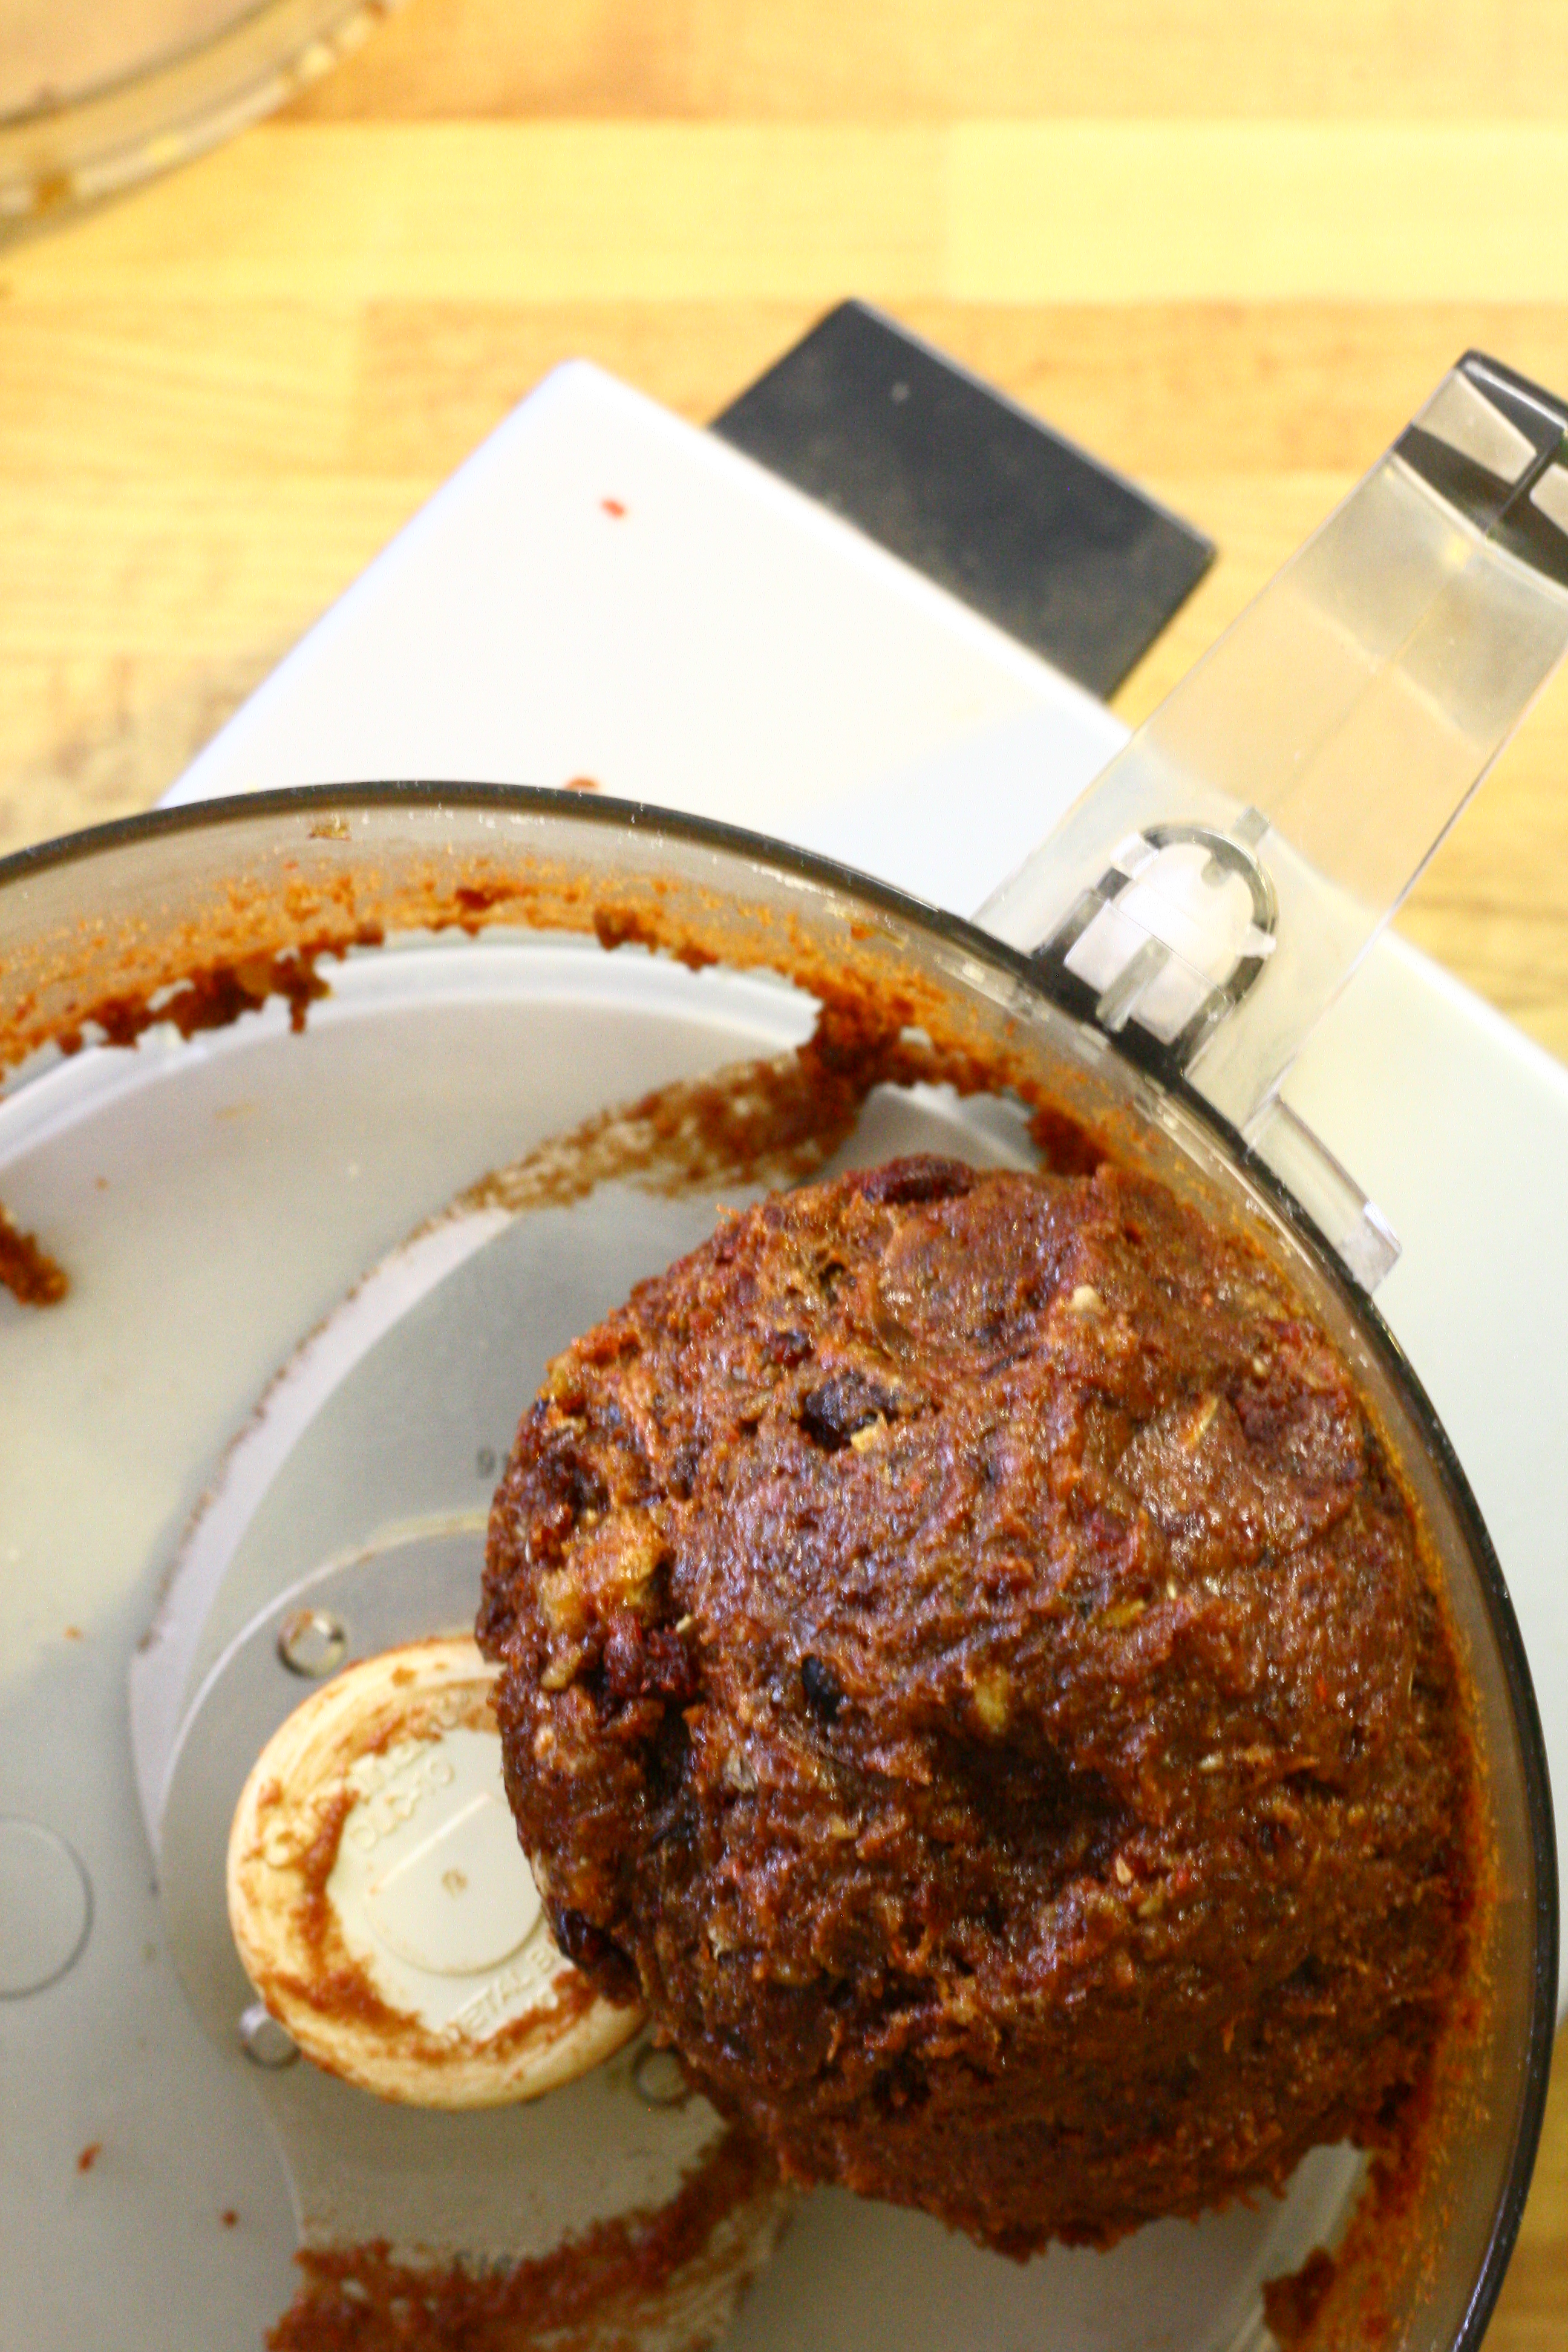
  3. In a  medium bowl, whisk together corn starch, chili powders, red pepper flakes, garlic powder, ground cumin, and chipotle chile pepper powder. 
  4. In a medium bowl, toss fries with olive oil, Worcestershire sauce, and grill seasoning. Sprinkle cornstarch mixture over fries and toss to combine. 
  5. Divide potatoes between the two prepared baking sheets. Bake for 30 minutes, flipping every 10 minutes, until fries are crispy. Sprinkle with cheese and return to oven for about 2 minutes or until cheese is melted. Remove from oven and place fries onto serving platter. Sprinkle with jalapeño slices and green onions and serve hot. 


3 Comments

Dark Chocolate Cherry Almond Bar

I finally grew up. I inherited a DSLR from my generous sister, Becca, who has moved onto bigger & better cameras. I started using it just a couple of weeks ago. The trouble is, I don’t know how to use it. Pfft, technology. I’m clunking my way through photos. Each time I make a dish it goes something like this.

Plate food
Poke at it with my fingers to make it look “better”.
Give up because I’m not expert at food plating and presentation.
Set it down and take some pictures.
Too dark.
Mash some buttons on the camera.
Too light.
Mash more buttons.
Too blurry.
Setup a makeshift tripod with my rolled up yoga mat (shut up, it’s all I have).
Still blurry (not surprising).
Prop camera on cake stand.
Snap a few more photos.
Still not great.
Give up and tell myself I’ll fix it in Picasa.
Get to Picasa and can’t figure it out.
Post the picture any way.

Some day I will learn how to use this thing… and how to edit the photo I take. Until then, you’ll have to bear with the cake-stand-as-makeshift-tripod unedited photos.

I’ll make up for subpar photos with stellar recipes, though! I give to you today a fruit & nut bar that will rock your world. It’s inspired by the Cranberry Almond KIND bars, but at a fraction of the cost. It’s filled with amazing goodies – almonds, cashews, dates, cranberries, and cherries.

I was a bit skeptical at first, because the fruit base is a bit unsightly after you blend it all together–
fruit & nut bar paste
But the end result? So good.  Not overly sweet with a bit of tang from the cranberries and just the right amount of saltiness from the nuts.
063
Dark Chocolate Fruit & Nut Bar
makes 16 bars
Olive oil spray
1/2 cup cashews
1 1/2 cup pitted dates
1 cup dried cherries
1/2 cup dried cranberries
1 cup roasted almonds, divided
1/2 cup puffed rice cereal
1/2 cup semisweet chocolate chips
  1. Place cashews in food processor and pulse a few times or until cashews are very roughly chopped. Place into a large, bowl lightly sprayed with olive oil.
  2. Generously spray food processor bowl and blade with olive oil. Place dates, cherries, and cranberries into food processor and blend until a paste forms.
  3. Place fruit paste, 1/2 cup of almonds, and puffed rice into bowl with cashews. Lightly spray hands with olive oil, and hand-mix until all ingredients are well combined. I find it easiest to knead it like I would with bread dough.
  4. Line an 8×8 pan with aluminum foil, leaving an overhang. Press fruit and nut mixture evenly in pan. Sprinkle remaining 1/2 cup of almonds on top and press firmly into fruit and nut mixture. Place in freezer for 15 minutes.
  5. Lift bars out of pan with foil. Gently peel off foil. Spray a large knife with olive oil and cut bars into 16 bars, approximately 1×4″.
  6. Melt chocolate chips in a small bowl in microwave in 20 second intervals until fully melted.
  7. Drizzle chocolate with a fork over bars. Let chocolate cool and harden before enjoying.


2 Comments

Spinach Dip

As many of you know, we have been getting a TON of cucumbers. As much as I love cucumbers dipped in Sriracha hummus, there’s only so much I can eat before I start getting tired of it! Thank goodness for Heather over at In Her Chucks who introduced me to her spinach dip recipe!

I was a little skeptical at first because of the ingredients in it; I don’t think I’ve ever purchased a powdered soup or dressing before. I decided I would give it a try because I was just that sick of hummus. Turns out, it was a great decision!  Mike and I ate it for dinner on Sunday night with some cucumbers and it was the perfect light dinner after a day of beer-drinkin’ and burger-eatin’.

Spinach Dip
slightly adapted from In Her Chucks

1 10 oz box of frozen chopped spinach, thawed, drained, and squeezed very dry
2 1/2 tablespoons of Knorr Leek Recipe Mix
2 1/2 cups plain nonfat Greek yogurt
1 cup mayonnaise
1/2 cup sliced green onion
1/2 cup chopped parsley
1 tsp dried dill
  1. Combine all ingredients in a food processor and blend until smooth.
  2. Serve immediately with cut up vegetables or refrigerate until serving.


2 Comments

Sriracha Hummus

I fell in love for the first time when I had hummus. I fell in love a second time when I had jalapeno hummus. I fell in love for a third time last night.

Two of my favorite foods came together and created something beautiful: Sriracha + Hummus = Sriracha Hummus. Oh. My. Goodness. I don’t think I can ever eat plain hummus again. I might still have jalapeno hummus once in a while, but Sriracha hummus will be a permanent refrigerator item from now on. I got the idea from TasteSpotting, one of my favorite ways to waste time.

You might think I’m exaggerating my love for Sriracha (aka Rooster Sauce), but I assure that I am not. I dump that stuff on almost everything I eat. I had a friend post this lovely cartoon on my Facebook wall and I think it sums my life up pretty well:

Do you share my love for Sriracha? Do you love to feel the burn? Are you adventurous? Do you want to live a fulfilling and/or exciting life? If you answered “yes” to any of the above, then this hummus is for you.

Spicy Sriracha Hummus

2-15 ounce cans chickpeas, drained
1/2 cup olive oil
1/2 cup tahini*
2 cloves garlic
1/4 cup Sriracha
1/2 cup lemon juice
1/2 teaspoon salt
1/4 teaspoon cumin
1/4 – 1/2 cup water

  1. Combine all ingredients except for water in a food processor. Process until smooth, adding water until desired consistency is reached.
  2. Serve with fresh cut vegetables, pita bread, pita chips, on a sandwich, or eat with a spoon.

*Tahini, or sesame paste, is made from raw or toasted sesame seeds. Personally, I find the toasted sesame seed flavor to be a lot better than the raw and prefer to use that.

And P.S. – Happy National Running Day!!


Leave a comment

Treats: Part One! Homemade Protein Bars

Happy Tuesday! I hope everyone had a wonderful long weekend. Mike and I managed to get quite a bit done and the house is starting to look good! The highlight of my weekend was watching our garden grow.

Seriously, the garden seemed to just come to life overnight. This year, we planted so much stuff (compared to last year’s million tomatoes and pumpkins). We have: sugar snap peas, snow peas, onions, two types of beans from my parents’ garden last year, carrots, radishes, daikon radishes, tomatoes, cherry tomatoes, bell peppers, Anaheim chiles, jalapeno peppers, Serrano chiles, lettuce, mustard greens, bok choi, cucumbers, and zucchini. Amazingly enough. everything is coming in! Now I’ll just have to keep my fingers crossed that we can keep them alive!

Now, on to my latest favorite baking projects! I have one delicious recipe for Mike and me and one delicious recipe for our dogs! Our house can’t get enough of these treats and we are going through so much peanut butter!

First, the human treats: homemade protein bars! It’s perfect for me to munch on post-run and Mike likes to eat them after… well, he just likes to eat them, no special occasion required 🙂

Want to know what I cooked up for the pups? Check back Friday for the post!

Homemade Protein Bars
3 cups old fashioned oats
1/2 cup whole sesame seeds
1 teaspoon ground cinnamon
1 teaspoon salt
1/3 cup brown sugar
1 cup nonfat plain Greek yogurt
1/3 cup 100% pure maple syrup
1 cup all natural peanut butter
1 teaspoon vanilla extract
1/4 cup coconut oil, melted
1/2 cup chocolate chips of your choice (I used semisweet this time)
1/2 cup walnuts, chopped or nuts of choice
1/2 cup dried cranberries or other dried fruit
  1. Preheat oven to 350ºF. Grease a 9×13 pan with cooking spray.
  2. Combine oats, sesame seeds, cinnamon, salt, and brown sugar in a large bowl.
  3. In a separate bowl, combine yogurt, maple syrup, peanut butter, vanilla extract, and coconut oil until well mixed. 
  4. Pour wet ingredients into dry ingredients and stir to combine. 
  5. Mix in chocolate, nuts, and dried fruit and mix well until all ingredients are evenly distributed. 
  6. Spread mixture evenly into prepared pan and bake for 15 minutes. 
  7. Let bars cool for 10 minutes in pan before removing and cutting into squares. Arrange onto cookie sheet and bake for an additional 15 minutes. Allow to cool completely before wrapping and storing in the fridge. 


3 Comments

Brown Rice California Roll

It’s crazy how fast time flies when you’re running on fumes. I cannot wait for the dietetic internship to be over. Working, homework, and trying to find time to work out and cook is leaving me with very little time to sleep. What has been keeping me so busy? On top of the work we have to do in rotations 8 hours a day, we have additional projects, homework, readings, etc. to keep us busy. I had the great honor to be one of the managers for cooking demos we held in late January and early February.

The interns presented 6 dishes total; I had a blast making this Brown Rice California Roll with a fellow intern for our audiences! It’s so simple and so good that I just couldn’t resist sharing the recipe that we came up with!

Sushi is one of my favorite foods in the world. No lie – I could eat it for every meal, every day and not get sick of it. As much as I love going out for sushi, it can get a little pricey. So while it’s nice to dine out once in a while, it makes a lot more sense to just make it at home! I can’t recall how long I’ve been making sushi. I do remember my mom making rolls for parties growing up, and I’m fairly certain I just picked up the skill from observing her. I still think observation is the best way to learn how to roll sushi, but I had Mike document the process and I hope that these pictures will help!

Brown Rice California Roll
makes 4 rolls 

2 cups brown rice
4 teaspoons low sodium soy sauce
4 tablespoons seasoned rice vinegar
4 sheets nori*
1 kirby cucumber, cut into 1/16 matchsticks
1/2 large carrot, cut into 1/16 matchsticks
1 ripe avocado, thinly sliced
3 sticks imitation crab meat, shredded
1/2 cup + 2 tablespoons fat free mayonnaise, divided
2 tablespoons Sriracha chile sauce
1/4 teaspoon roasted sesame oil

Special Equipment:
Bamboo sushi mat*

  1. Cook rice in rice cooker and medium pot with 4 cups water and 2 teaspoons of the soy sauce.
  2. When rice is cooked, transfer to a flat, non-metal bowl. Sprinkle remaining soy sauce and seasoned rice wine vinegar on top and toss to coat. Cool rice about 15 minutes, tossing occasionally.
  3. Add 2 tablespoon mayo to imitation crab and stir to combine.To roll the sushi:
  4. Set bamboo mat on flat surface with slats running crosswise.
  5. Arrange nori shiny-side down on mat.

  6. Using damp fingers, press 3/4 cup rice onto nori in 1 layer, leaving a 1 3/4″ border on the side of farthest from you.
  7. Arrange 1/4 of the carrots in an even strip horizontally across rice, about 1″ from the side closest to you.
  8. Arrange 1/4 of the cucumber in the manner, just above the carrots.
  9. Arrange 1/4 of the avocado slices just above the cucumber.
  10. Evenly distribute 1/4 of the crab on top of the carrot, cucumber, and avocado.
  11. Beginning with the edge closest to you, lift mat up with thumbs, holding filling in place with your fingers.
  12. Fold the mat over the filling and gently squeeze firmly along the length of the roll, tugging on the edge of the mat farthest from you to tighten.
  13. Continue to roll, by lifting up the mat, rolling the sushi forward, and squeezing. Be careful not to roll the mat into the sushi!
  14. Open mat and roll log forward to seal completely.
  15. Transfer roll, seam side down, to a cutting board. Slice into 9 pieces with a wet serrated knife.
  16. To make the dynamite sauce, mix together 1/2 cup mayo, Sriracha, and sesame oil together in a small bowl.

*You can find these items at an Asian grocery store. Larger grocery stores may carry these as well.


4 Comments

Asian Lettuce Wraps

Asian lettuce wraps. Everyone loves them. It’s crazy how something so simple looking can pack in so much intense flavor. So, cook up a batch, sit down with a large pile of napkins, and enjoy!

Want to know my little secret? Make extras. The leftovers are just as tasty 🙂

Another secret? I make it into a salad of sorts – chopped up lettuce, some steamed rice, and the filling all drizzled with some of the dipping sauce. It’s a little less messy than eating it burrito-style.

Lettuce Wraps
serves 4

1 pound lean ground pork
1 large or 2 small heads Boston Bibb/butter lettuce
1 large onion, chopped
1 tablespoon minced garlic
2 tablespoons soy sauce
1/2 cup hoisin sauce
2 teaspoons minced ginger root
2 tablespoons rice wine vinegar
2 teaspoons Sriracha or other Asian chile sauce
1 8 oz can water chestnuts, drained and minced
1 bunch green onions, thinly sliced
2 teaspoons sesame oil

For dipping sauce:
1 tablespoon soy sauce
1 tablespoon rice wine vinegar
1 teaspoon sesame oil
1 teaspoon Sriracha or other Asian chile sauce

  1.  Carefully remove leaves from lettuce head. Rinse and pat dry. Set aside.
  2. In a non-stick skillet over high heat, brown ground pork. Stirring often. Drain and set aside.
  3. Add onion to pan and cook, stirring frequently, for 2 minutes. Add garlic, soy sauce, hoisin sauce, ginger vinegar, and Sriracha and stir, cooking for another minute. Stir in water chestnuts, green onions, sesame oil and cooked pork. Continue to cook for 2 more minutes.
  4. Combine dipping sauce ingredients in a small bowl and whisk together.
  5. To serve, spoon a portion of the meat onto a lettuce leaf, wrap up like a burrito and enjoy with the dipping sauce!


Leave a comment

Black Bean Salsa

I first had this salsa at a friend’s wedding brunch. And I had it again when we went to visit these friends in Minnesota. It swept me off my feet the first time I had it and the feeling didn’t change. Obviously, I had to get the recipe! So, thank you Kirsten, for passing Georgette’s Black Bean Salsa recipe to me! Can you spot it in this yum-licious pile of nachos??

I made a huge batch a few days ago and the flavor just gets better and better every day. Yum. I think I need to always keep ingredients for this on hand.

Georgette’s Black Bean Salsa

1/4 cup vegetable oil
1/2 cup apple cider vinegar
1/2 cup sugar
1 can black beans, drained and rinsed
1 can pinto beans, drained and rinsed
1 can white corn, drained
3 large tomatoes, diced (about 2 cups)
1 green pepper, diced
1 red onion, diced

  1. Combine oil, apple cider vinegar, and sugar in a small pot over medium heat. Warm until sugar is dissolved. Set aside to cool.
  2. Combine remaining ingredients in large bowl. Pour dressing over vegetables and stir to combine.


1 Comment

Greek Salad

A quick, delicious way to use up your summer vegetables! Our garden is finally starting to produce some awesome tomatoes (heirloom, cherry, and grape) and I couldn’t be more excited.

Greek Salad

3 large tomatoes, chopped
2 cucumbers, peeled and chopped
1 small red onion, chopped
1 tablespoon olive oil
3 teaspoons lemon juice
1 tablespoon red wine vinegar
1 1/2 teaspoons dried oregano
salt and freshly ground pepper, to taste
1 cup feta cheese, crumbled

  1. Combine all ingredients in a medium size bowl. Mix to distribute ingredients evenly. Refrigerate for 1 hour before serving.


2 Comments

Pita Bread

I can’t believe it took me this long to make pita bread! Never again will I pay $3+ for a tiny bag of pita. I can no make it at home for just mere pennies. That’s my kinda food!!

In fact, the money you save can buy you a neat little thermometer. It will come in handy… for example, you can use it to make sure your water is the right temperature in this recipe! Or any recipe with yeast, actually.

Don’t like pita? Make this any way. It’s fun watching the dough rise in the oven from completely flat to a mini-balloon.

Pita Bread

1 1/8 cups warm water (110°F)
1 1/2 teaspoons white sugar
1 1/2 teaspoons active dry yeast
3 cups all-purpose flour
1 teaspoon salt
1 tablespoon vegetable oil

  1. In a small bowl, combine water, yeast and sugar. Let sit until foamy, about 5 minutes. Add in oil.
  2. Combine flour and salt in the bowl of a stand mixer. With a dough hook, lightly mix to combine.
  3. Pour yeast mixture into flour and mix on low (#2 on a KitchenAid) until moistened, about 30 seconds. Increase speed to medium (#4) and knead for 10 minutes, until dough is smooth.
  4. Place dough into a large, lightly oiled bowl. Cover with plastic wrap and allow to rise until double in size.
  5. Turn dough onto lightly floured surface. Stretch dough into a 12 inch rope. Cut into 8 even pieces and roll each piece into a 6 – 7 inch circle. Set aside on a lightly floured surface and cover with a towel. Let rise for 30 minutes.
  6. Meanwhile, reheat oven to 500°F and place baking stone on oven rack. Allow to heat for 20 minutes.
  7. Place dough onto baking stone (I was able to make 3 at a time) and lightly spritz with water. Bake for 3 minutes, or until pitas are puffy and tops are not yet brown.
  8. Remove from baking stone and let cool on a clean towel.