Girl Scout Cookie Season is one of my favorite times of the year. This year, I bought 7 boxes of cookies. Three boxes of Peanut Butter Patties (for Mike), one of Caramel DeLites, one of Mango Cremes, one Lemonades, and one box of Thin Mints.
One. Thin. Mint. What was I thinking?! Why in the world did I only get one box of my favorite cookie?

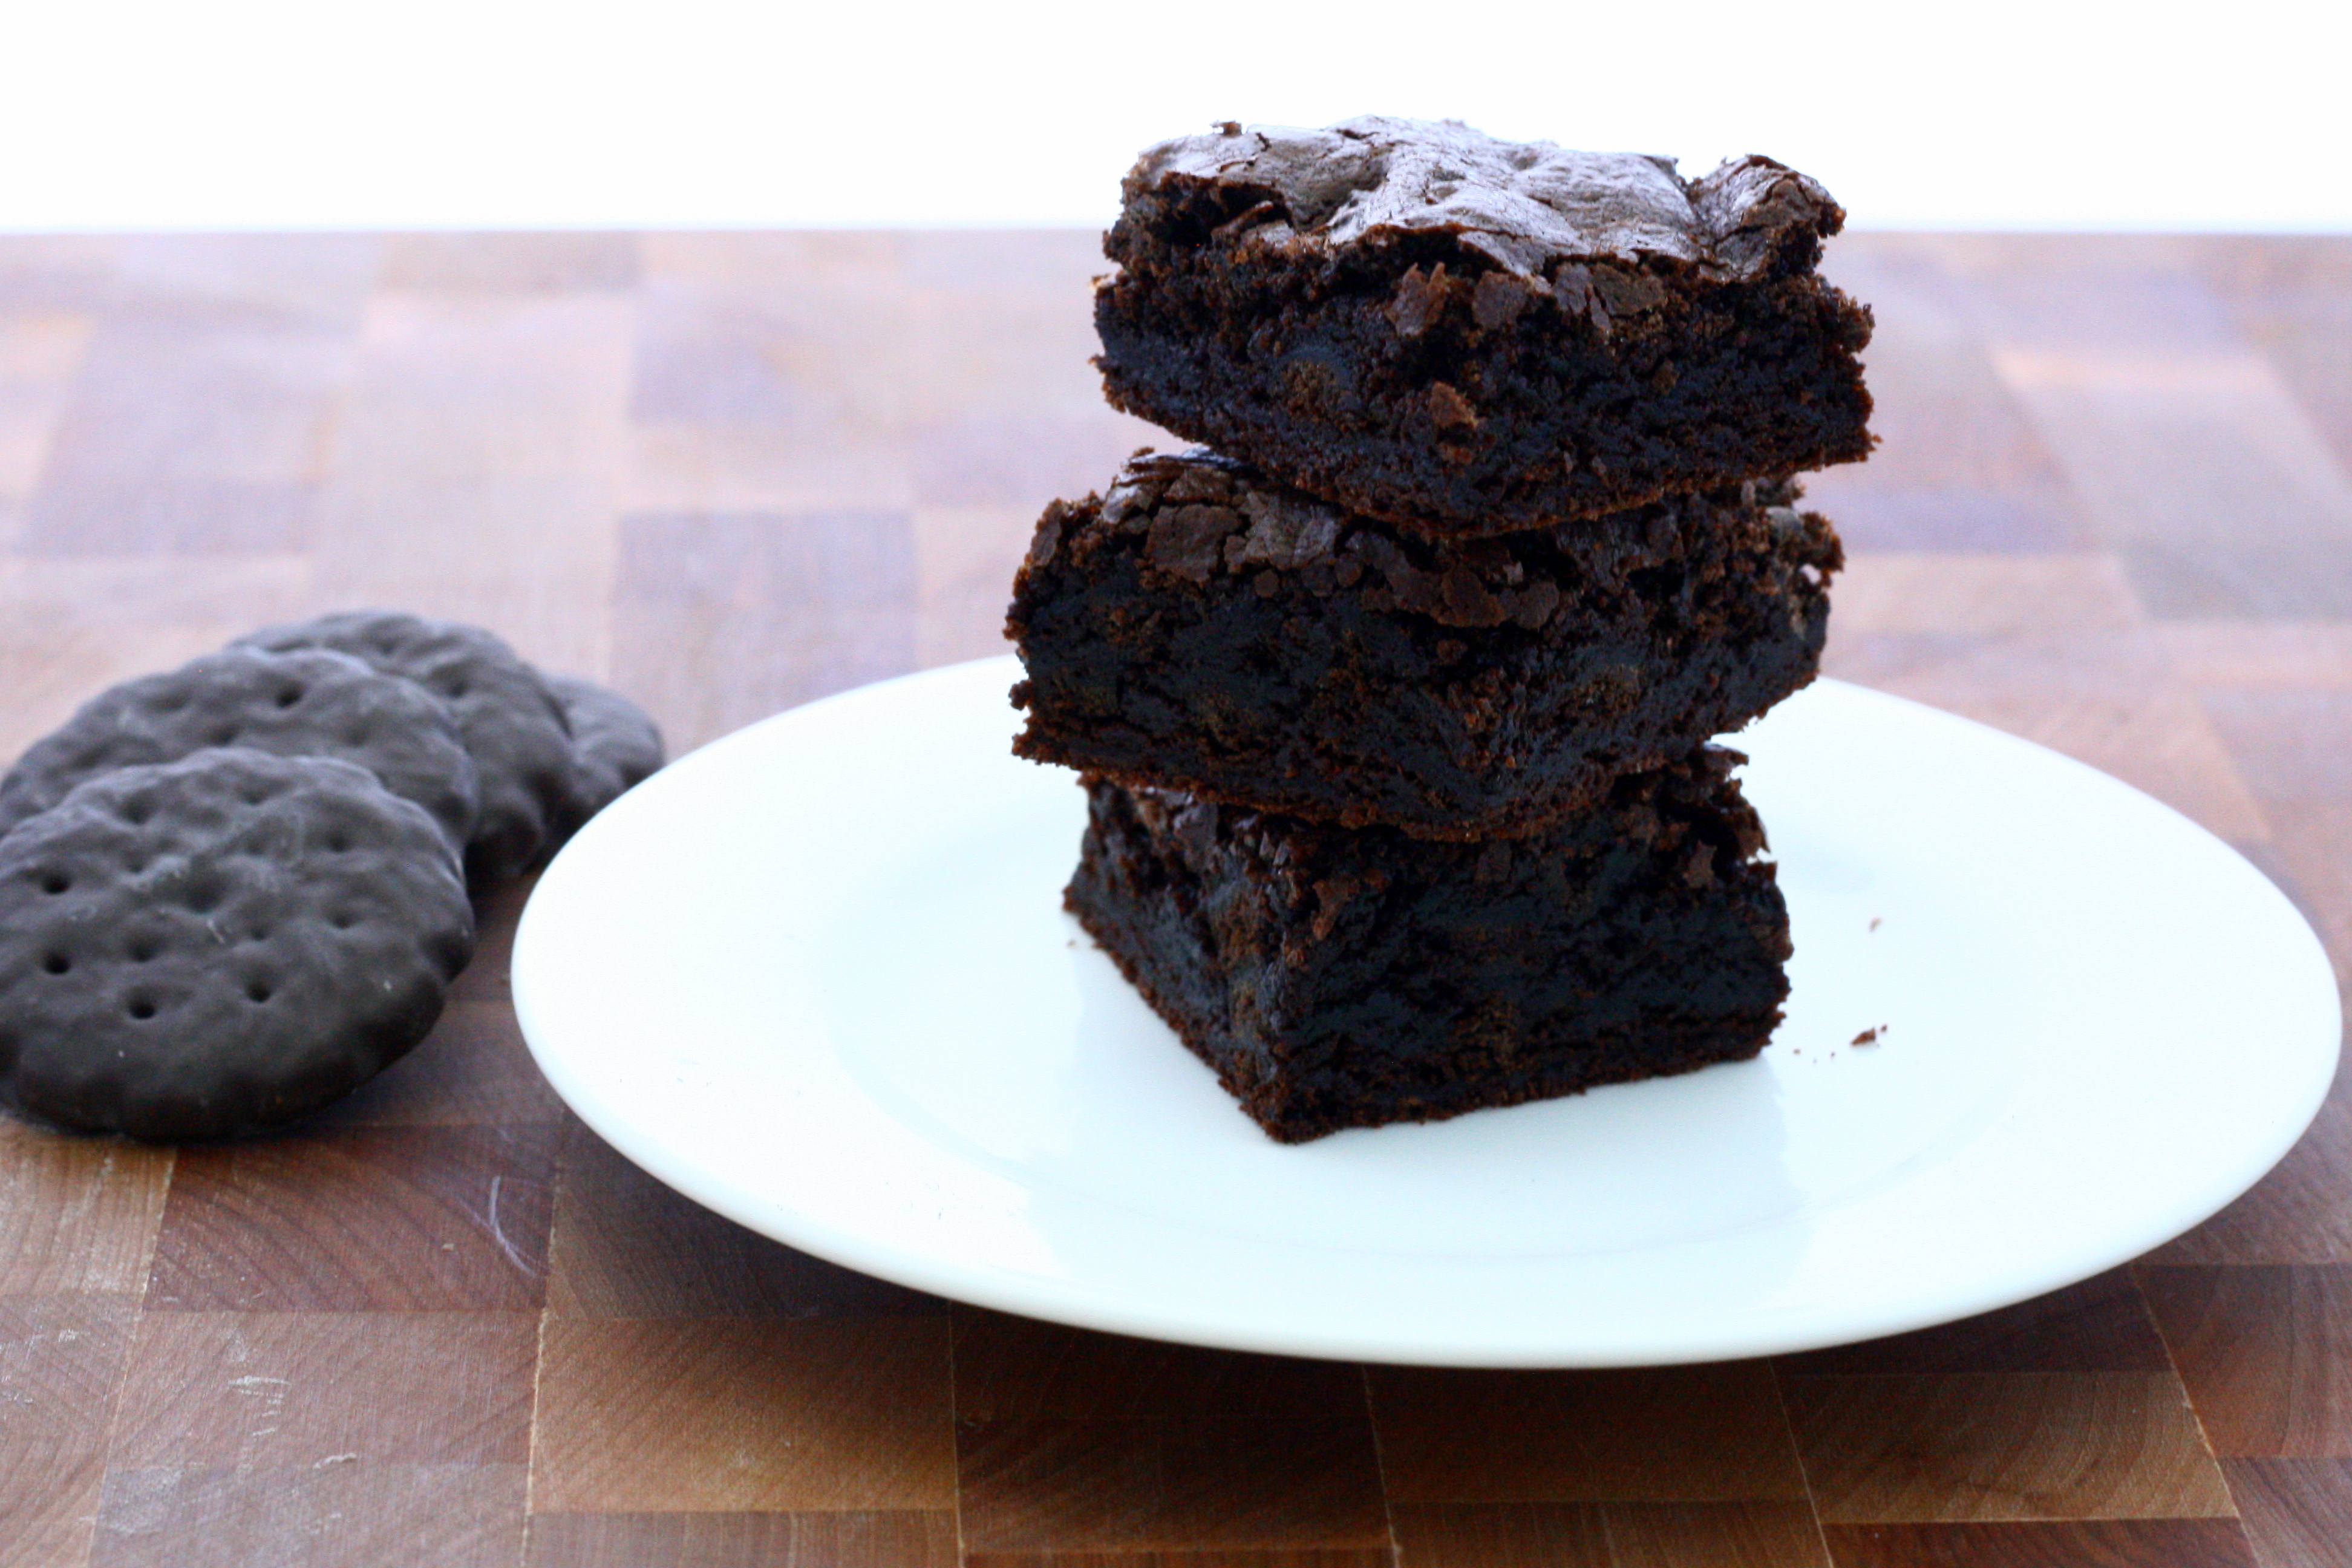
That brings me to this week’s recipe swap. It was blogger’s choice, so I got to choose a recipe of my liking from Cookies on Friday. I combed through every single one of her posts going all the way back to 2008. I bookmarked a bunch of recipes and settled on making these triple ginger cookies. Then, she posted Thin Mint Brownies. And I knew in my heart that I had to make them. Even though I wanted to cry at the thought of sacrificing one precious sleeve of my single box of Thin Mints.
But, this was so worth it. If I had a whole sleeve of Thin Mints left, I would make a second batch. But the second sleeve is residing happily in my stomach now. RIP.
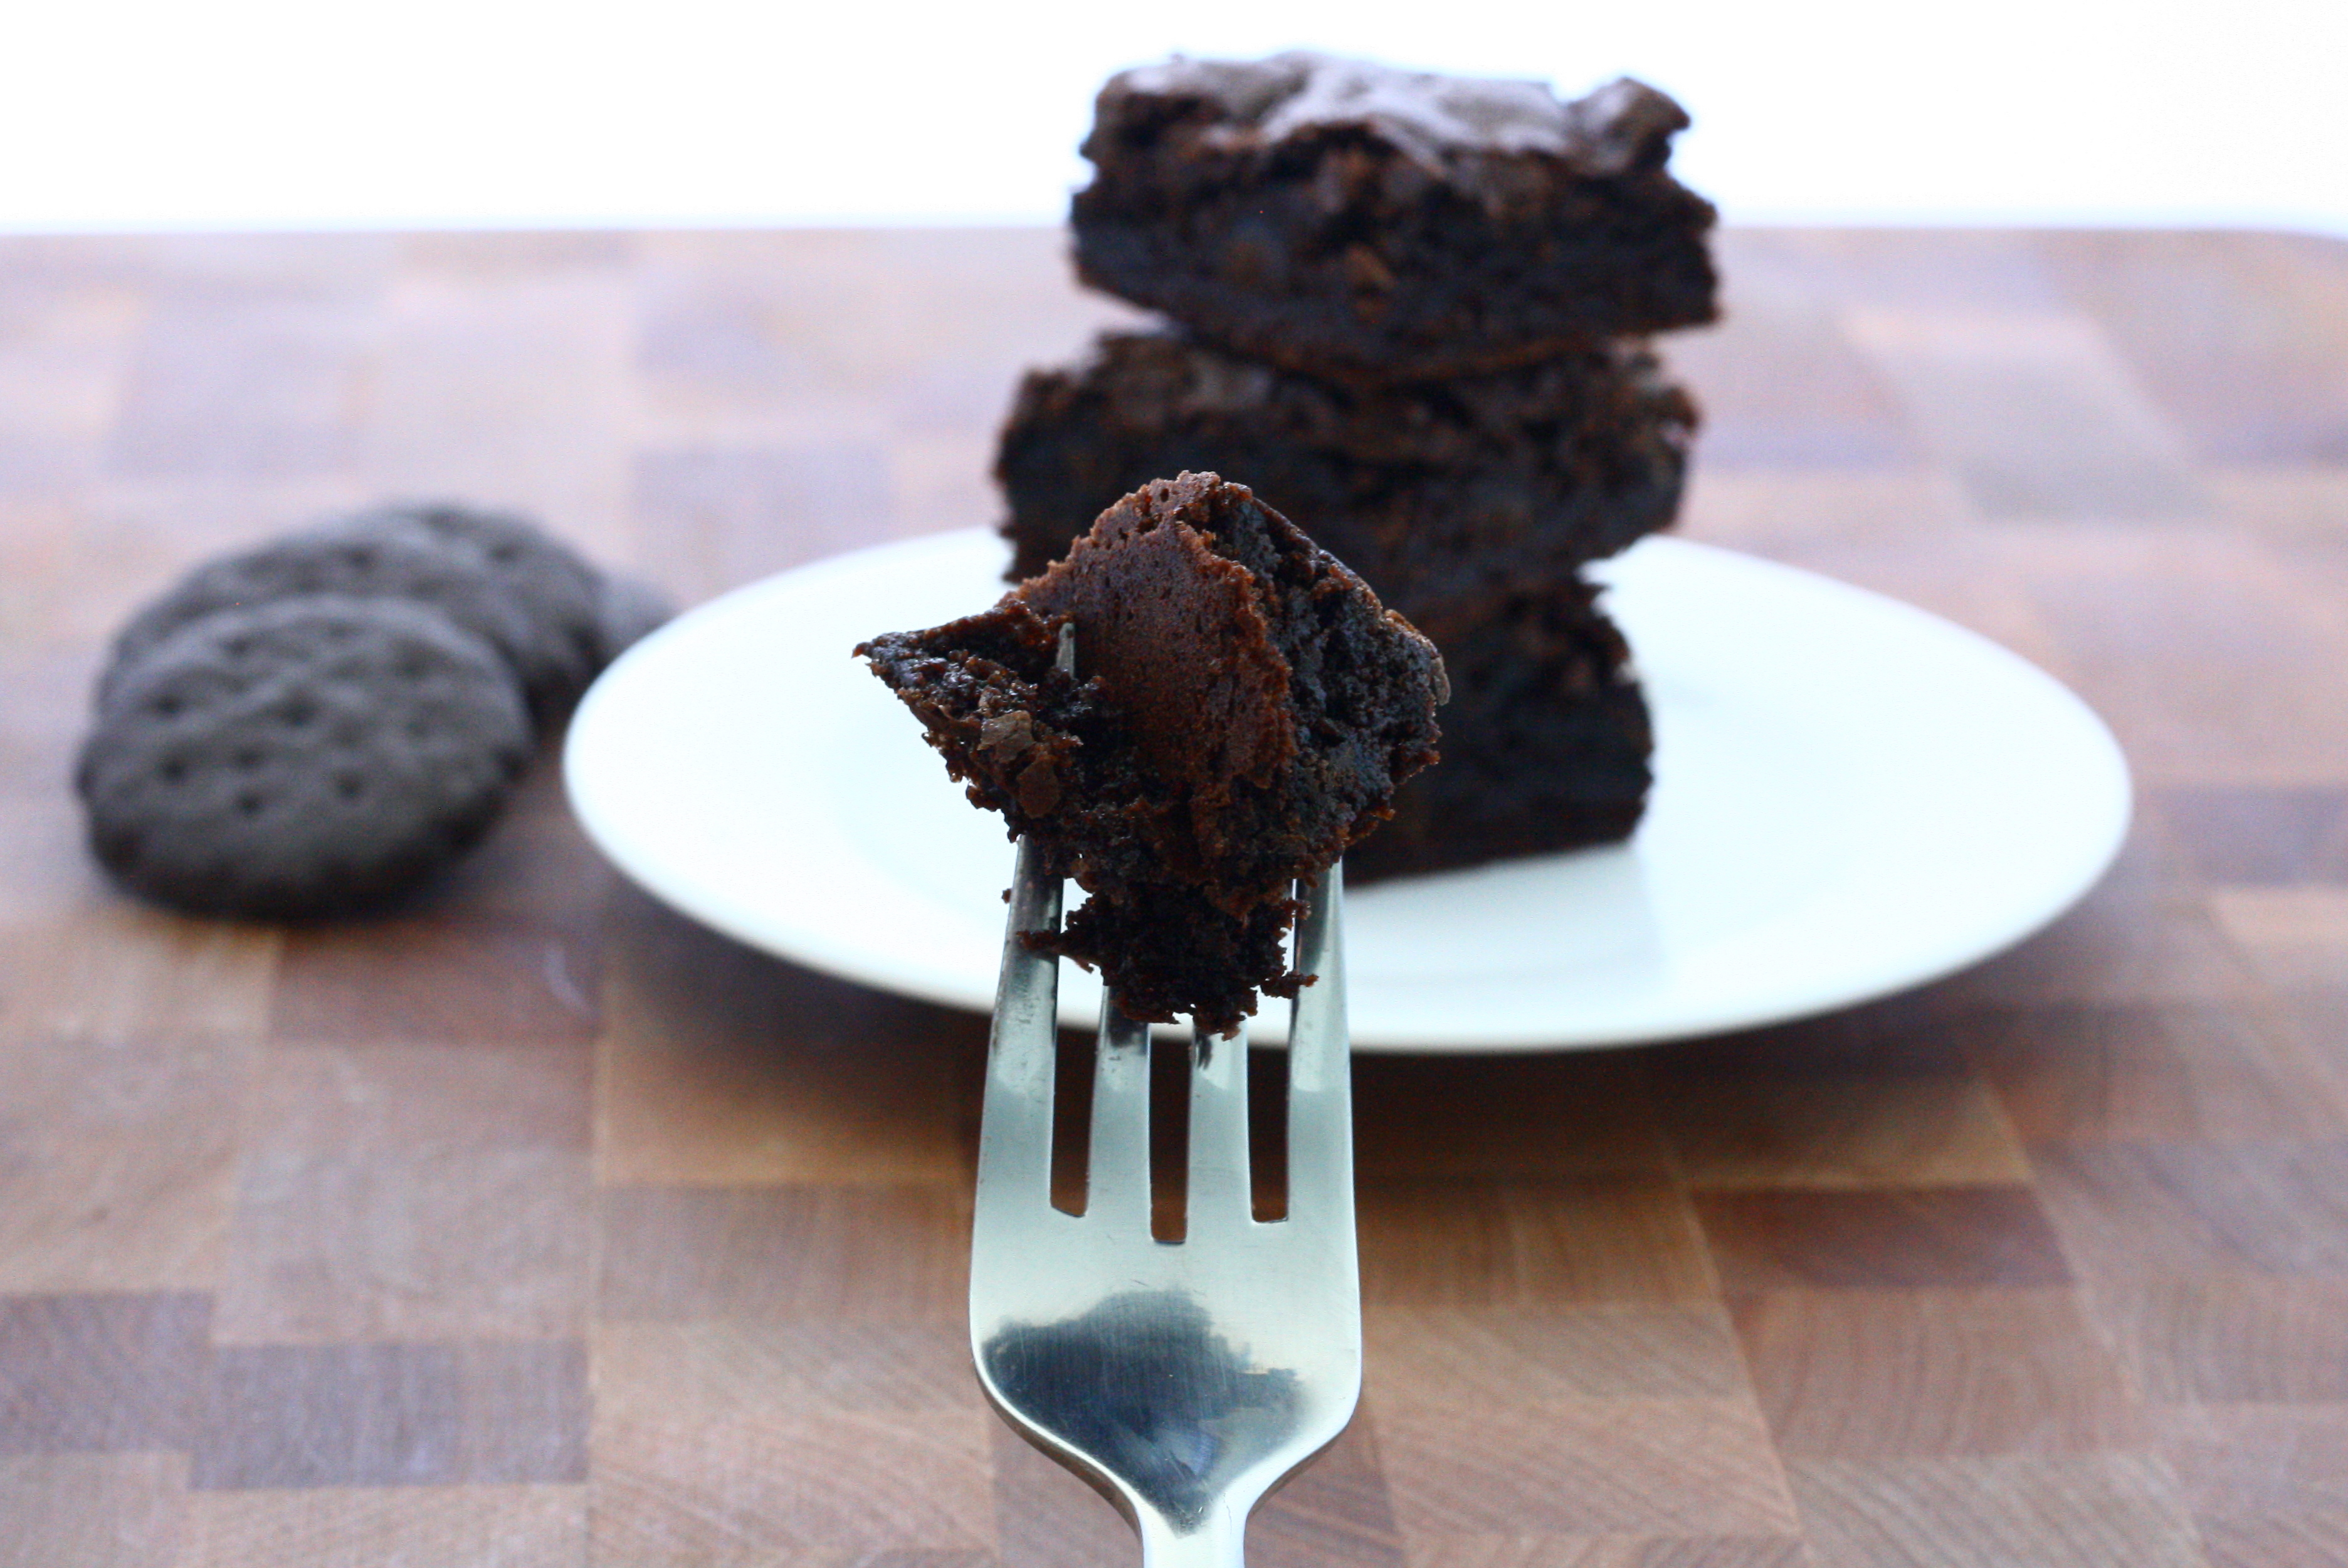
Thin Mint Brownies
slightly adapted from Knead to Cook via Cookies on Friday
1/2 cup cocoa powder
- Preheat oven to 350 degrees. Line a 9” x 13” pan with parchment paper and set aside.
- In a large mixer bowl, blend the cocoa powders, baking soda, boiling water and the first 1/3 cup of oil. Stir on low until blended. Add the sugar, eggs and remaining 1/3 cup oil, stirring again on low until blended. Finally, add the flour, vanilla, mint extract and salt. Stir until just combined. With a spatula, stir in the chopped Thin Mints.
- Spread into the prepared pan and smooth the top. Bake for 35-40 minutes. Allow to cool completely in pan. Remove the brownies from the pan by lifting the parchment paper. Peel away the parchment paper and cut into bars.
Be sure to head on over to Taste of Home Cooking to check out the recipe swap round-up!