I lost my favorite work perk last week with the end of the school year.
Salads. Delivered to me. Every day.
I never had to worry about what I was going to eat, never had to pack leftovers for lunch, never had to resort to a sad PB&J or turkey & cheese sandwich. I had an amazing salad sent to me. Now it’s all over. The kitchens are closed until September and I’m… hungry.
I’ll admit that I have been really bad about remembering to bring lunch with me. In the 7 work days that I have been salad-less, I have forgotten lunch 3 times. Not good, Jen, not good. I’m at least smart enough to keep our office fridge well-stocked with Greek yogurt and I have a fairly impressive stash of snacks in my desk drawer as well. Wheat crackers and Greek yogurt make for a sad lunch, though, and 3 days of it is more than enough for me.
I’m making an effort to pack a lunch, and these veggie burgers were first up on my list. I made a huge batch of it and have enough to feed Mike and me for a week.
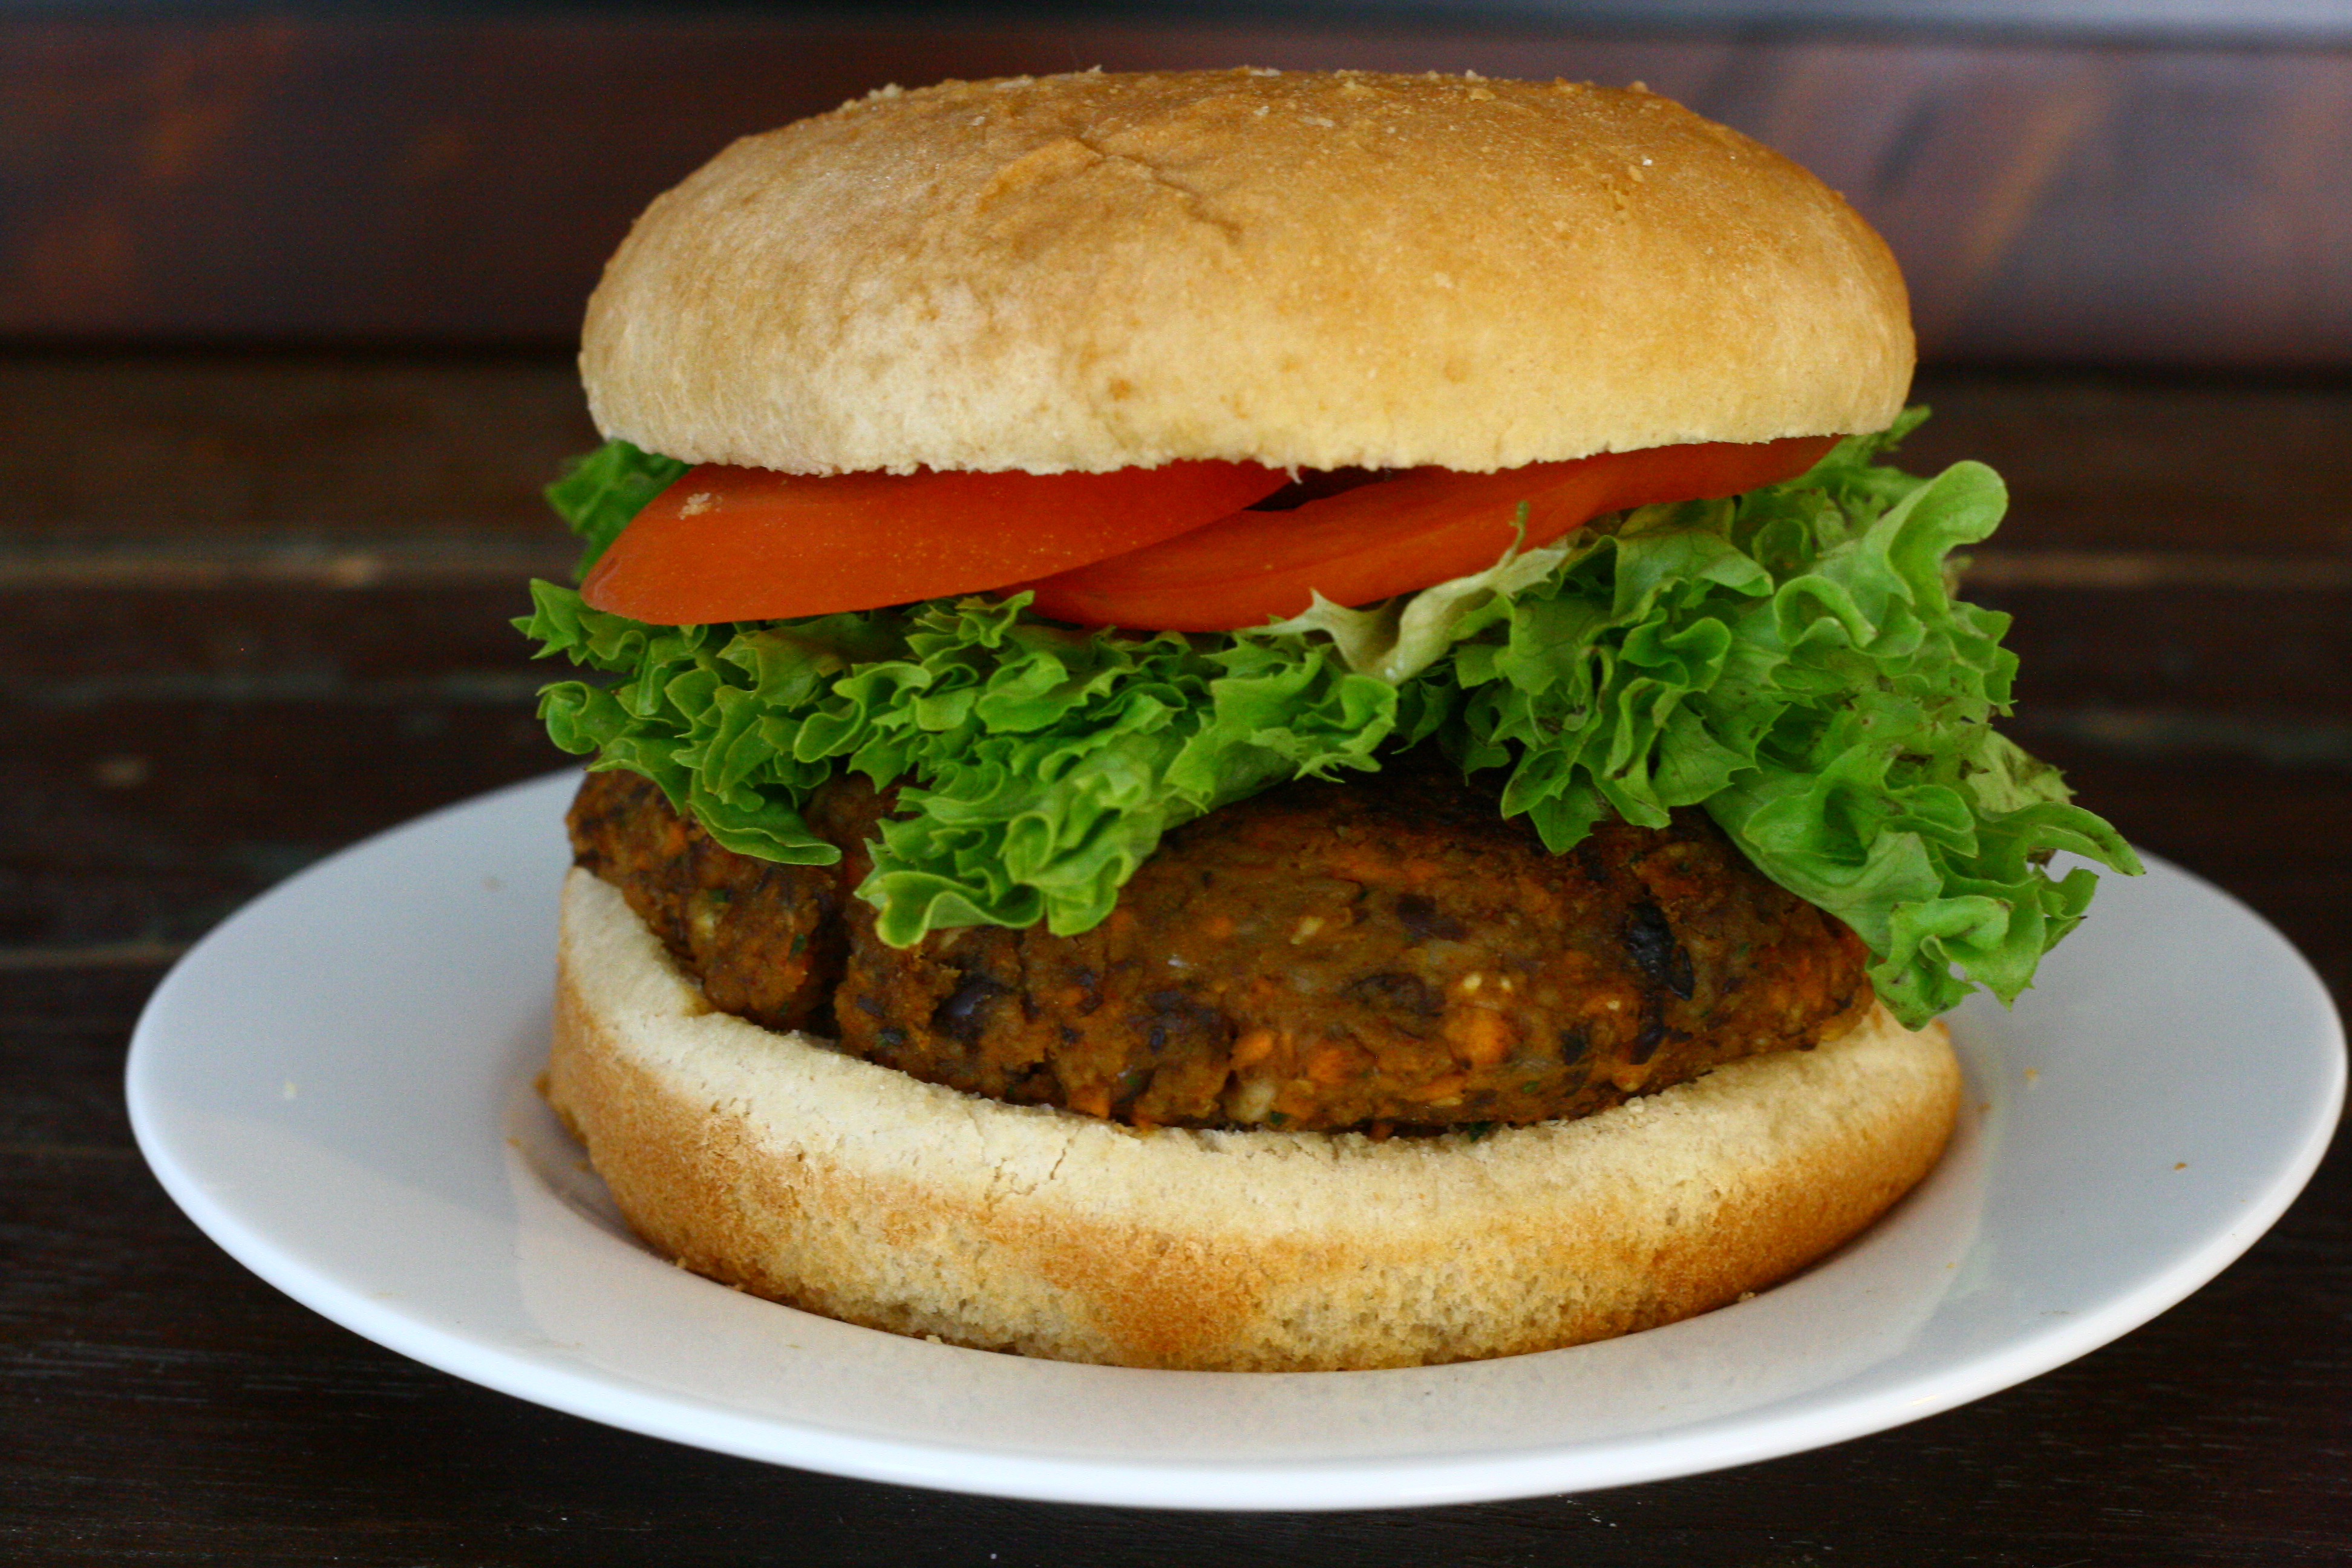
Ultimate Veggie Burger
for the patties:
2 cans black beans drained, liquid reserved
4 large carrots, grated
1 medium onion, finely chopped
3 cloves garlic, minced
1/2 cup old-fashioned rolled oats
1/4 cup cilantro, chopped
1 tablespoon Mexican chili powder
1 teaspoon salt
1 teaspoon freshly ground black pepper
for the burgers:
olive oil
whole wheat hamburger buns
optional toppings: thinly sliced tomato, lettuce, onion
- Combine all veggie patty ingredients (black beans through black pepper) in a food processor. Pulse until combined, being careful not to puree. If mixture does not easily stick together, add reserved bean liquid 1 tablespoon at a time, until it does.
- Shape mixture into 4 or 5 patties 1″ thick.
- Heat 1 tablespoon of olive oil in a large nonstick pan over medium heat. Add patties and cook for 2 – 3 minutes on each side or until browned on both sides. Serve hot on a bun and garnish with lettuce, tomato, and any other toppings you desire!