Oatmeal cookies are the seems-healthy-but-are-not-really-healthy cookie. Sure, it’s got oatmeal, but that oatmeal is usually accompanied by a lot of butter and sugar. But these oatmeal cookies are different. These just might be the healthiest cookie I’ve ever made. They are chock full of the good stuff: bran, whole wheat flour, and even some flax.
In fact, these little cookies are almost too packed full of healthy ingredients that it seems wrong to call them cookies… but they look like a cookie. And they taste like a cookie… so a cookie it is!
Healthy Oatmeal Craisin Cookies makes 24 cookies
1/3 cup wheat bran
2/3 cup whole wheat flour
1 teaspoon baking powder
1/2 teaspoon baking soda
2 tablespoons unsalted butter, room temperature
1/2 cup sugar
1/2 cup packed brown sugar
1 tablespoon flax seed meal mixed with 3 tablespoons water
1/4 cup unsweetened applesauce
1 teaspoon vanilla extract
1 1/2 cups old-fashioned rolled oats
1/2 cup dried cranberries or raisins
Preheat oven to 375°F. Line two baking sheets with parchment paper and set aside.
In a small bowl, whisk together wheat bran, flour, baking powder, baking soda, and salt.
In a large bowl, beat butter and sugars together on medium speed with an electric mixer until fluffy. Mix in flax, applesauce, and vanilla until combined. Mix in flour mixture, oats, and cranberries until combined.
Drop byrounded tablespoonfuls onto prepared baking sheet. Gently flatten with palm of your hand. Bake in preheated oven for 12 – 15 minutes or until golden brown. Let cool completely on baking sheets and store tightly covered.
It’s swap time again! The theme this month was Mexican food and I received a recipe for Cream Cheese Enchiladas from Carrie’s Sweet Life. I read only the name of the dish and raised my eyebrows. I jumped to the conclusion that these were going to be filled with cream cheese and only cream cheese.
Now, don’t get me wrong. I love cream cheese. Seriously. But the thought of eating a cream cheese enchilada was a bit too much for me. I read on and was very relieved to see that there were several other ingredients in the enchiladas in addition to cream cheese. Whew!
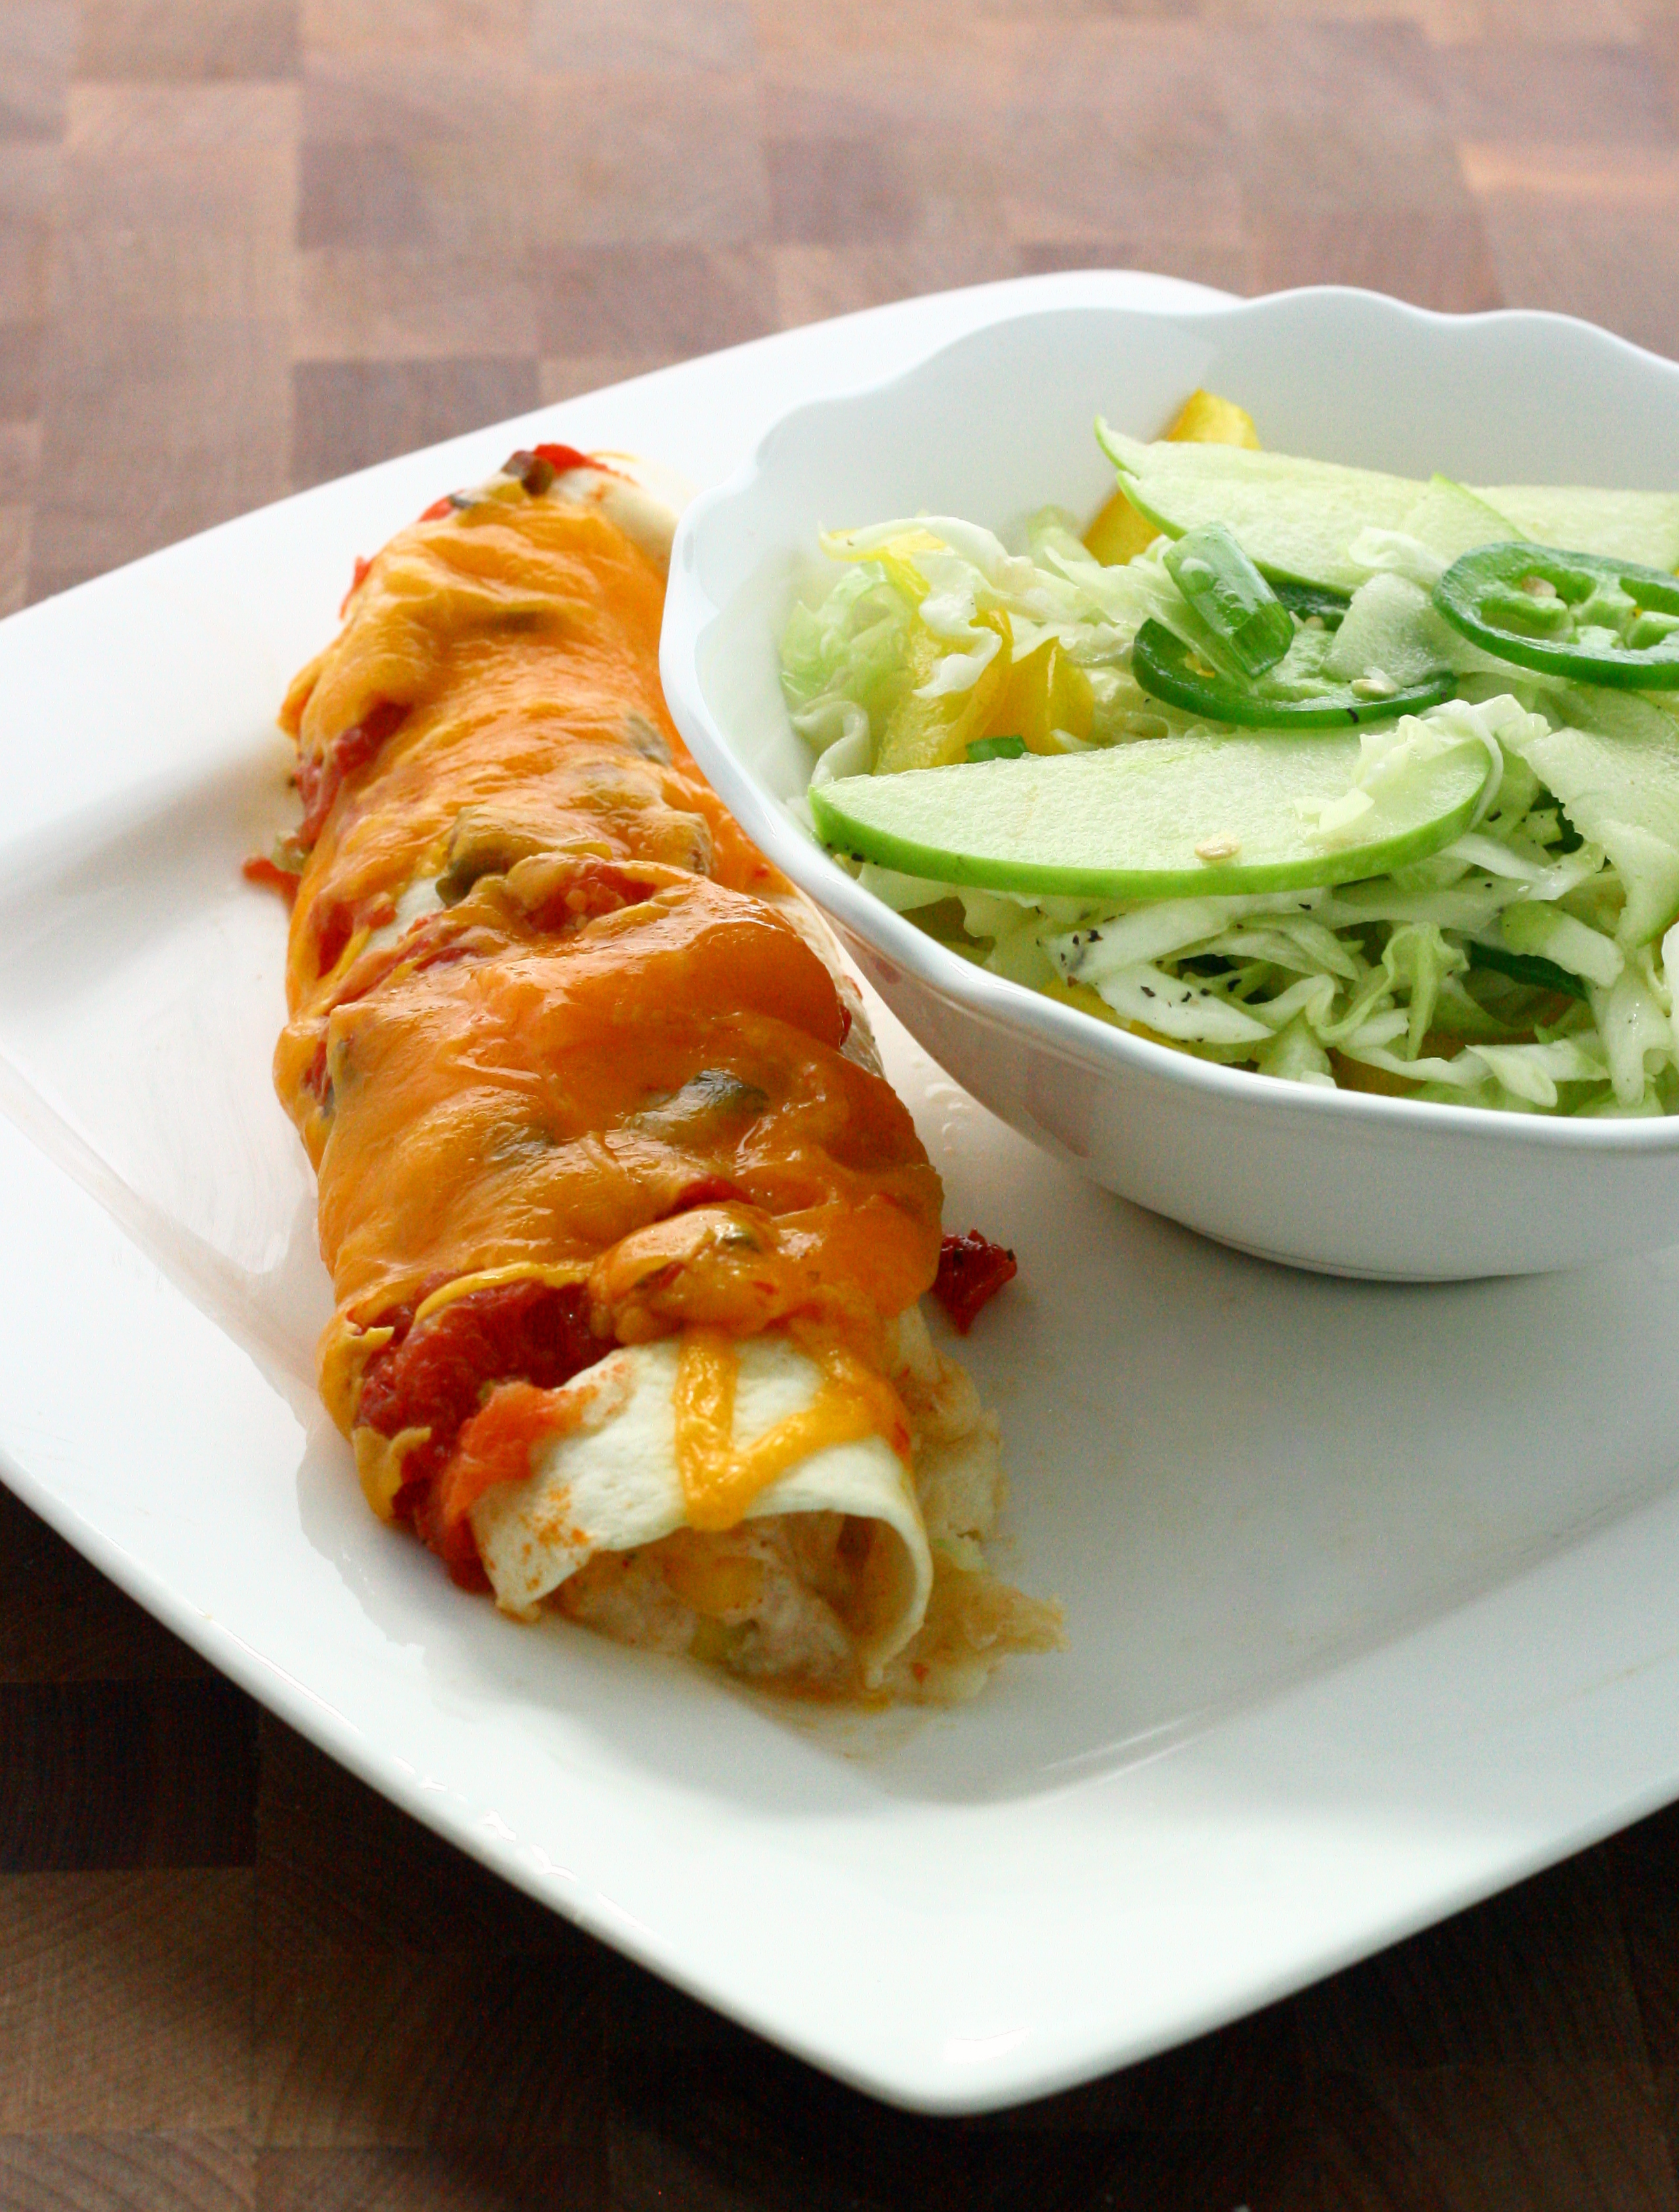
I absolutely loved these. They were super simple to make and had a great flavor, too. I followed in Carrie’s footsteps and made the filling and shredded all the cheese the night before. Then, the next day I assembled and baked them off. While they were in the oven I threw together a quick apple slaw to go with it.
Lightened Up Cream Cheese Chicken Enchiladas slightly adapted from Carrie’s Sweet Life
1 package Neufchatel or reduced fat cream cheese, softened
1/2 cup nonfat Greek yogurt
2 cup prepared salsa (I used some homemade stuff I canned last summer)
1 cup shredded colby cheese
1 cup shredded sharp cheddar cheese
1/2 teaspoon ground chipotle pepper
2 cups cooked, shredded chicken
1 cup frozen corn kernels, thawed
1/2 teaspoon chili powder
1/4 teaspoon cumin
salt and pepper, to taste
8-8 inch flour tortillas
Preheat oven to 325°F.
In a medium bowl, beat together cream cheese and Greek yogurt until smooth. Stir in 1/2 cup salsa, 1/2 cup colby, and 1/2 cup cheddar.
In a separate bowl, mix chicken, corn, cumin, chili powder, salt, and pepper. Fold into cheese mixture and stir until thoroughly combined.
Spread 1/2 cup salsa into the bottom of a large baking dish.
Place 1/3 – 1/2 cup of filling into the bottom third of a tortilla. Roll up and place seam-side down in baking dish. Repeat with remaining tortillas. Pour remaining 1/2 cup salsa on top and sprinkle with remaining cheese.
Bake in preheated oven for 25 – 30 minutes, or until cheese is bubbly and center of enchiladas are hot. Serve immediately.
Thanks to Taste of Home Cooking for organizing! Make sure to check out the other recipe swap posts!
I’m a cookbook junkie. I have shelves and shelves of cookbooks of all different types. I seriously love them. I honestly love just having them – I don’t cook a lot from them. In fact, most of my cookbooks get looked at once, maybe twice a year. As always, there are exceptions. Baked: New Frontiers in Baking is my most recent purchase and I’m obsessed with it. Every single dish I’ve made from it has been amazing. If you don’t own this book, I beg you – BUY IT!
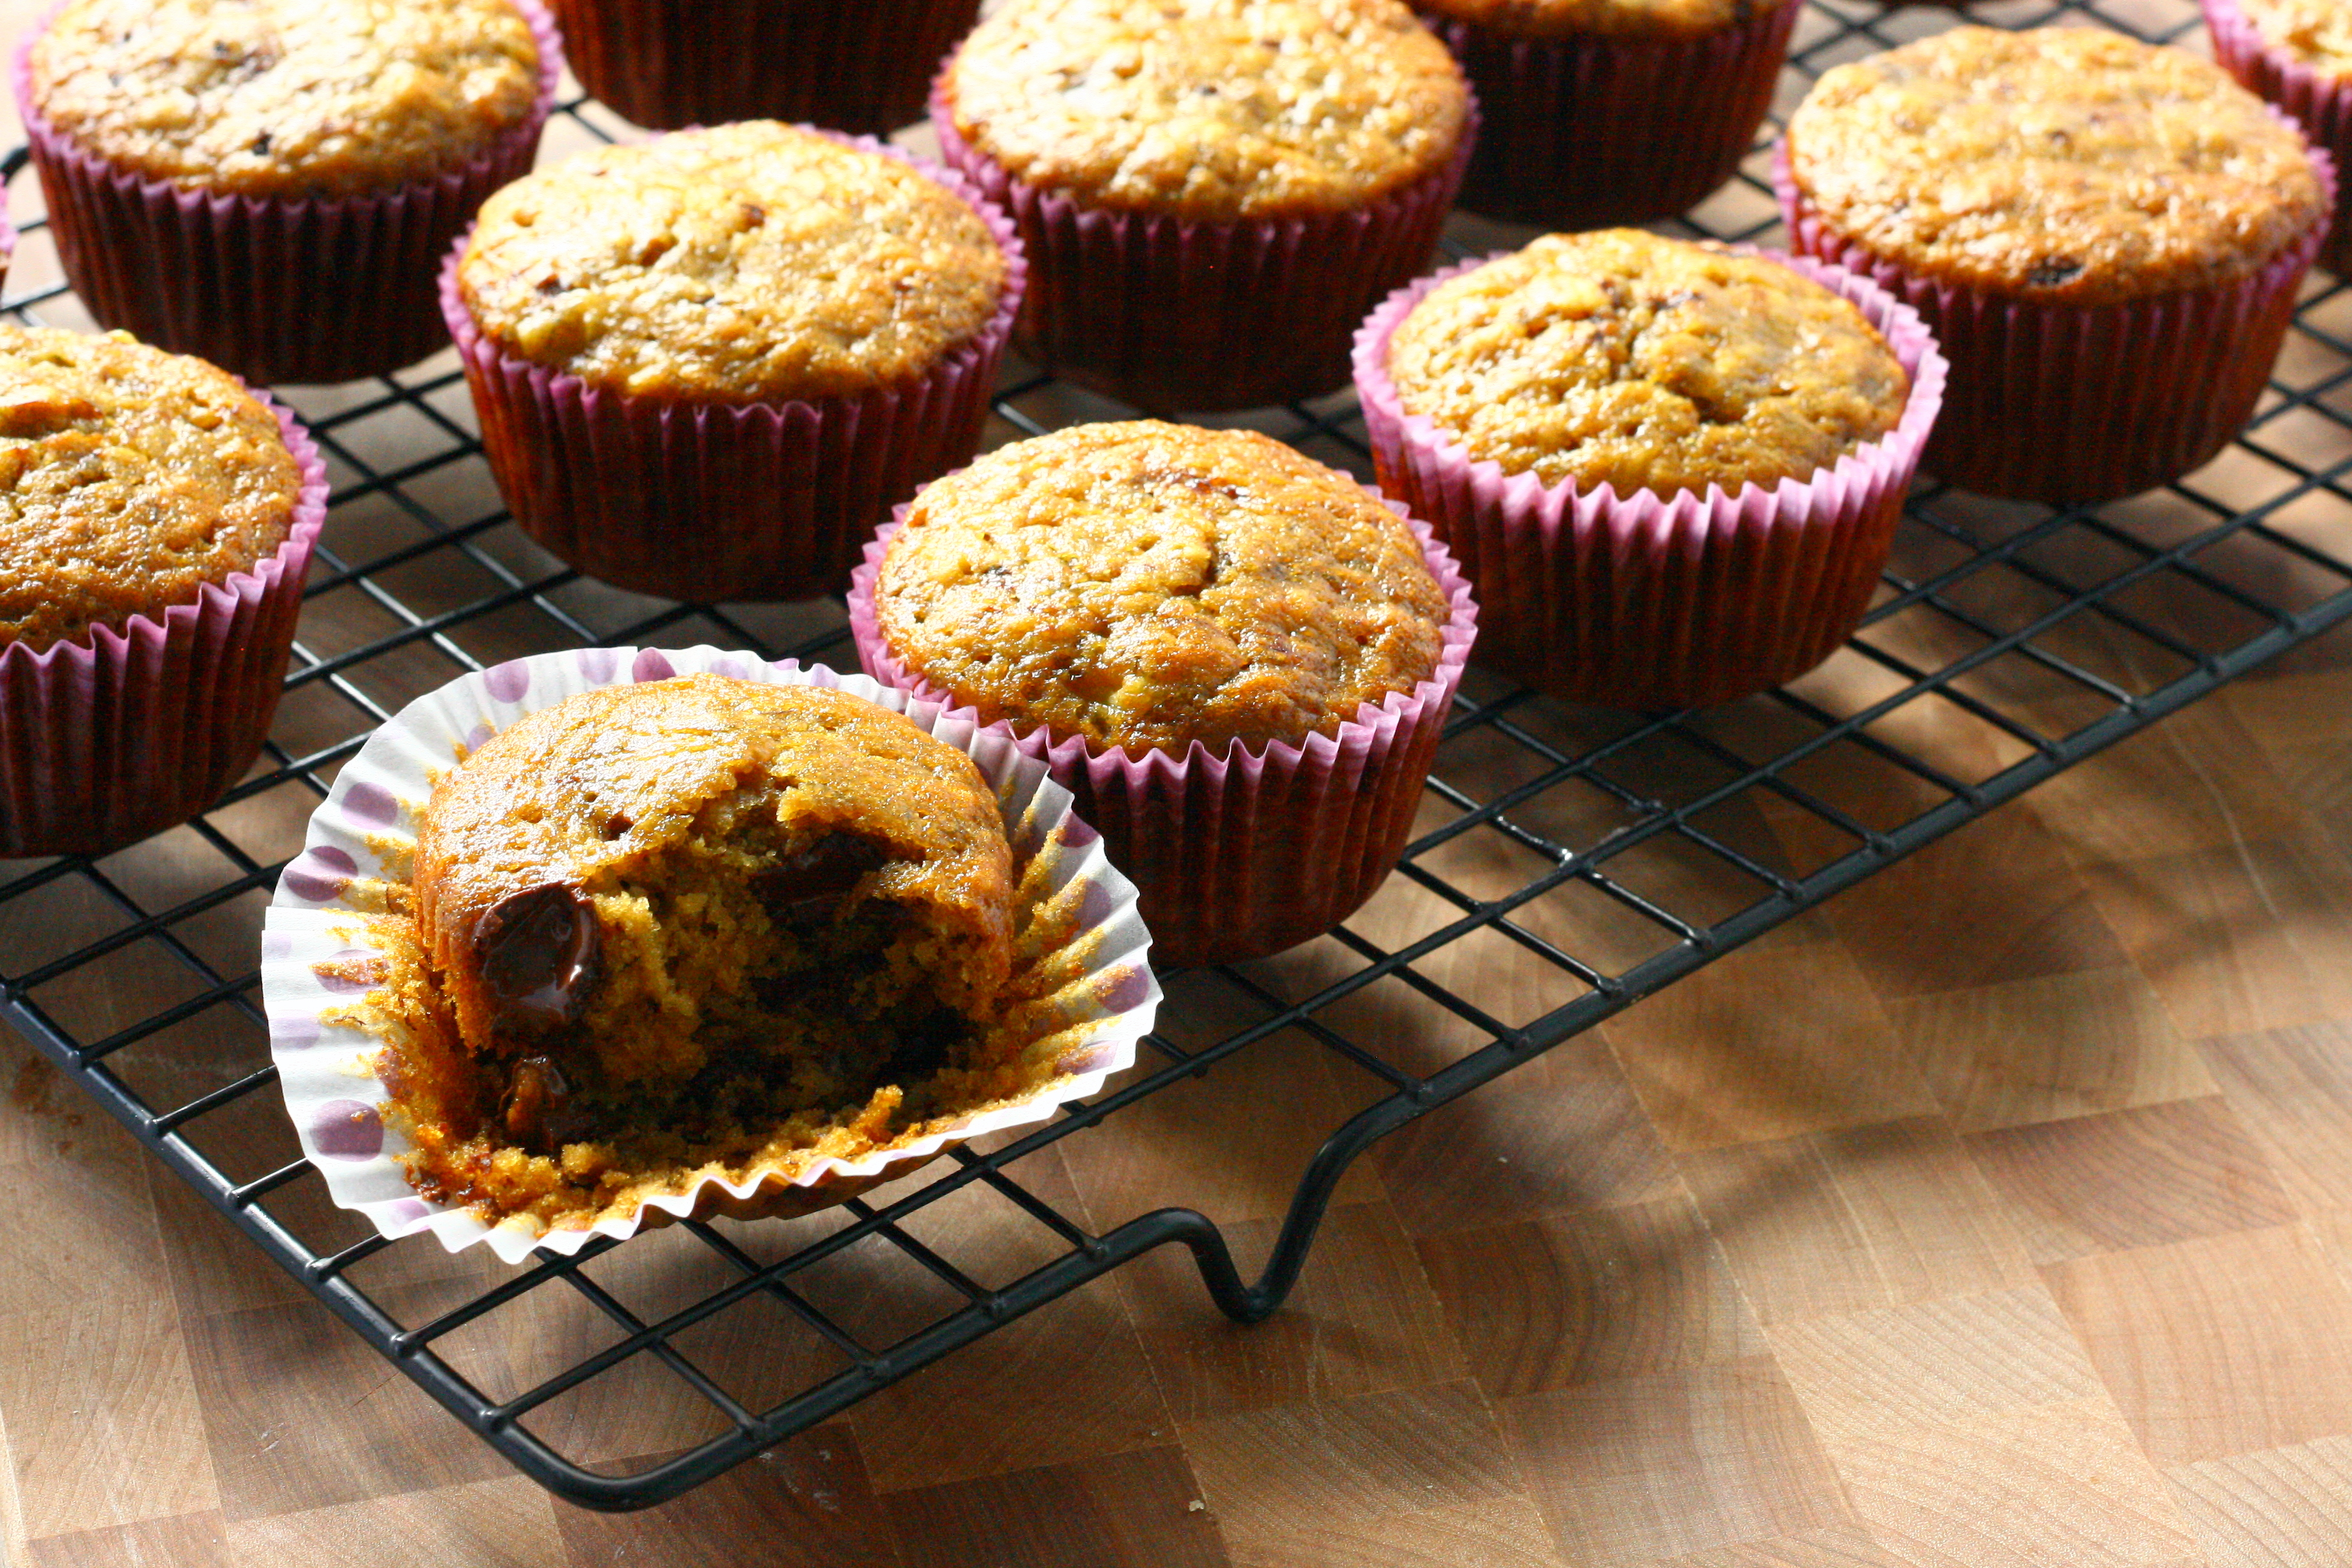
Now, these muffins… so so good. In fact, I made these about 2 months ago for some friends. They were gobbled up before I even got a chance to take a photo for the blog. Thankfully, these muffins are also very easy to make and really tasty so I didn’t mind having to make these again! In fact, I whipped these up before heading to work on Friday. It only took about 20 minutes of prep time and another 20 for baking. I made a few adjustments so they would be a bit healthier and I loved how they turned out!
3 cups mashed, very ripe bananas (6 – 7 medium – large bananas)
1 cup sugar
1/2 cup packed brown sugar
1 stick unsalted butter, melted
1 cup unsweetened applesauce
1/2 cup skim milk
2 large eggs
1 1/2 cup all purpose flour
2 tablespoons instant coffee granules
3 teaspoons baking soda
2 teaspoons salt
2 cups bittersweet chocolate chips
Preheat oven to 350°F. Line 2-12 cup muffin pans with liners or grease with nonstick spray.
In a medium bowl, stir together bananas, sugar, brown sugar, butter, applesauce, milk, and eggs.
In a large bowl, whisk together flour, instant coffee, baking soda, and salt. Make a well in the middle of the dry ingredients and slowly pour in wet ingredients. Stir until just combined. Fold in chocolate chips.
Fill prepared muffin cups with batter, filling each one 3/4 full.
Bake for 20 – 25 minutes, or until a toothpick inserted into the center comes out clean.
Let cool in pan for 10 minutes before removing the muffins and placing on a cooling rack to cool completely.
Spring means rhubarb to me. I’ve been lucky enough to get a fair share of rhubarb from my in-laws and parents over the years to bake with. But, this weekend, things changed!
I was able to take my first cutting off our rhubarb plant! We transplanted it two years ago and the past two years it’s been extremely sad looking and scraggly. I actually thought it had died after it got trampled during our garage re-siding project last summer. It looked dead, that’s for sure.
Then this year, it miraculously grew into beautiful stalks. I got a mere half pound off of it, so it still has a long ways to go, but it’s a great start!
This was originally meant to be a 9×13 pan of coffeecake, but all of my 9×13 pans have disappeared. I really need to keep better track of my bakeware. Thankfully, the muffin pan worked just as well 🙂
Strawberry Rhubarb Coffee Cake makes 1 9×13 cake or 24 individual cakes
for the filling: 1/2 pound fresh rhubarb, sliced (about 2 cups)
1 pound strawberries, hulled and sliced (about 3 cups)
2 tablespoons lemon juice
1/2 teaspoon freshly grated ginger
1/4 cup cornstarch
for the cake: 2 cups all purpose flour
3/4 cup sugar
1 teaspoon baking powder
1 teaspoon baking soda
1/2 teaspoon salt
1 cup butter, cut into small pieces
1 1/2 cups buttermilk
2 eggs
1 teaspoon vanilla extract
for the topping: 1/4 cup butter
3/4 cup all purpose flour
1/3 cup sugar
1/3 cup brown sugar
1/2 teaspoon freshly grated ginger
Preheat oven to 350°F. Line a muffin pan with muffin liners or spray with nonstick spray.
To make the filling: in a large saucepan, combine rhubarb, strawberries, and lemon juice. Bring to a simmer and let cook for 5 minutes. Stir in sugar and cornstach. Bring to a boil and let cook for 2 minutes or until thickened, stirring frequently. Remove from heat and set aside.
To make the cake: whisk together flour, sugar, baking powder, baking soda, and salt in a large bowl. Cut in butter until mixture resembles coarse crumbs. In a medium bow, stir beat buttermilk, eggs, and vanilla until wellc ombined. Pour into crumb mixture and stir until combined.
To make the crumb topping: melt butter in a small pan over medium heat. Stir in flour, sugar, brown sugar, and ginger until the mixture resembles coarse crumbs.
Fill prepared muffin cups half way with batter. Add a heaping tablespoon of filling on top and drop 1 tablespoon of batter on top of filling. Sprinkle with crumb topping.
Bake for 25 – 30 minutes. Cool in pan for 5 minutes before moving a wire rack to cool completely.
There are some days where I just don’t have the time (or energy) to cook an elaborate meal. I’ve come to love quick, easy dinners that I can throw together in a half hour.
There are some sweet & sour meatball recipes that use only 3 ingredients: frozen meatballs, grape jelly, and chili sauce. I couldn’t even bring myself to consider making it. Instead, I opted to make meatballs from scratch (easy!) and sauce from scratch (easier!). Sure, it took a little longer to whip together than the 3 ingredient meatballs, but it’s well worth it to me! The meatballs are super tender and I love the sauce. I also love the fact that I can pour a healthy dose of Sriracha on top.
The only part that beats the fact that it is so simple to make is that this made a LOT of food. That means that Mike and I were able to eat it for breakfast, lunch, and dinner for a couple days 😉 If you’re cooking for a small group, you may want to cut the recipe in half.
Sweet & Sour Meatballs with Peppers adapted from All Recipes
for the meatballs:
2 pounds 90% lean ground beef
2 eggs
1 cup dry bread crumbs
1/2 cup finely chopped or grated onion
1-inch piece of ginger, grated
1 teaspoon seasoning salt
1 teaspoon ground black pepper
1 tablespoon Worcestershire sauce
for the sauce: 2 – 20 ounce cans pineapple chunks, drained and juice reserved
1 cup water
1/4 cup cider vinegar
2 tablespoons low sodium soy sauce
1/3 cup packed brown sugar
3 tablespoons corn starch
1/2 teaspoon seasoning salt
1 large onion, chopped
2 red or yellow bell peppers, sliced
white or brown rice, for serving
Preheat oven to 400°F. Line a baking sheet with parchment paper and set aside.
To make the meatballs: combine all ingredients in a large bowl. Mix by hand until just combined, being careful not to overmix. Shape into 1 – 1 1/2 inch balls and place on prepared baking sheet. Bake for 10 – 15 minutes or until lightly browned. Set aside.
Meanwhile, make the sauce. Pour reserved pineapple juice into a large pot over medium heat. Whisk in water, vinegar, soy sauce, brown sugar, corn starch, and salt. Cook, stirring occasionally, until thickened.
Stir in pineapple chunks, onion, bell peppers, and meatballs into the sauce. Gently stir to combine and simmer for 15 – 20 minutes or until meatballs are cooked through.
I’m not a coffee drinker. Or a dunker. So, biscotti and I shouldn’t get along. But we do.
You see, these biscotti are delicious even when they are eaten plain. In fact, they are good enough to eat at breakfast, lunch, dinner, and for snacks. These biscotti were perfectly crisp yet still soft – nothing is worse than a biscotti that is break-your-teeth-hard. They weren’t overly sweet, either. So, whip yourself up a batch of these and enjoy!
1 stick unsalted butter, room temperature
2/3 cup sugar
1/2 cup (6 oz) Nutella, room temperature
3 large eggs, room temperature
2 teaspoons vanilla
2 3/4 cups all-purpose flour
1/2 teaspoon baking powder
1/4 teaspoon salt
1/2 cup bittersweet chocolate chips
Preheat oven to 350°F. Line a baking sheet with parchment paper.
In a large bowl, beat the butter and sugar on medium speed until smooth and slightly lightened in color, 2-3 minutes. Add Nutella to the bowl and mix on medium speed until well combined, scraping down the sides of the bowl with a rubber spatula as needed. Add the eggs, one at a time, beating well (15 to 20 seconds) and scraping down the sides of the bowl after each addition.
In a medium bowl, whisk together the flour, baking powder, and salt. Add flour mixture to Nutella mixture and beat on low speed until combined; scrape down sides of bowl as needed.
Add chocolate chips and mix on low speed until just blended.
Divide the dough in half and on a lightly floured surface, shape each half of dough into a 13-inch log. Place the logs on the prepared baking sheet 4 inches apart. Gently press down on the logs to flatten them slightly until they are about 2 inches across.
Bake for 30-35 minutes, or until the logs are firm to the touch. Transfer the baking sheet to a cooling rack and let the logs cool completely.
Turn the oven down to 275°F and position racks in the upper and lower thirds of the oven. Transfer the cooled logs to a cutting board and use a serrated knife to slice the logs on the diagonal into 1/2-inch thick cookies. Line a second baking sheet with parchment paper. Place the cookies, cut side down, on the prepared baking sheets. Bake for 30-40 minutes, turning the biscotti over halfway through, until the cookies are dry. Transfer to a rack to cool completely.
I love blogger’s choice swaps. It means I get to spend hours (yes, hours) perusing another blog. The only downside is that it’s nearly impossible to just choose one dish to make. This time was no different. The blog I was assigned was Cookaholic Wife. Again, I ended up with over a dozen dishes I wanted to make. I generally lean towards desserts, but the jalapeno popper pizza caught my eye.
Jalapenos. All over a pizza. With a jalapeno ranch dressing. And bacon.
Yes, please!
I’ve been craving pizza ever since I made the BBQ Chicken Pizza and this one definitely hit the spot. If you can’t really handle the heat from the peppers, feel free to cut back on the amount you put on. I may or may not have put extra slices on mine because I love spicy foods 🙂
for the pizza dough: 3 cups all purpose flour
1 – .25 ounce package active dry yeast (2 1/4 teaspoons)
2 tablespoons vegetable oil
1 teaspoon salt
1 tablespoon sugar
1 cup warm water (~110°F)
for the jalapeno ranch dressing: 1 jalapeno, seeds and membrane removed
1 green onion, ends trimmed
1 clove of garlic
1/2 lime, juiced
1/4 cup buttermilk
1/4 cup light mayo
1 tablespoon cilantro
salt and pepper, to taste
2 ounces reduced fat cream cheese, softened
for the pizza toppings: 2 jalapeno peppers, thinly sliced
1 cup shredded mozzarella cheese
1 cup shredded sharp cheddar cheese
4 slices bacon, cooked and roughly chopped
To make the dough: Fit stand mixer with dough hook. Combine dry ingredients in mixing bowl. Pour in oil and water. Mix on low speed until dough pulls away from side of bowl and gathers around hook and is smooth and elastic. Place dough in a large lightly greased bowl and cover loosely with plastic wrap. Set aside and let rise for 30 – 40 minutes.
To make the dressing: combine all ingredients except for the cream cheese using a hand blender, food processor, or blender. Mix until smooth. Mix in cream cheese until well combined.
Preheat the oven to 450°F. Place pizza stone in oven and let it heat for at least 30 minutes.
Stretch prepared pizza dough into a circle 12″ in diameter. Fold edges over to create a crust.
Spread jalapeno ranch dressing over dough and sprinkle cheese on top. Top with jalapeno slices and bacon.
Bake for 10 – 15 minutes or until cheese has melted and crust is lightly browned. Serve immediately.
Thanks to Taste of Home Cooking for organizing! Make sure to check out the other recipe swap posts!
When Jessica over at My Baking Heart posted these tiramisu brownies, I knew I had to make them. Immediately. Usually I find a recipe that calls out to me and put it on my “to do” list. These babies almost skipped every other dish I had on my list and I made them as soon as I could.
A little tip – if you don’t want the 8 egg yolks to go to waste, do as I did and use 5 of them in these Layered German Chocolate Cupcakes. Then you will have not one, but TWO super decadent treats. It’s probably a good idea to share 😉
Hazelnut Tiramisu Brownies yield: 15 large brownies
2 oz dark chocolate chips 16 tbsp unsalted butter, room temperature 1 1/4 c granulated sugar, divided 4 whole large eggs 8 large egg whites, divided 1 cup cake flour 2 tablespoons instant coffee 1/4 cup chopped, roasted hazelnuts 8 ounces Mascapone cheese, room temperature 8 ounces Neufchatel cheese, room temperature 2 teaspoons vanilla extract 1 package ladyfingers 1 cup coffee 2 tablespoons dark rum
Preheat oven to 350°F. Butter and flour a 13×9 baking pan and set aside.
Place chocolate chips in a large microwavable bowl and microwave in 30 second intervals until smooth and melted, stirring after each time. Let cool slightly.
Pour melted chocolate into a mixing bowl fitted with the paddle attachment. Beat in butter on medium speed until well incorporated. Add in 1 cup of sugar, 4 whole eggs, and 4 egg whites, mixing until well blended. Mix in flour and instant coffee on low speed until just combined. Carefully fold in hazelnuts. Remove 1 cup of batter and pour remaining batter into prepared pan.
Place lady fingers rounded-side down on top of the batter, pushing down slightly on each one. Combine coffee with rum and brush onto the ladyfingers until saturated.
In a separate bowl, combine mascarpone cheese, Neufchatel cheese, 1/4 cup sugar, 4 remaining egg whites, and vanilla extract. Carefully spread over the ladyfingers.
Drop dollops of remaining brownie batter on top of the cheese layer and swirl gently with a knife.
Bake for 45 – 50 minutes, or until brownies begin to pull away from the sides of the pan and the center is almost set. Let cool completely in pan before cutting.
Recipe slightly adapted from Chef Maureen Joyce & Barista Prima Coffee house via My Baking Heart
This post two-for-one deal. It’s a running and recipe post all rolled into one! Let me start the race recap with my Saturday. In my last post I talked about my nervousness and how I planned on dealing with it. So, what did I do all weekend?
Well, like I had said before, Mike and I went to the Cellcom Race Expo and picked up my race packet. We bought a running hat (for him) and some more running capris (for me) there. We then headed over to Hinterland for some beer & food. It was so good. We decided to sit in the lounge and I’m so glad we did. The space is really neat – we snagged a corner booth that had a nice view of the downtown area. The service and food were amazing. We’re already planning on next trip back – I’m sad they are a 40 minute trip away, but it’s definitely worth it.
We drank: Cherry Wheat (Crisp, cool and refreshing. Brewed using tart Door County cherries from Seaquist Orchards) and Bourbon Barrel Dopplebock (Dark amber color. Full-bodied. Pronounced notes of caramel and oak with a smooth bourbony finish. Aged 10.5 months). Both were delish.
We ate: Caprine supreme goat cheese curds with kimchee ketchup and Nueske’s smoked chicken pizza (maple bock barbecue, mango, chives, goat cheese). The cheese curds were different than any cheese curd I’ve had before – they were light and fluffy and the kimchee ketchup was awesome. The pizza was, of course, delish as well. I loved the addition of the mango.
Saturday, we wasted the day away at home and ran some errands. I felt sick with anticipation almost all day. I was refreshing the weather on my iPad every hour (definitely wasn’t helping). I ended up throwing together dinner early at around 5:00 so we could eat early and get to bed by 9:00.
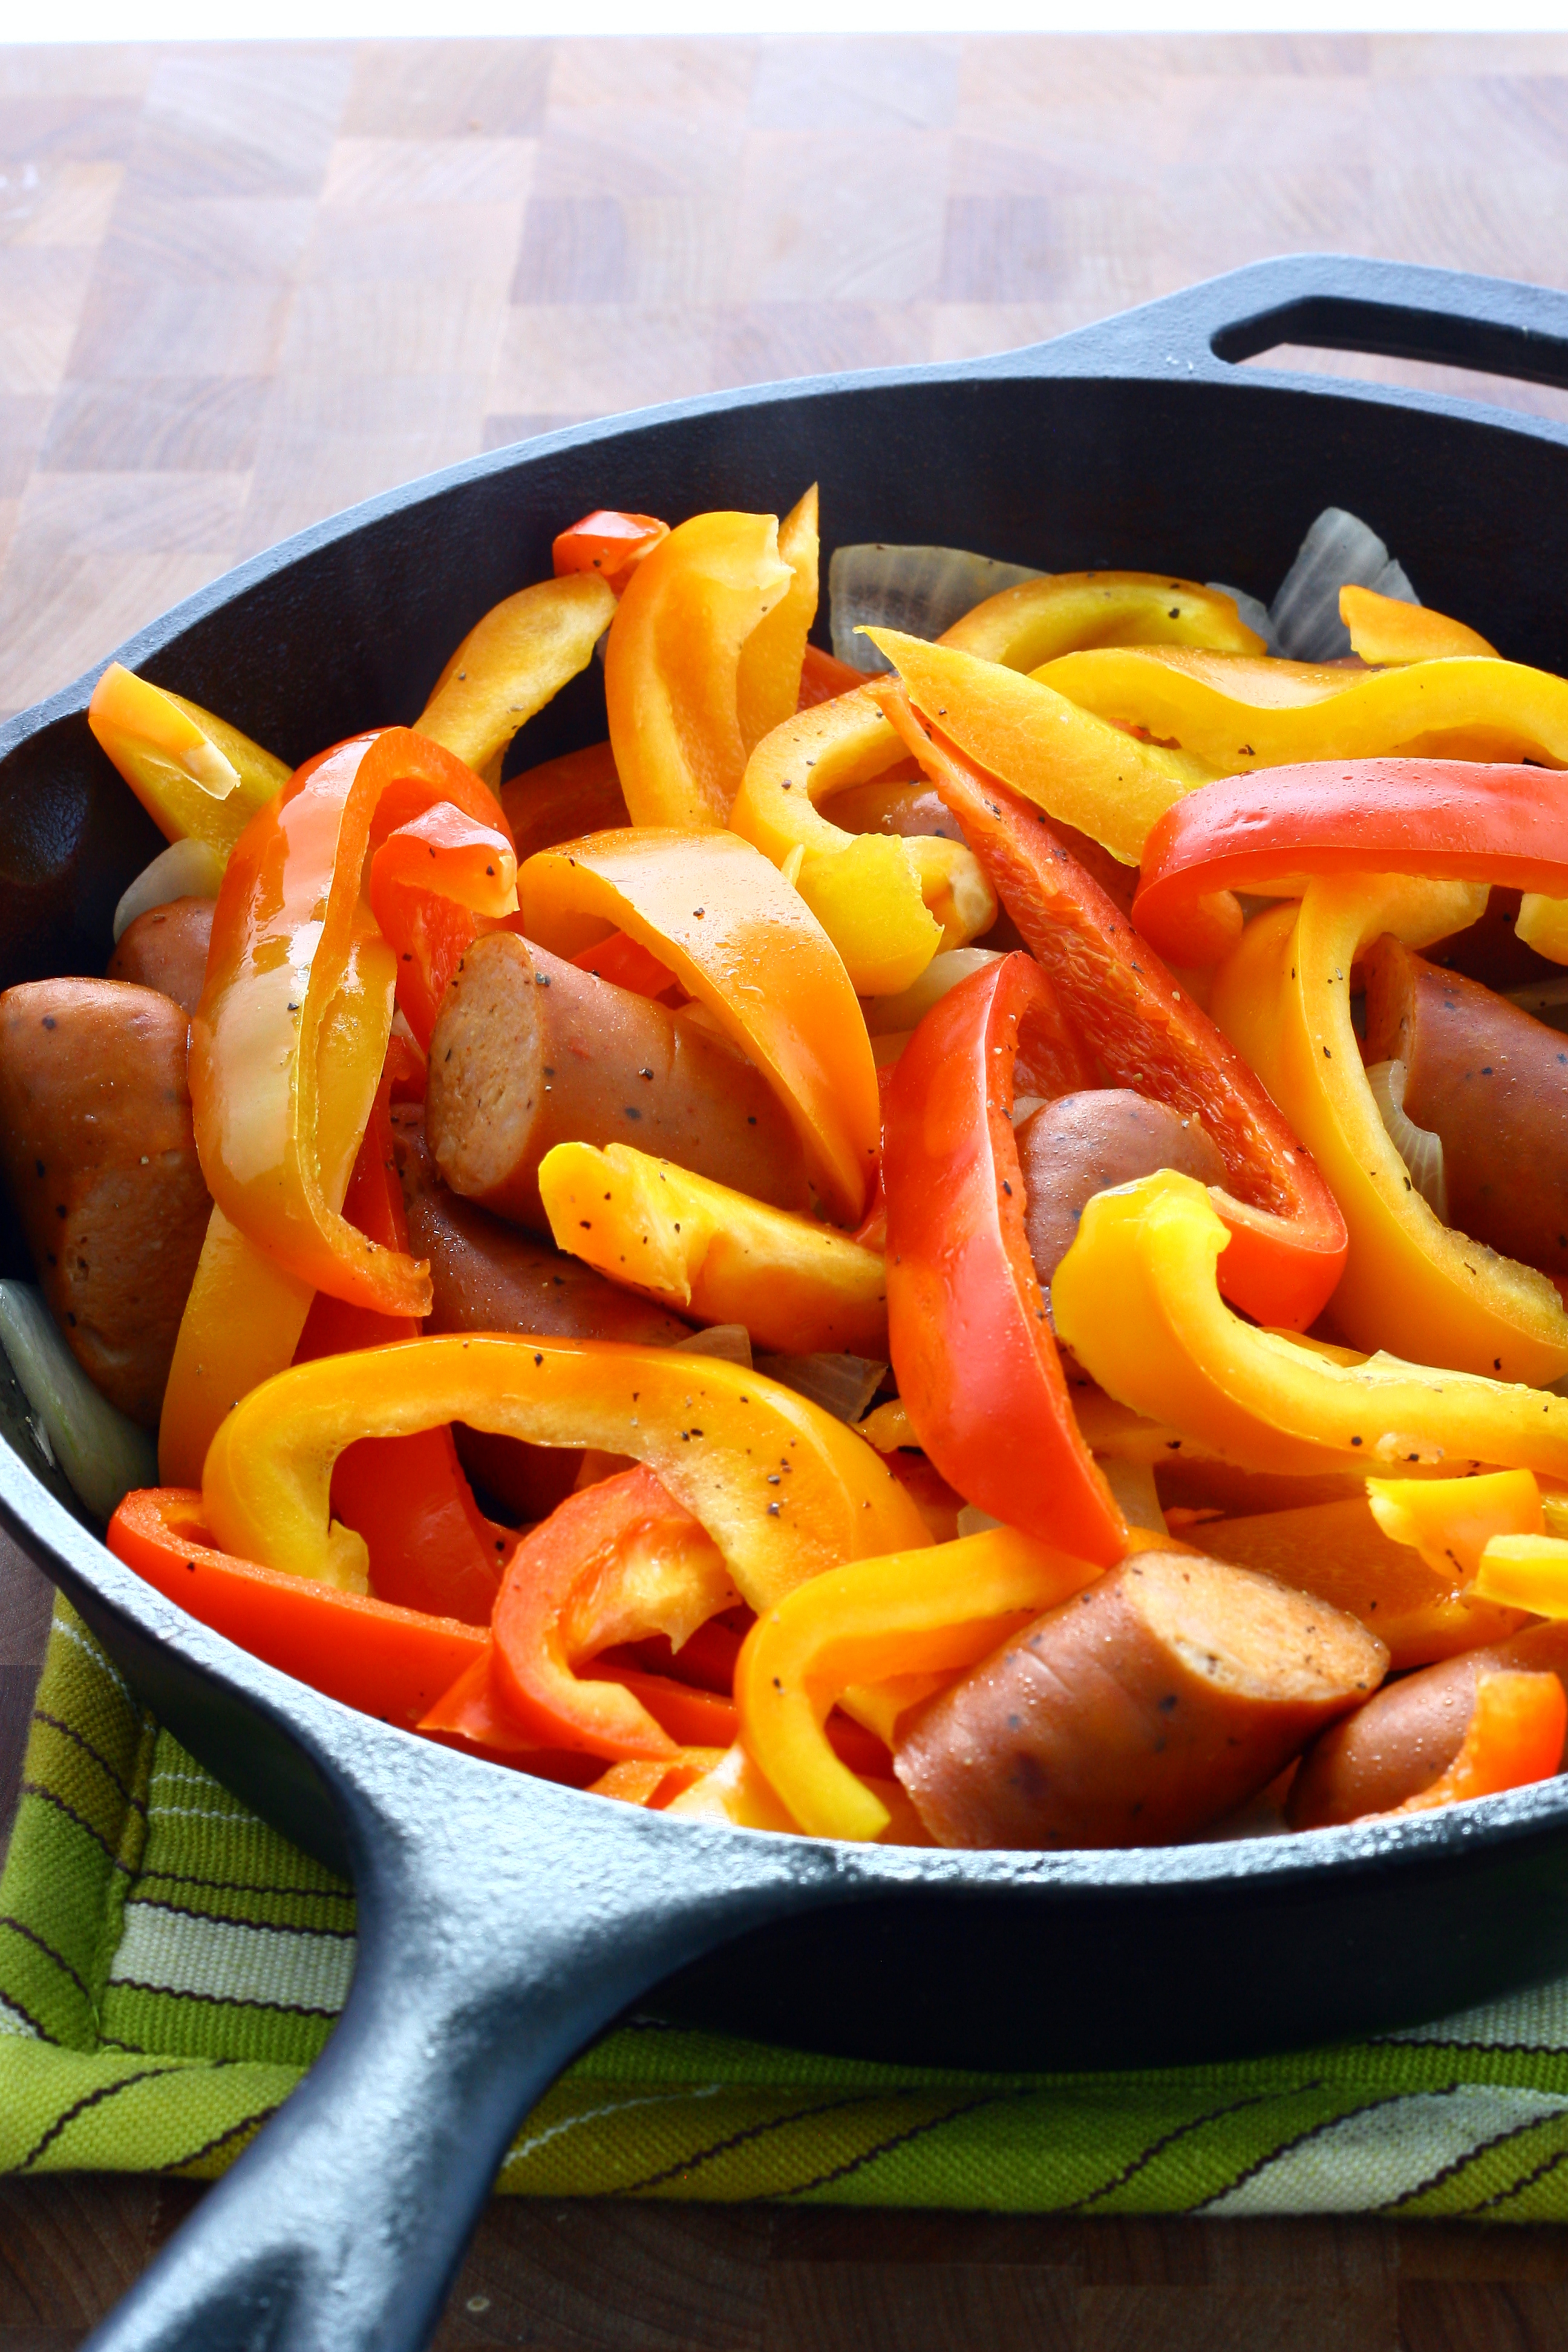
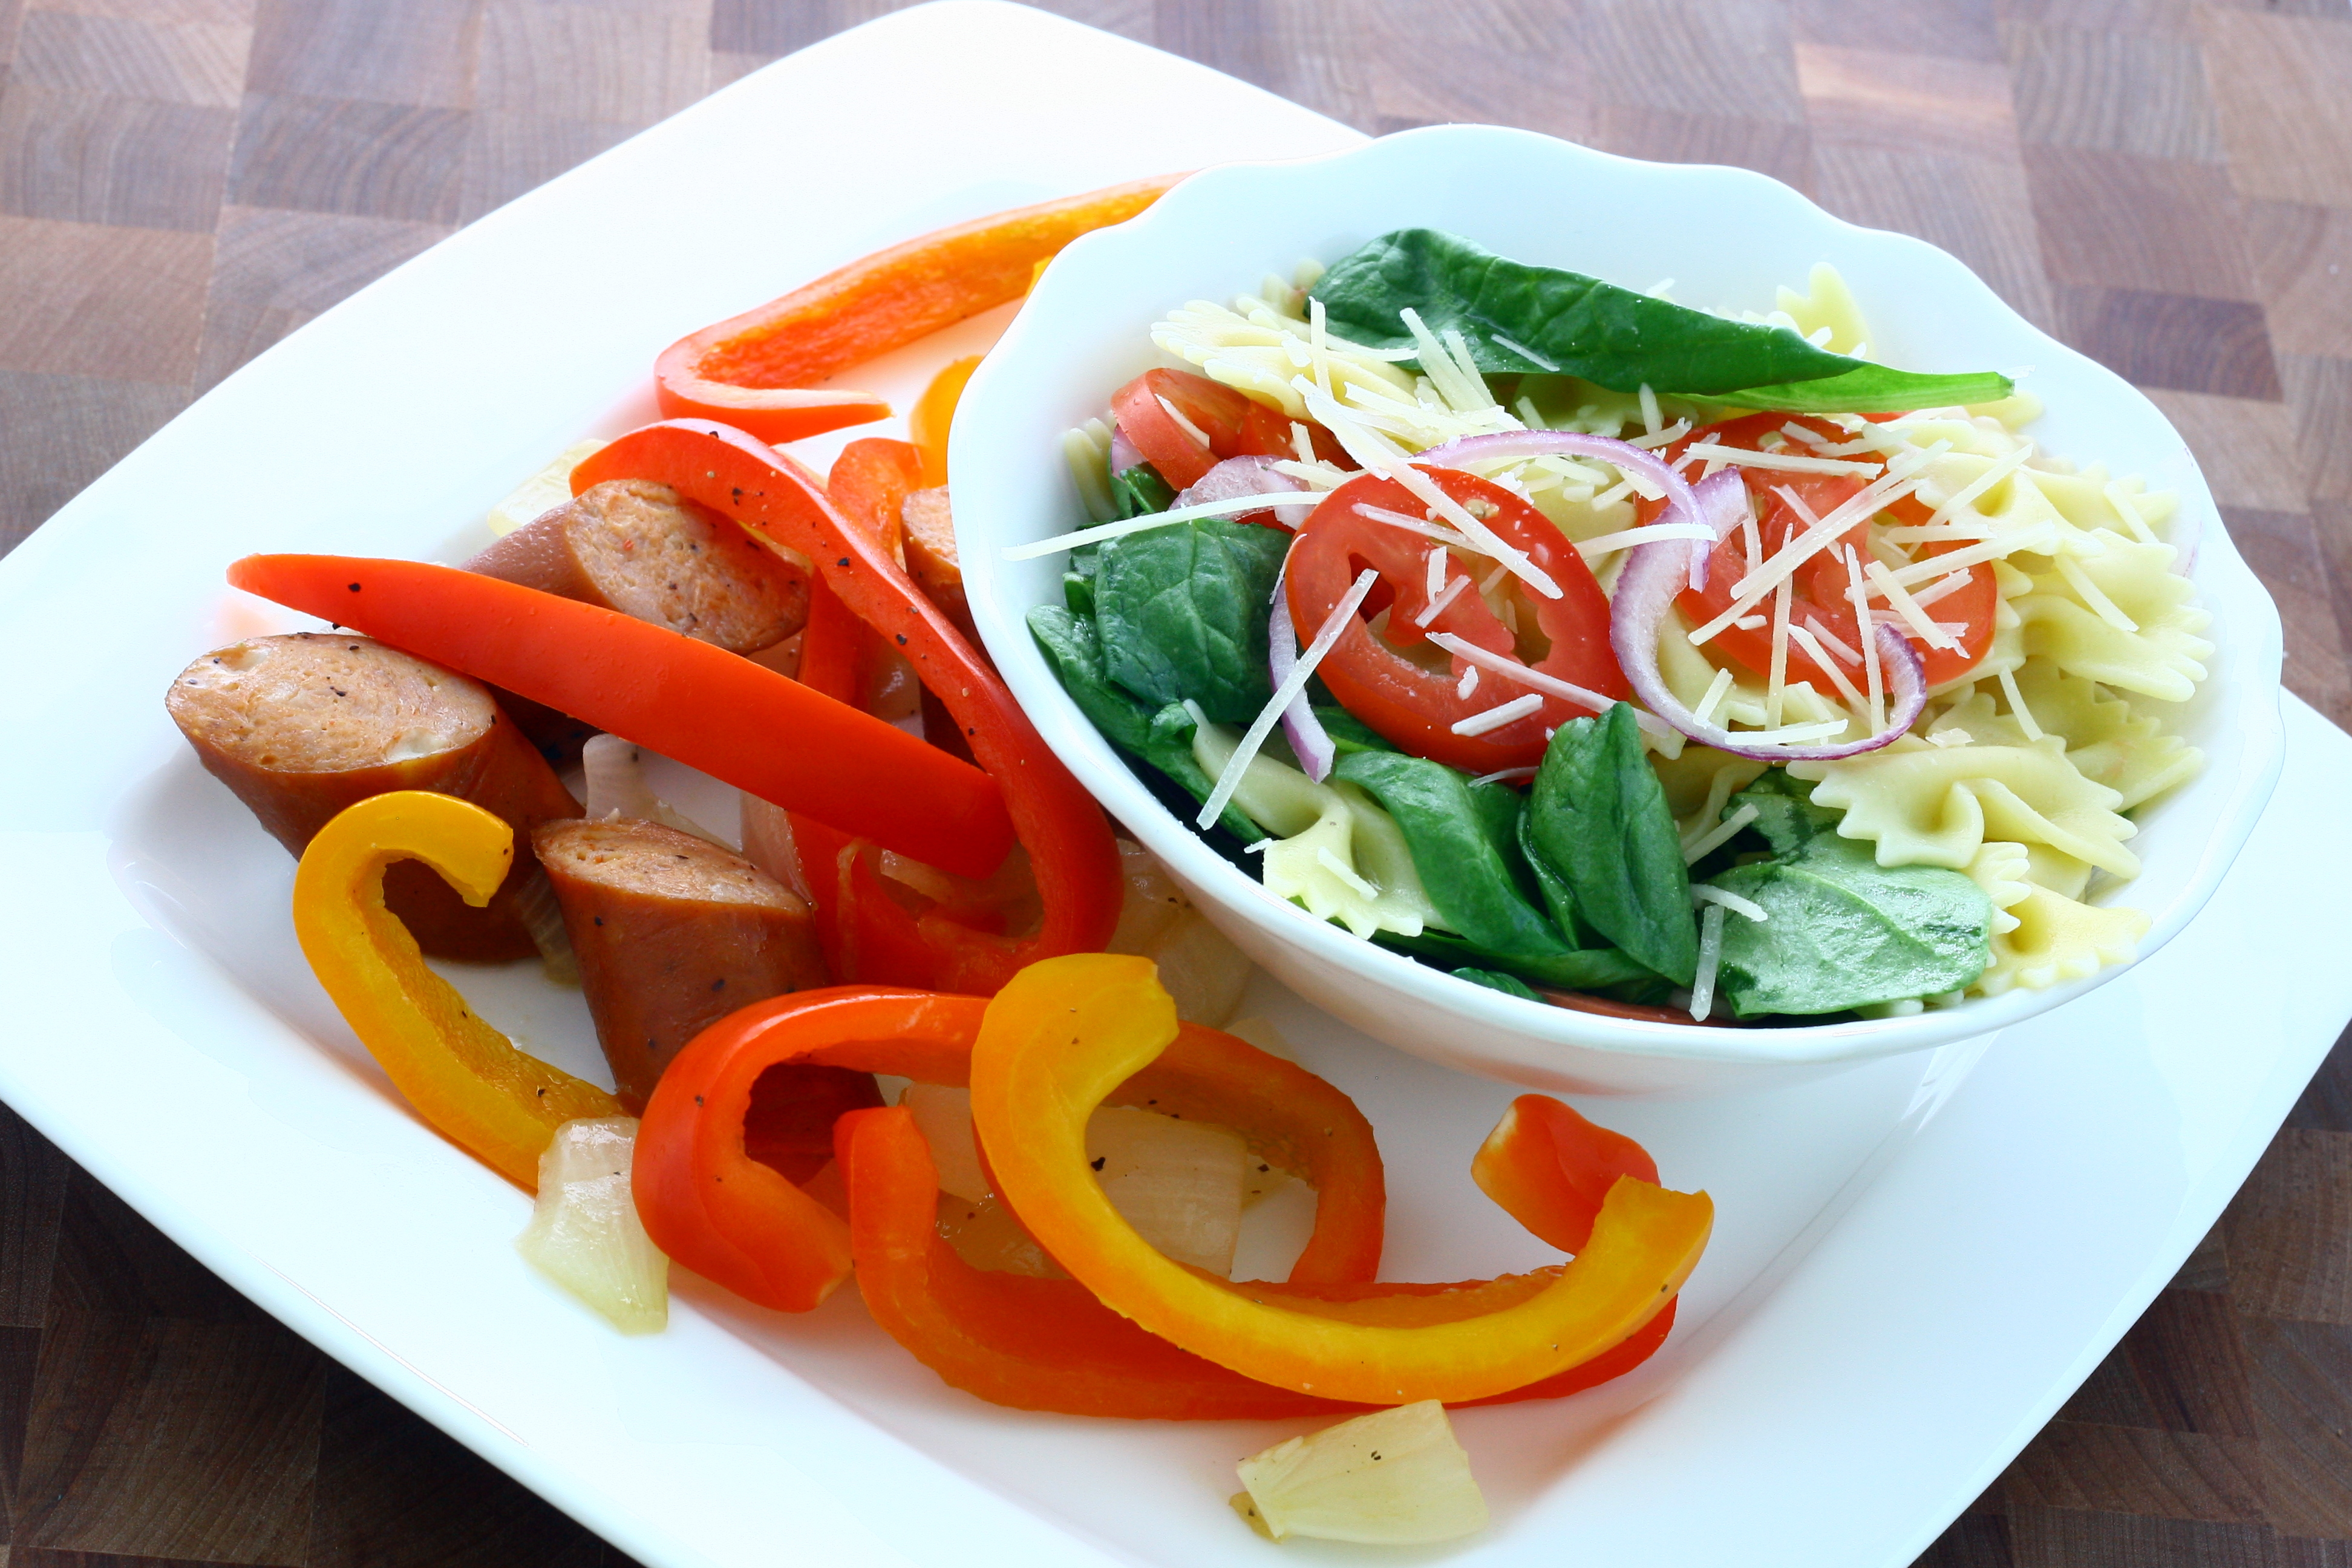
Some people have certain foods they need to stay away from before race day. I’ve found that I can eat almost anything, but it’s best if I stay away from fiber and copious amounts of grease. I ended up making a dish with chicken sausage and bell peppers with a pasta salad side. I loved that this meal was filling, easy, and my stomach handled it perfectly.
Chicken Sausage & Peppers
1 teaspoon canola oil
1 large onion, chopped
12 ounces fully cooked chicken sausage*, cut into 1 1/2 – 2″ pieces
2 bell peppers, sliced
salt and freshly ground black pepper, to taste
Heat oil in a large cast iron skillet over medium-high heat. Add in onions and cook for 3 – 4 minutes or until they start to soften.
Add in sausage and bell peppers and cook until sausage is heated through, 3 – 5 minutes. Season with salt and pepper to taste.
*I used Johnsonville’s Chicken Sausage – Chipotle Montery Jack in my dish. I’ve had this type before and love it so I used it again instead of trying something new.
Easy Spinach Pasta Salad
12 ounces farfalle or other small pasta
1 teaspoon garlic olive oil or plain olive oil*
3 cups baby spinach
1/2 red onion, thinly sliced
3 roma tomatoes, thinly sliced
1/3 cup freshly grated Parmesan
salt and freshly ground black pepper, to taste
Cook pasta according to package directions in a large pot of boiling salted water. Drain and immediately toss with garlic olive oil. Toss warm cooked pasta with spinach, onion, tomato and Parmesan. Season with salt and pepper and serve immediately.
*I used a garlic evoo from a local store, The Olive Cellar. Love the place and will never buy olive oil (or balsamic) from any other place.
After eating a fair amount of this, Mike and I turned in for the night. He tried to calm my nerves by playing the Fun Run episode from The Office. It worked 🙂
Now, that brings us to Sunday: race day. Mike and I rolled out of bed at around 4:00 that morning and I nervously ate a banana and some Quaker Oatmeal Squares. I chugged a little water and then we were off to Green Bay. We weather was beautiful at first. Here’s a picture of me – all happy that it was race day and ready to conquer Cellcom once again.
I got about 2 miles in before I realized just how hot and humid it was. Last year was hotter, but this year was much more humid. I do not handle humidity or heat very well. Put the two together and well… I’m a goner. Let’s just say that there aren’t many pictures I want to post of my grossness mid-run. I will, however, share with you the pics Mike snapped during my last mile in Lambeau Field!
I may look happy and full of energy in the above photos, but miles 2 – 12 were killer. I was dragging and just mentally d-o-n-e with it all. After I crossed the finish line and found Mike, I loaded up on brats and beer. I got my picture taken with a complete stranger (??) and then changed into dry clothes before heading back out to Lambeau and cheering on the marathoners and snapping a few more pics.
I wish I could say that everything was perfect. That I hit my goal time. That I PRed. But none of that is true. I debated sharing my time with the world because I was embarrassed at first. Then, I realized that all runners have good days and bad days. I just happened to have a bad day. And even though my time was 2:27 and I finished nearly 15 minutes after my goal time, I still did better than the person I was just 2 1/2 years ago. I used to be someone who couldn’t run for 20 seconds straight and struggled through Day 1 of Couch to 5k for a solid week.
It’s that time again… half marathon time. I ran my first half marathon almost exactly a year ago at the Cellcom Half. I still remember how horrible it was. It was hot. Way too hot. I am still, to this day, thankful for all the residents who had their sprinklers out, to all the volunteers who had endless cups of water and Gatorade, and to myself for wearing a water belt.
I’m hoping this year will be cooler. The forecast for Sunday went from sunny to thunderstorms and it’s currently at partly cloudy with a high of 76°F. I have my fingers and toes crossed that it stays that way.
My second half (Honky Tonk Half) was no better. I ran it too soon after my first full and ended up with a stress fracture in my right foot. I am so thankful that my sister was willing to push all of her hard training aside and walk by my side for the last 6 miles. The best part of not being able to run? We were able to get awesome pictures like this:
Note the lack of sweat and the smiles on our faces. Now compare that to my typical race photo where I look like this (in the pink tank):
(It just so happens that this photo was taken during Cellcom last year. SO HOT!)
So, here goes half #3. I’m still not quite sure why I get so worked up before a race. I go through this before every.single.race regardless of the distance. I get angry at myself for not training hard enough, not running fast enough, for having such a sensitive stomach, and for getting injured so frequently. It’s almost like my body is telling me “STOP RUNNING”, but I refuse to. I’m 100% certain that running is the only reason I’m still (somewhat) sane.
I’m mentally preparing myself this time by picking up my race packet tonight, and then going out for dinner and drinks at Hinterland. Saturday I’ll relax with some yoga, gardening, laying out my clothes, and making sure my watch and iPod are fully charged.
I’m trying to keep in mind that I’ve logged my miles by running dutifully 3 or 4 days a week. This year I actually cross trained with yoga 2 – 3 days a week, biking, and weights. My training calendar has the proof that I am ready. Now I just need to make myself believe it.